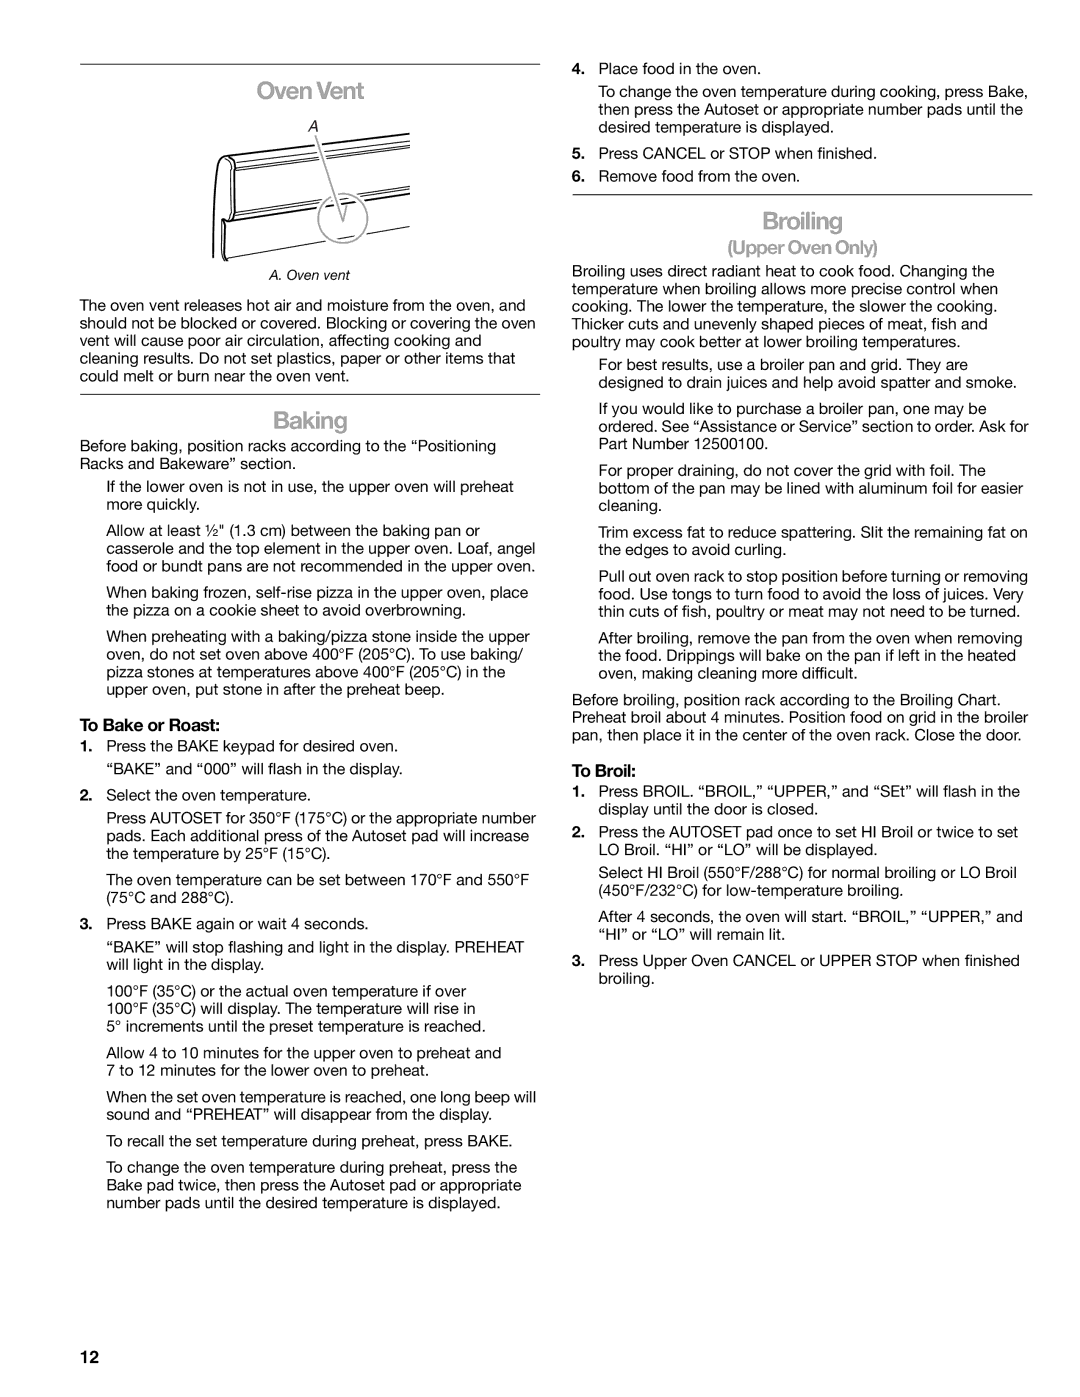
Oven Vent

A

A. Oven vent

The oven vent releases hot air and moisture from the oven, and should not be blocked or covered. Blocking or covering the oven vent will cause poor air circulation, affecting cooking and cleaning results. Do not set plastics, paper or other items that could melt or burn near the oven vent.

Baking

Before baking, position racks according to the “Positioning Racks and Bakeware” section.

If the lower oven is not in use, the upper oven will preheat more quickly.

Allow at least ½" (1.3 cm) between the baking pan or casserole and the top element in the upper oven. Loaf, angel food or bundt pans are not recommended in the upper oven.

When baking frozen, self-rise pizza in the upper oven, place the pizza on a cookie sheet to avoid overbrowning.

When preheating with a baking/pizza stone inside the upper oven, do not set oven above 400°F (205°C). To use baking/ pizza stones at temperatures above 400°F (205°C) in the upper oven, put stone in after the preheat beep.

To Bake or Roast:

1.Press the BAKE keypad for desired oven. “BAKE” and “000” will flash in the display.

2.Select the oven temperature.

Press AUTOSET for 350°F (175°C) or the appropriate number pads. Each additional press of the Autoset pad will increase the temperature by 25°F (15°C).

The oven temperature can be set between 170°F and 550°F (75°C and 288°C).

3.Press BAKE again or wait 4 seconds.

“BAKE” will stop flashing and light in the display. PREHEAT will light in the display.

100°F (35°C) or the actual oven temperature if over 100°F (35°C) will display. The temperature will rise in 5° increments until the preset temperature is reached.

Allow 4 to 10 minutes for the upper oven to preheat and 7 to 12 minutes for the lower oven to preheat.

When the set oven temperature is reached, one long beep will sound and “PREHEAT” will disappear from the display.

To recall the set temperature during preheat, press BAKE.

To change the oven temperature during preheat, press the Bake pad twice, then press the Autoset pad or appropriate number pads until the desired temperature is displayed.

4.Place food in the oven.

To change the oven temperature during cooking, press Bake, then press the Autoset or appropriate number pads until the desired temperature is displayed.

5.Press CANCEL or STOP when finished.

6.Remove food from the oven.

Broiling

(Upper Oven Only)

Broiling uses direct radiant heat to cook food. Changing the temperature when broiling allows more precise control when cooking. The lower the temperature, the slower the cooking. Thicker cuts and unevenly shaped pieces of meat, fish and poultry may cook better at lower broiling temperatures.

For best results, use a broiler pan and grid. They are designed to drain juices and help avoid spatter and smoke.

If you would like to purchase a broiler pan, one may be ordered. See “Assistance or Service” section to order. Ask for Part Number 12500100.

For proper draining, do not cover the grid with foil. The bottom of the pan may be lined with aluminum foil for easier cleaning.

Trim excess fat to reduce spattering. Slit the remaining fat on the edges to avoid curling.

Pull out oven rack to stop position before turning or removing food. Use tongs to turn food to avoid the loss of juices. Very thin cuts of fish, poultry or meat may not need to be turned.

After broiling, remove the pan from the oven when removing the food. Drippings will bake on the pan if left in the heated oven, making cleaning more difficult.

Before broiling, position rack according to the Broiling Chart. Preheat broil about 4 minutes. Position food on grid in the broiler pan, then place it in the center of the oven rack. Close the door.

To Broil:

1.Press BROIL. “BROIL,” “UPPER,” and “SEt” will flash in the display until the door is closed.

2.Press the AUTOSET pad once to set HI Broil or twice to set LO Broil. “HI” or “LO” will be displayed.

Select HI Broil (550°F/288°C) for normal broiling or LO Broil (450°F/232°C) for low-temperature broiling.

After 4 seconds, the oven will start. “BROIL,” “UPPER,” and “HI” or “LO” will remain lit.

3.Press Upper Oven CANCEL or UPPER STOP when finished broiling.

12

Page 12
Image 12
Kenmore W10166292A, 66578002700 manual Oven Vent, Baking, Broiling, To Bake or Roast, To Broil

66578002700, W10166292A specifications

The Kenmore W10166292A,66578002700 is a highly regarded appliance in the realm of kitchen conveniences, specifically notable for its efficiency and reliability as a dishwasher. With its sleek design and user-friendly features, it promises to enhance any modern kitchen.

One of the main features of this dishwasher is its impressive capacity. It can accommodate up to 14 place settings, making it ideal for families or those who frequently entertain guests. The adjustable upper rack adds versatility, allowing users to optimize space for larger items such as pots and pans.

The Kenmore W10166292A boasts a variety of wash cycles tailored to meet different cleaning needs. Among these is the Heavy Wash cycle, which is designed to tackle stubborn, stuck-on food particles. Additionally, it offers a quick 1-Hour Wash cycle for times when you need clean dishes in a hurry. The Eco Wash cycle is perfect for energy-conscious users, reducing both water usage and energy consumption while still delivering satisfactory results.

In terms of technology, this dishwasher incorporates a Smart Soil Sensor that automatically detects how dirty the dishes are and adjusts the wash cycle accordingly. This ensures effective cleaning while conserving resources. The appliance also features a powerful, yet quiet, motor that operates at around 47 decibels, allowing for peaceful kitchen environments during operation.

Another notable characteristic of the Kenmore W10166292A is its stainless steel interior. This not only adds a touch of elegance but also enhances durability and improves drying performance through better heat retention. Additionally, the ProWash Cycle optimizes washing for each load, automatically adjusting the washing duration and intensity based on the soil level detected.

For convenience, the dishwasher comes equipped with a delay start option, allowing users to set it to run at a later time that suits their schedule. The intuitive control panel makes selecting cycles and options straightforward, while the prominent LED display provides clear visibility, indicating the progress of the wash cycle.

Overall, the Kenmore W10166292A,66578002700 stands out as a dependable, feature-rich dishwasher that integrates cutting-edge technology with user-friendly design, making it an excellent addition to any kitchen.