OUTDOOR SIDE BURNER USE

Using the Outdoor Side Burner

WARNING

Burn Hazard

Do not let the burner flame extend beyond the edge of the pan.

Doing so can result in burns.

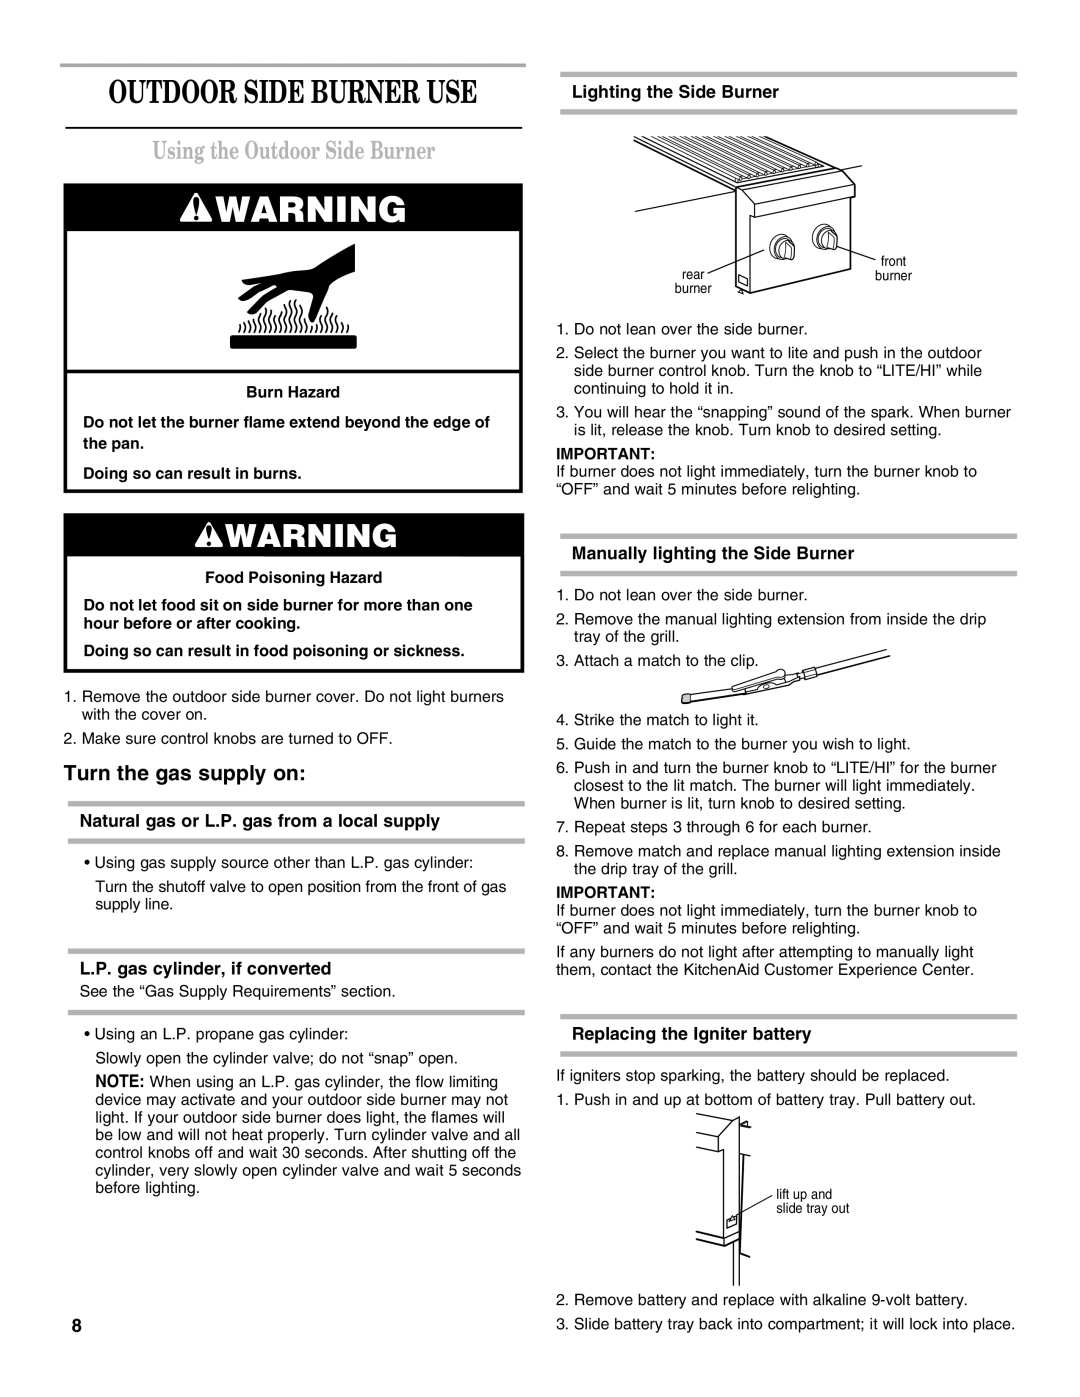
Lighting the Side Burner

front

rearburner burner

1.Do not lean over the side burner.

2.Select the burner you want to lite and push in the outdoor side burner control knob. Turn the knob to “LITE/HI” while continuing to hold it in.

3.You will hear the “snapping” sound of the spark. When burner is lit, release the knob. Turn knob to desired setting.

IMPORTANT:

If burner does not light immediately, turn the burner knob to “OFF” and wait 5 minutes before relighting.

WARNING

Food Poisoning Hazard

Do not let food sit on side burner for more than one hour before or after cooking.

Doing so can result in food poisoning or sickness.

1.Remove the outdoor side burner cover. Do not light burners with the cover on.

2.Make sure control knobs are turned to OFF.

Turn the gas supply on:

Natural gas or L.P. gas from a local supply

Using gas supply source other than L.P. gas cylinder:

Turn the shutoff valve to open position from the front of gas supply line.

L.P. gas cylinder, if converted

See the “Gas Supply Requirements” section.

Using an L.P. propane gas cylinder:

Slowly open the cylinder valve; do not “snap” open.

NOTE: When using an L.P. gas cylinder, the flow limiting device may activate and your outdoor side burner may not light. If your outdoor side burner does light, the flames will be low and will not heat properly. Turn cylinder valve and all control knobs off and wait 30 seconds. After shutting off the cylinder, very slowly open cylinder valve and wait 5 seconds before lighting.

8

Manually lighting the Side Burner

1.Do not lean over the side burner.

2.Remove the manual lighting extension from inside the drip tray of the grill.

3. Attach a match to the clip.

4.Strike the match to light it.

5.Guide the match to the burner you wish to light.

6.Push in and turn the burner knob to “LITE/HI” for the burner closest to the lit match. The burner will light immediately. When burner is lit, turn knob to desired setting.

7.Repeat steps 3 through 6 for each burner.

8.Remove match and replace manual lighting extension inside the drip tray of the grill.

IMPORTANT:

If burner does not light immediately, turn the burner knob to “OFF” and wait 5 minutes before relighting.

If any burners do not light after attempting to manually light them, contact the KitchenAid Customer Experience Center.

Replacing the Igniter battery

If igniters stop sparking, the battery should be replaced.

1. Push in and up at bottom of battery tray. Pull battery out.

lift up and slide tray out

2.Remove battery and replace with alkaline 9-volt battery.

3.Slide battery tray back into compartment; it will lock into place.

Page 8
Image 8
KitchenAid KSBN220SSS installation instructions Using the Outdoor Side Burner

KSBN220SSS specifications

The KitchenAid KSBN220SSS is a sleek and stylish countertop blender that combines powerful performance with an elegant design, making it a valuable addition to any kitchen. With a strong 1.5 horsepower motor, this blender effortlessly handles a variety of ingredients, from ice to tough vegetables, ensuring smooth and consistent results every time.

One of the standout features of the KSBN220SSS is its innovative Intelli-Speed Motor Control technology. This intelligent system automatically adjusts the motor’s speed to maintain the optimal blending performance, regardless of the ingredients’ thickness. This capability not only enhances efficiency but also allows for finely blended mixtures without the need to manually adjust settings.

The blender comes equipped with a variety of speed settings and blending options, including a five-speed control. Additionally, it features a pulse function, providing users with complete control over the blending process. From creating smoothies and soups to crushing nuts and making salsas, the KitchenAid KSBN220SSS excels in versatility.

The 60-ounce, BPA-free blending jar is designed for large batches, ideal for families or meal prep enthusiasts. The jar is also equipped with measurement markings, allowing for precise ingredient additions. The pouring spout ensures mess-free serving, while the sturdy lid locks securely to prevent any splatters during operation.

Another notable aspect of the KSBN220SSS is its durable stainless steel blade that is designed to stay sharp longer and blend efficiently. The blade assembly is easy to remove for cleaning, and the blender itself is dishwasher safe, making cleanup a breeze.

Aesthetically pleasing, the KitchenAid KSBN220SSS boasts a polished stainless steel finish that complements modern kitchens while also being robust enough to withstand the rigors of daily use. With its combination of innovative technology, powerful performance, and user-friendly design, the KitchenAid KSBN220SSS stands out as a reliable and stylish choice for anyone looking to elevate their kitchen experience.