3.Highlight the desired source and click Select.
4.From the File menu select File>DPI and choose the resolution which you will use when capturing color images in your production environment.
5.From the Brightness and Contrast Control main window, select File>Acquire.
6.Feed the document you have selected to use as a starting point to create your custom color table. When completed, the uncorrected scanned image will appear in both the left and right sides of the main window.
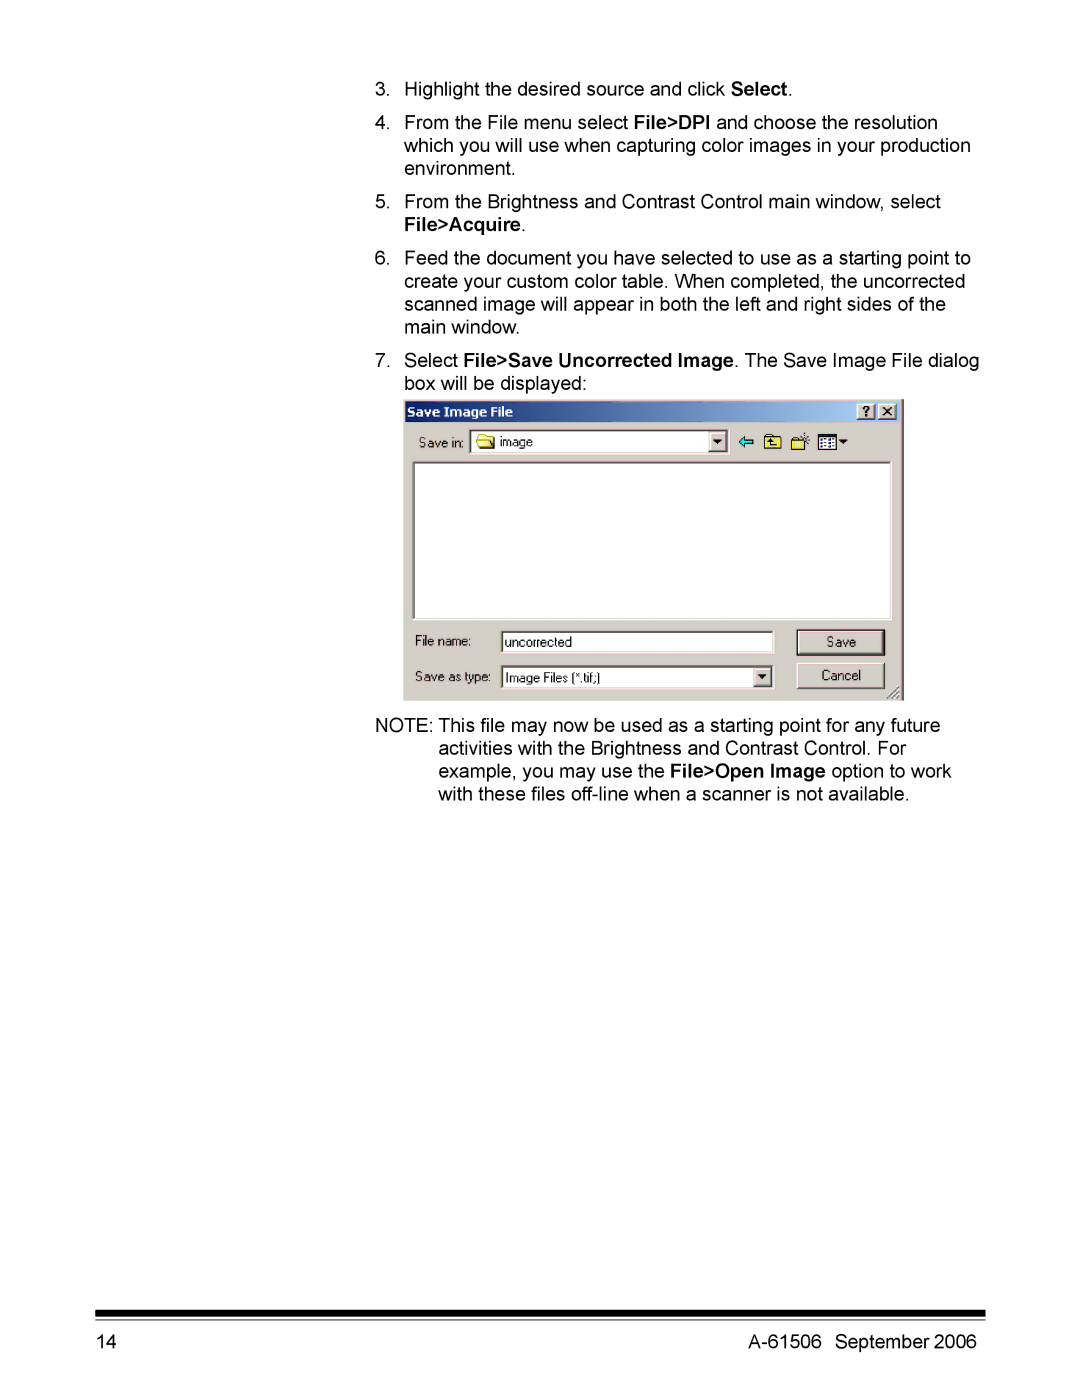
7.Select File>Save Uncorrected Image. The Save Image File dialog box will be displayed:
NOTE: This file may now be used as a starting point for any future activities with the Brightness and Contrast Control. For example, you may use the File>Open Image option to work with these files
14 |
