6.Click OK when the image displayed on the right side of the Brightness and Contrast Control main window is acceptable.
NOTE: Selecting Cancel will undo any changes and restores the image on the right side of the Brightness and Contrast Control main window to match the original image (on the left side).
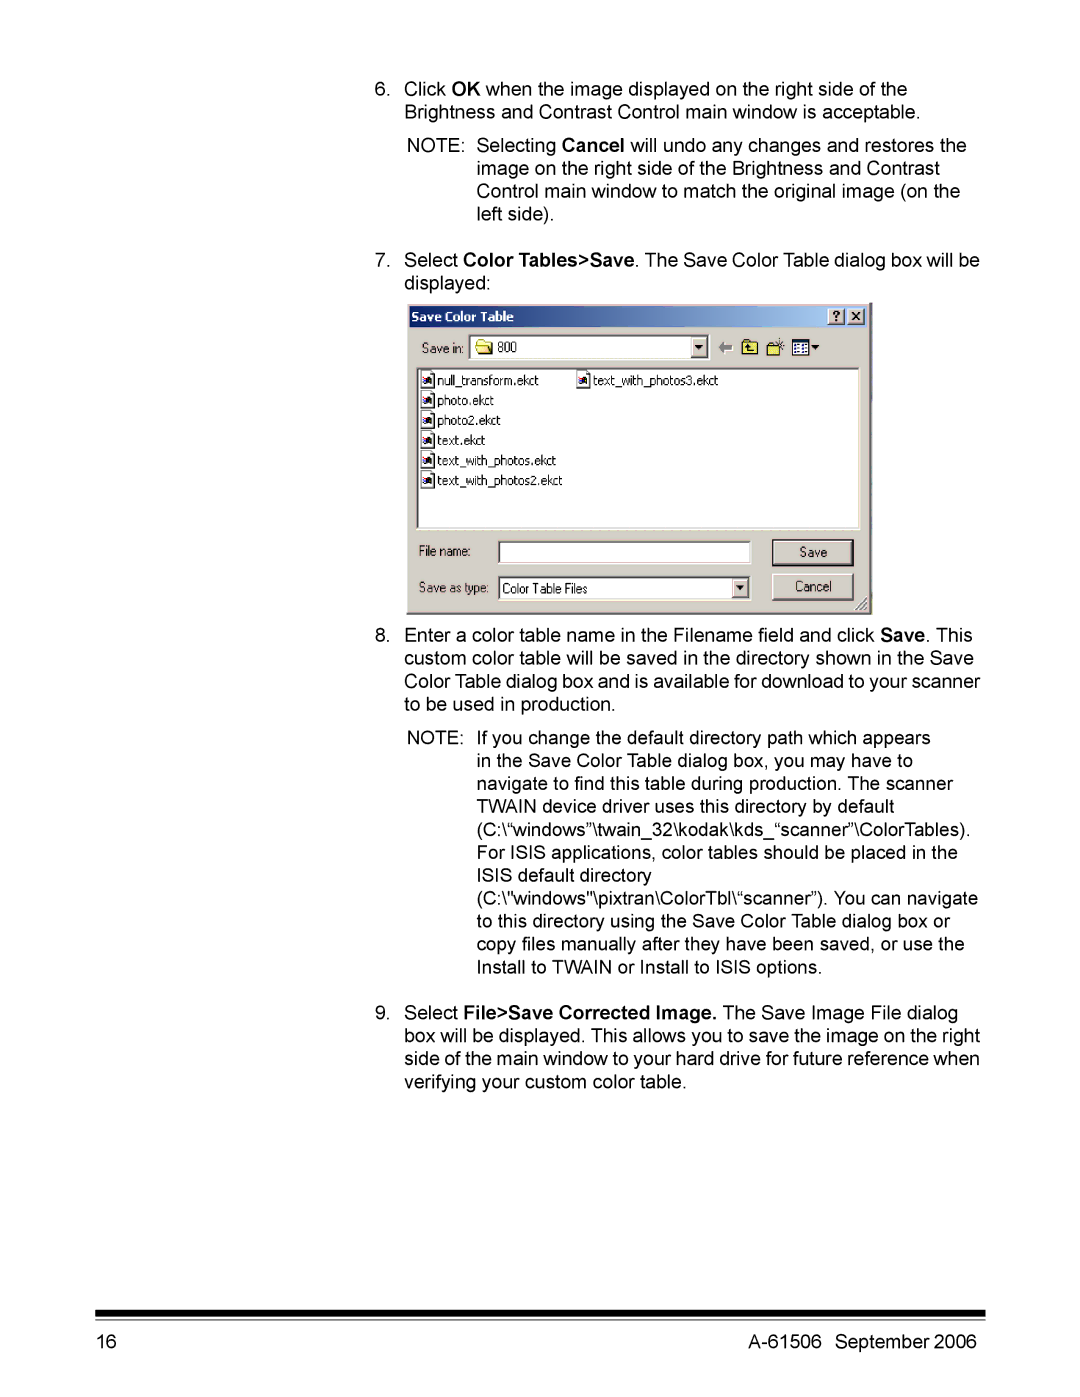
7.Select Color Tables>Save. The Save Color Table dialog box will be displayed:
8.Enter a color table name in the Filename field and click Save. This custom color table will be saved in the directory shown in the Save Color Table dialog box and is available for download to your scanner to be used in production.
NOTE: If you change the default directory path which appears in the Save Color Table dialog box, you may have to navigate to find this table during production. The scanner TWAIN device driver uses this directory by default (C:\“windows”\twain_32\kodak\kds_“scanner”\ColorTables). For ISIS applications, color tables should be placed in the ISIS default directory (C:\"windows"\pixtran\ColorTbl\“scanner”). You can navigate to this directory using the Save Color Table dialog box or copy files manually after they have been saved, or use the Install to TWAIN or Install to ISIS options.
9.Select File>Save Corrected Image. The Save Image File dialog box will be displayed. This allows you to save the image on the right side of the main window to your hard drive for future reference when verifying your custom color table.
16 |