Installing the scanner Follow the instructions below to install your Kodak i6000 Series Check Scanners.
NOTES:
•Make sure that the power outlet is located within 1.52 metres (5 feet) of the scanner and is easily accessible.
•Use only the power supply that was provided with the Kodak i6000 Series Check Scanners. Do not substitute another power supply model or another manufacturer’s power supply.
•Place the power supply on the floor. Do not place it next to the scanner. Failure to do so may result in degraded MICR read rates.
1.Place the scanner on a flat surface near the PC that you are connecting it to. Do not install it in a location where it will be in direct sunlight.
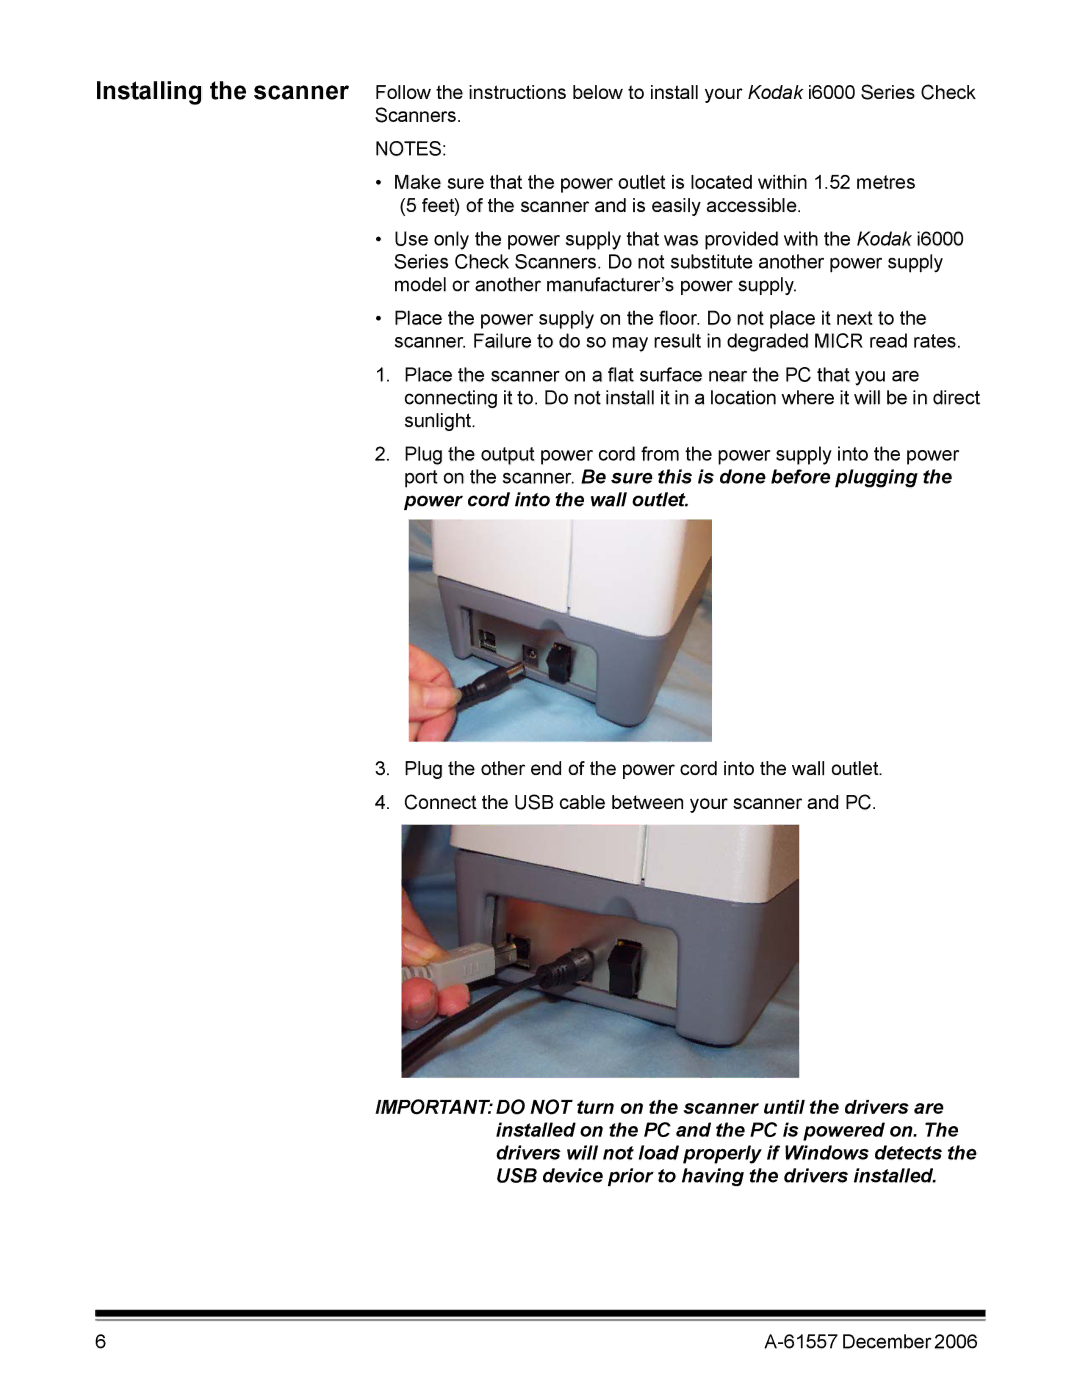
2.Plug the output power cord from the power supply into the power port on the scanner. Be sure this is done before plugging the power cord into the wall outlet.
3.Plug the other end of the power cord into the wall outlet.
4.Connect the USB cable between your scanner and PC.
IMPORTANT:DO NOT turn on the scanner until the drivers are installed on the PC and the PC is powered on. The drivers will not load properly if Windows detects the USB device prior to having the drivers installed.
6 |
|