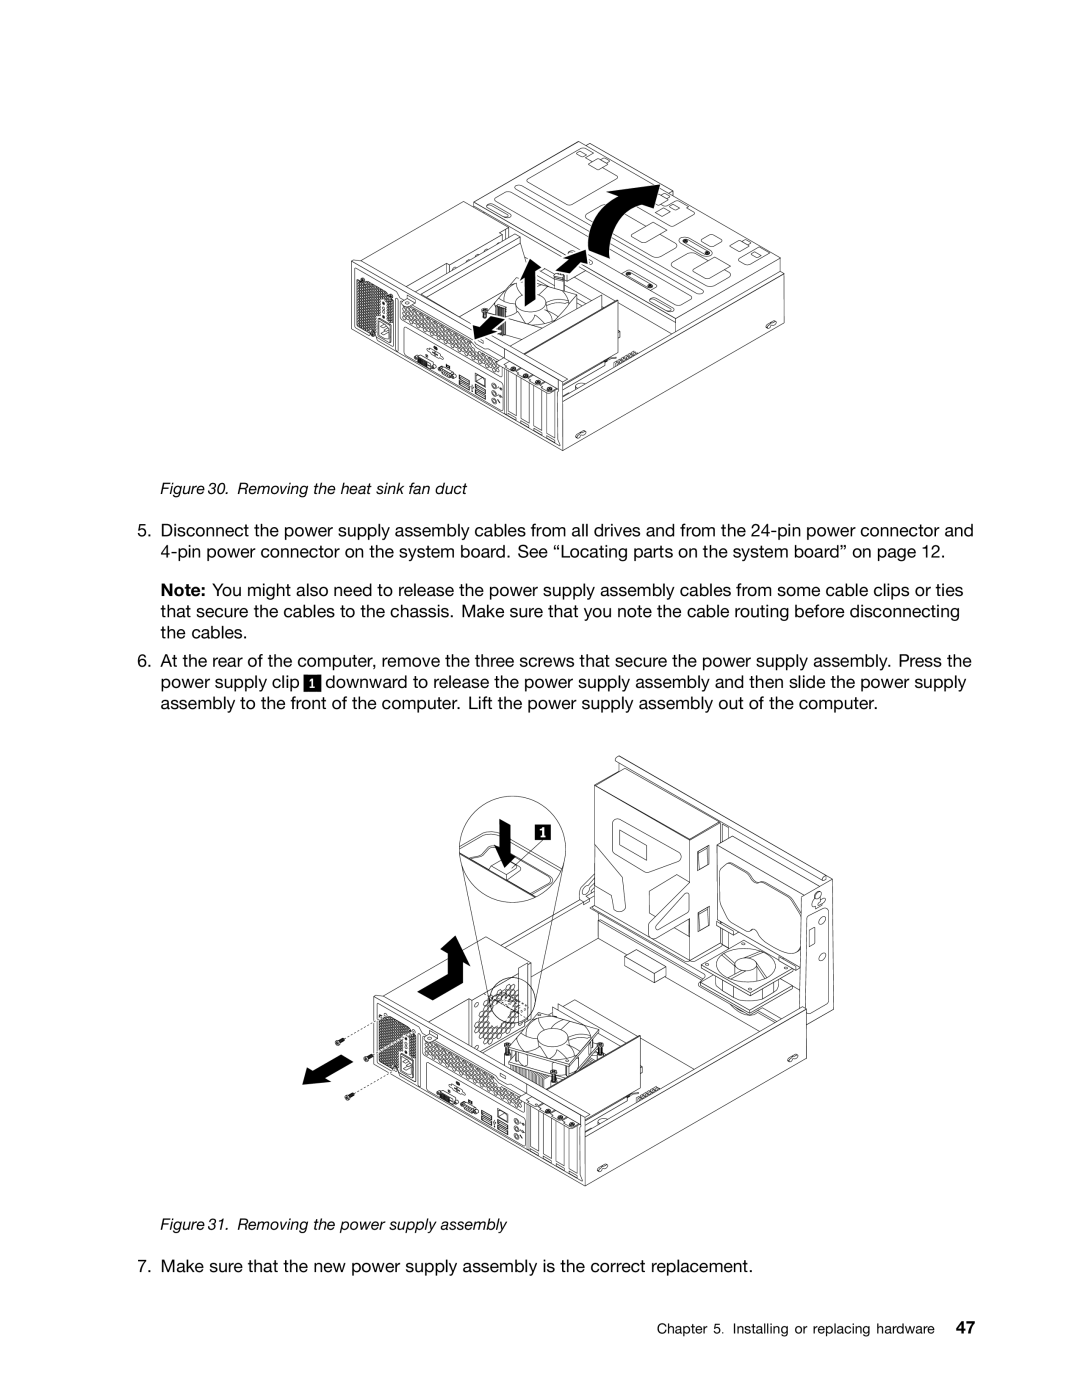
3493, 3496, 3493DFU specifications
The Lenovo 3493DFU, 3496, and 3493 are part of Lenovo's series of durable and reliable laptops designed for both personal and professional use. These models are particularly notable for their robust build quality, processing power, and array of features that cater to different user needs.The Lenovo 3493DFU is equipped with an AMD processor, which provides efficient performance for multitasking and everyday computing tasks. It features a 15.6-inch HD display that offers vibrant colors and decent viewing angles. This model is designed with portability in mind, weighing around 5.6 pounds, making it easy to carry for users on the go. The Lenovo 3493DFU also includes a full-sized keyboard that enhances typing comfort and precision, ideal for long hours of work or study.
Meanwhile, the Lenovo 3496 is known for its impressive storage capabilities. With options for a solid-state drive (SSD) or a larger hard disk drive (HDD), users can choose the best fit according to their storage needs. The 3496 also features the latest USB ports, including USB 3.0, enabling faster data transfer and connection to a variety of peripherals. Its integrated graphics cater well to casual gamers and multimedia enthusiasts, ensuring a smooth experience with movies and videos.
On the other hand, the Lenovo 3493 is tailored more towards business users who require a reliable laptop for everyday tasks. It boasts an efficient Intel processor that balances power and battery life. The battery life is one of its standout features, allowing for extended use without requiring frequent recharging. This model also includes robust security features, such as a fingerprint reader and TPM (Trusted Platform Module), which enhance data protection and privacy.
All three models feature Lenovo’s innovative technologies, such as Lenovo Vantage, which simplifies system updates, device management, and access to support. These laptops are also outfitted with a range of connectivity options, including HDMI and RJ-45, which facilitate seamless connections to external displays and networks.
In summary, the Lenovo 3493DFU, 3496, and 3493 are versatile laptops that cater to various user requirements, whether for personal use, casual gaming, or professional tasks. With their strong performance, reliable build quality, and cutting-edge features, they represent great choices in Lenovo's laptop lineup.

