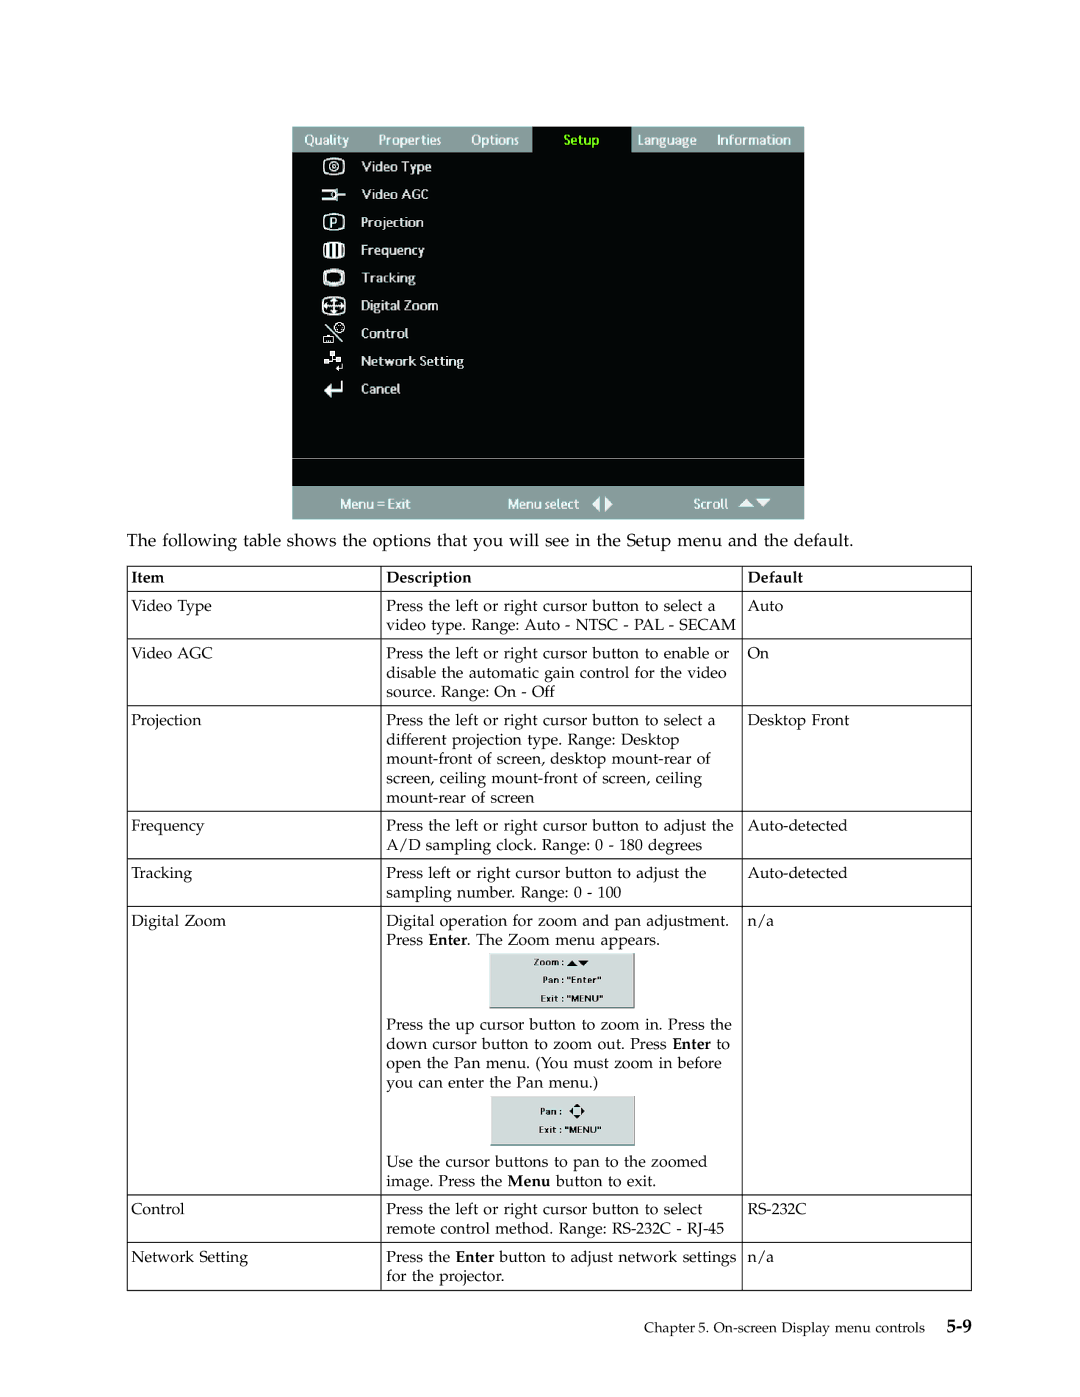
The following table shows the options that you will see in the Setup menu and the default.
Item | Description | Default |
|
|
|
Video Type | Press the left or right cursor button to select a | Auto |
| video type. Range: Auto - NTSC - PAL - SECAM |
|
|
|
|
Video AGC | Press the left or right cursor button to enable or | On |
| disable the automatic gain control for the video |
|
| source. Range: On - Off |
|
|
|
|
Projection | Press the left or right cursor button to select a | Desktop Front |
| different projection type. Range: Desktop |
|
|
| |
| screen, ceiling |
|
|
| |
|
|
|
Frequency | Press the left or right cursor button to adjust the | |
| A/D sampling clock. Range: 0 - 180 degrees |
|
|
|
|
Tracking | Press left or right cursor button to adjust the | |
| sampling number. Range: 0 - 100 |
|
|
|
|
Digital Zoom | Digital operation for zoom and pan adjustment. | n/a |
| Press Enter. The Zoom menu appears. |
|
| Press the up cursor button to zoom in. Press the |
|
| down cursor button to zoom out. Press Enter to |
|
| open the Pan menu. (You must zoom in before |
|
| you can enter the Pan menu.) |
|
| Use the cursor buttons to pan to the zoomed |
|
| image. Press the Menu button to exit. |
|
|
|
|
Control | Press the left or right cursor button to select | |
| remote control method. Range: |
|
|
|
|
Network Setting | Press the Enter button to adjust network settings | n/a |
| for the projector. |
|
|
|
|
Chapter 5.
