HOW TO POSITION AND STABILIZE THE LIFE FITNESS TREADMILL
Following all safety instructions in Section 1.1, move the treadmill to the location in which it will be used. See
Section 7, titled Specifications, for the dimensions of the productfootprint (assembled dimensions.) Allow a distance of eight inches, or 21 centimeters, between the treadmill
and other units on either side. Allow a distance of six feet, or two meters, from the rear of the treadmill to any object or surface.
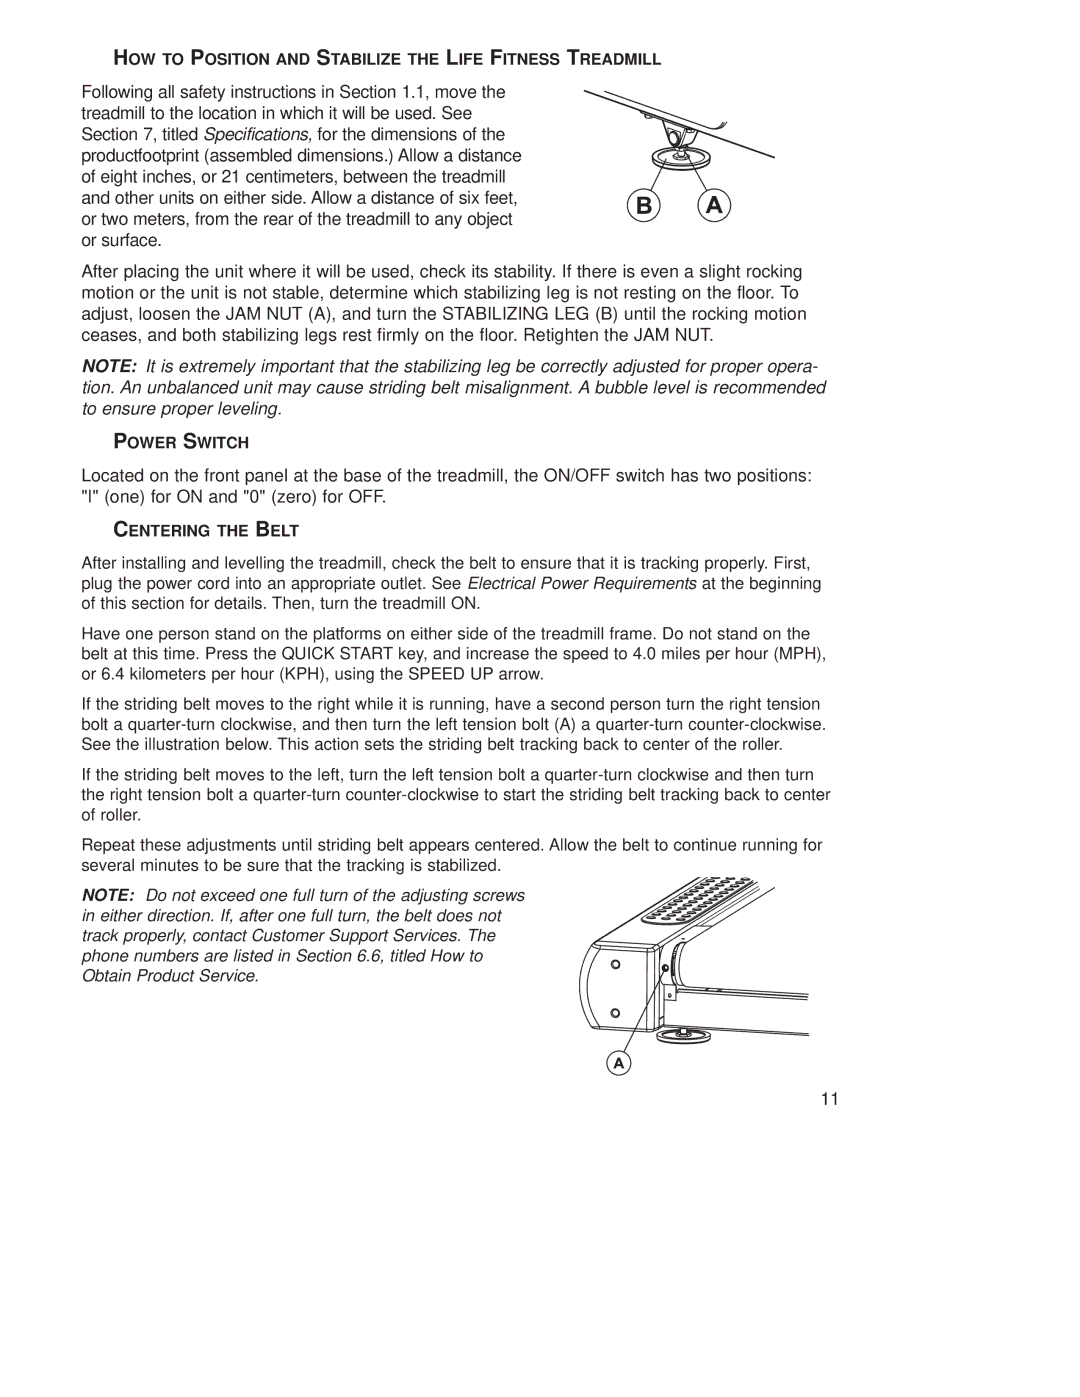
After placing the unit where it will be used, check its stability. If there is even a slight rocking motion or the unit is not stable, determine which stabilizing leg is not resting on the floor. To adjust, loosen the JAM NUT (A), and turn the STABILIZING LEG (B) until the rocking motion ceases, and both stabilizing legs rest firmly on the floor. Retighten the JAM NUT.
NOTE: It is extremely important that the stabilizing leg be correctly adjusted for proper opera- tion. An unbalanced unit may cause striding belt misalignment. A bubble level is recommended to ensure proper leveling.
POWER SWITCH
Located on the front panel at the base of the treadmill, the ON/OFF switch has two positions: "I" (one) for ON and "0" (zero) for OFF.
CENTERING THE BELT
After installing and levelling the treadmill, check the belt to ensure that it is tracking properly. First, plug the power cord into an appropriate outlet. See Electrical Power Requirements at the beginning of this section for details. Then, turn the treadmill ON.
Have one person stand on the platforms on either side of the treadmill frame. Do not stand on the belt at this time. Press the QUICK START key, and increase the speed to 4.0 miles per hour (MPH), or 6.4 kilometers per hour (KPH), using the SPEED UP arrow.
If the striding belt moves to the right while it is running, have a second person turn the right tension bolt a
If the striding belt moves to the left, turn the left tension bolt a
Repeat these adjustments until striding belt appears centered. Allow the belt to continue running for several minutes to be sure that the tracking is stabilized.
NOTE: Do not exceed one full turn of the adjusting screws in either direction. If, after one full turn, the belt does not track properly, contact Customer Support Services. The phone numbers are listed in Section 6.6, titled How to Obtain Product Service.
11