INSTALLATION | ||
|
|
|
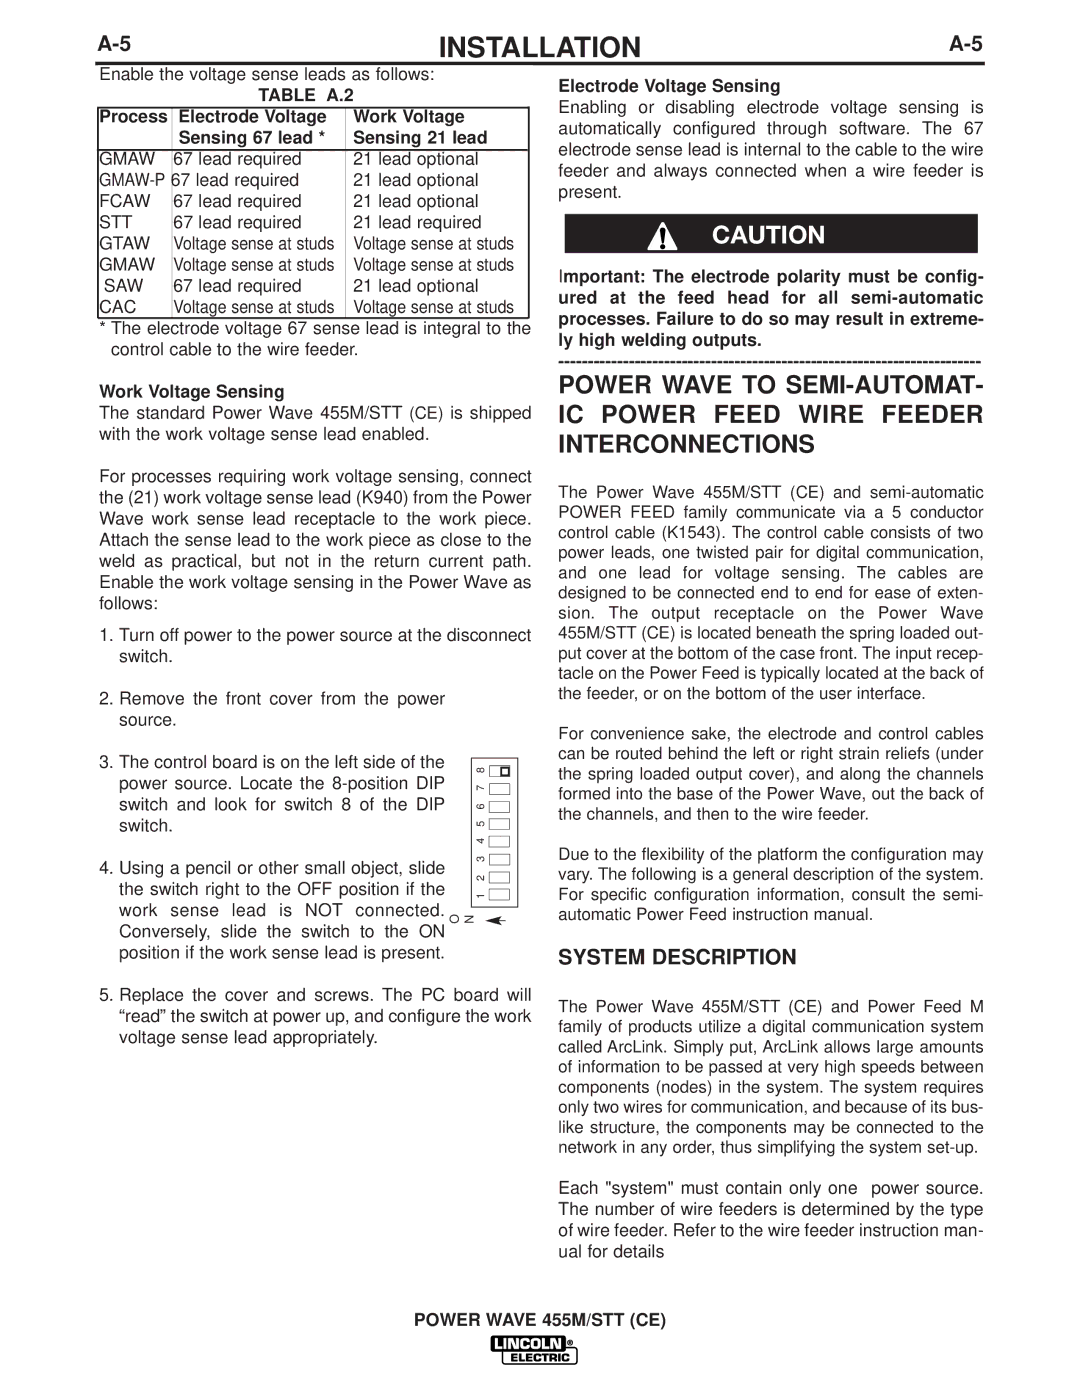
Enable the voltage sense leads as follows:
TABLE A.2
Process | Electrode Voltage | Work Voltage | |
| Sensing 67 lead * | Sensing 21 lead | |
|
|
|
|
GMAW | 67 lead required | 21 lead optional | |
67 lead required | 21 lead optional | ||
FCAW | 67 lead required | 21 lead optional | |
STT | 67 lead required | 21 lead required | |
GTAW | Voltage sense at studs | Voltage sense at studs | |
GMAW | Voltage sense at studs | Voltage sense at studs | |
SAW | 67 lead required | 21 lead optional | |
CAC | Voltage sense at studs | Voltage sense at studs | |
*The electrode voltage 67 sense lead is integral to the control cable to the wire feeder.
Work Voltage Sensing
The standard Power Wave 455M/STT (CE) is shipped with the work voltage sense lead enabled.
For processes requiring work voltage sensing, connect the (21) work voltage sense lead (K940) from the Power Wave work sense lead receptacle to the work piece. Attach the sense lead to the work piece as close to the weld as practical, but not in the return current path. Enable the work voltage sensing in the Power Wave as follows:
1.Turn off power to the power source at the disconnect switch.
2.Remove the front cover from the power source.
3. The control board is on the left side of the |
|
|
|
|
|
|
|
| 7 8 |
|
|
| |
power source. Locate the |
|
|
|
|
| |
switch and look for switch 8 of the DIP |
|
| 6 |
|
|
|
switch. |
|
| 5 |
|
|
|
|
|
| 4 |
|
|
|
4. Using a pencil or other small object, slide |
|
| 3 |
|
|
|
|
| 1 2 |
|
|
| |
the switch right to the OFF position if the |
|
|
|
|
| |
work sense lead is NOT connected. |
|
|
|
|
|
|
|
|
|
|
|
| |
O N |
|
| ||||
|
|
| ||||
Conversely, slide the switch to the ON position if the work sense lead is present.
5.Replace the cover and screws. The PC board will “read” the switch at power up, and configure the work voltage sense lead appropriately.
Electrode Voltage Sensing
Enabling or disabling electrode voltage sensing is automatically configured through software. The 67 electrode sense lead is internal to the cable to the wire feeder and always connected when a wire feeder is present.
CAUTION
Important: The electrode polarity must be config- ured at the feed head for all
POWER WAVE TO
The Power Wave 455M/STT (CE) and
For convenience sake, the electrode and control cables can be routed behind the left or right strain reliefs (under the spring loaded output cover), and along the channels formed into the base of the Power Wave, out the back of the channels, and then to the wire feeder.
Due to the flexibility of the platform the configuration may vary. The following is a general description of the system. For specific configuration information, consult the semi- automatic Power Feed instruction manual.
SYSTEM DESCRIPTION
The Power Wave 455M/STT (CE) and Power Feed M family of products utilize a digital communication system called ArcLink. Simply put, ArcLink allows large amounts of information to be passed at very high speeds between components (nodes) in the system. The system requires only two wires for communication, and because of its bus- like structure, the components may be connected to the network in any order, thus simplifying the system
Each "system" must contain only one power source. The number of wire feeders is determined by the type of wire feeder. Refer to the wire feeder instruction man- ual for details
POWER WAVE 455M/STT (CE)
