Phone Adapter with 2 Ports for
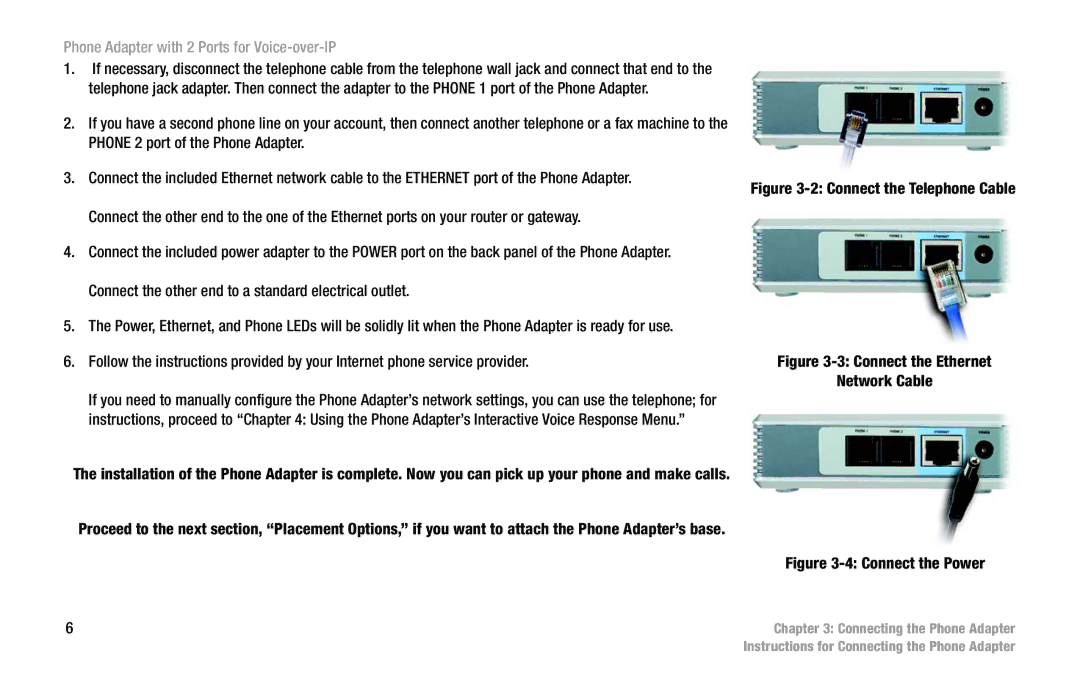
1.If necessary, disconnect the telephone cable from the telephone wall jack and connect that end to the telephone jack adapter. Then connect the adapter to the PHONE 1 port of the Phone Adapter.
2.If you have a second phone line on your account, then connect another telephone or a fax machine to the PHONE 2 port of the Phone Adapter.
3.Connect the included Ethernet network cable to the ETHERNET port of the Phone Adapter. Connect the other end to the one of the Ethernet ports on your router or gateway.
4.Connect the included power adapter to the POWER port on the back panel of the Phone Adapter. Connect the other end to a standard electrical outlet.
5.The Power, Ethernet, and Phone LEDs will be solidly lit when the Phone Adapter is ready for use.
6.Follow the instructions provided by your Internet phone service provider.
If you need to manually configure the Phone Adapter’s network settings, you can use the telephone; for instructions, proceed to “Chapter 4: Using the Phone Adapter’s Interactive Voice Response Menu.”
The installation of the Phone Adapter is complete. Now you can pick up your phone and make calls.
Proceed to the next section, “Placement Options,” if you want to attach the Phone Adapter’s base.
6
Figure 3-2: Connect the Telephone Cable
Figure 3-3: Connect the Ethernet
Network Cable
Figure 3-4: Connect the Power
Chapter 3: Connecting the Phone Adapter Instructions for Connecting the Phone Adapter