CentreVu Call Management System
Comments
Table of Contents
CentreVu CMS Release 3 Version 8 Disk-Mirrored Systems
CentreVu CMS Release 3 Version 8 Disk-Mirrored Systems Iii
Index
CentreVu CMS Release 3 Version 8 Disk-Mirrored Systems
Disk mirroring defined
Metadevices
Backed up just as often as unmirrored systems
Concatenated
State databases
Mirrors
Solstice DiskSuite
How CMS implements disk mirroring
D19
D21 D20
D13 D12
D11
D15
D17 D16
Mirror d13 Mirror d21 Mirror d17
Mirror layouts
Root filesystem Cms filesystem
Submirror Disks
Enterprise
Additional references
Required software
How CMS implements disk mirroring
Disk drive slots
How to upgrade an Enterprise platform to disk mirroring
Identify mirror devices
Increasing system capacity
Submirror d15 Submirror d16
Device Names
System
Do this step only if you have an Enterprise 3500 system
# ls -l /dev/dsk/c1t6d0s0
How to upgrade an Enterprise platform to disk mirroring
# ls -l /dev/dsk/c2t6d0s0
Ok boot -r
Do this step only if you have an Enterprise 3000 system
Enter format partition
Disk Part
3500
Flag
Starting
# export PATH=$PATH/usr/opt/SUNWmd/sbin/olds
Enter partition q
# metadb -a -c3 -f /dev/rdsk/device
# metadb
Dx y 1 device
# metainit -f d11 D11 Concat/stripe is set up
Set up the mirrors for the root file system
# metainit -f d13 D13 Concat/stripe is set up
# metainit -f d12 D12 Concat/stripe is set up
Password password
# metaroot d13
# /usr/sbin/shutdown -i6 -g0 -y
# metainit -f d15 D15 Concat/stripe is set up
Set up the mirrors for the swap space
# metainit d17 D17 Concat/stripe is set up
# metainit d16 D16 Concat/stripe is set up
# swap -a /dev/md/dsk/d17
Set up the /cms mirror
Disk Space Verification
Verify disk space
# ls -l /dev/rdsk/newbootdev
Create an alternate boot device
Ok boot bootdevice2
Ok nvalias bootdevice2 device
# /usr/sbin/shutdown -y -i0 -g0
Sbus@3,0/SUNW,fas@3,8800000/sd@2,0
Install the hardware
Factory installation procedures for disk mirroring
3500 Disk Part
Install the application software
# stty erase Ctrl-H # ksh -o
Check the disk.type file
# olds -mirrored -mkfiles
Ok boot -r Hostname console login root Password password
Run the setup scripts
14309888
14171072 14205776
14376992 14446400
14550512
Disk Space Verification
Install the CMS software
Enter the following command ok devalias
# chmod +x /olds/chkDisks
Factory installation procedures for disk mirroring
Ok setenv boot-device disk # eeprom boot-device=disk
Using the alternate boot device
Maintaining the chkDisks crontab
Canceling chkDisks
Activating chkDisks Verifying chkDisks
# crontab -l
Run the backup
Doing a Cmsadm backup on a mirrored system
Print the vfstab file
# lp /etc/vfstab
Label and store the tapes
# cpio -icmudv -C 10240 -I device
Restoring from a Cmsadm Backup
Restoring from a Cmsadm Backup
Repairing or rebuilding the /cms file system
Repairing /cms
# umount /cms
Rebuilding /cms
If you altered the vfstab file earlier , do the following
If you did not alter the vfstab file, do the following
# metainit d21 mirror is set up
# metainit d19 D19 Concat/Stripe is set up
# metadetach d21 d20 D21 submirror d20 is detached
# metaclear d20 D20 Concat/Stripe is cleared
# newfs Dev/md/rdsk/d21
14585216 14654624
14724032 14793440
Power off the system
Restoring a mirrored system from a Cmsadm backup
Ok boot cdrom
Task Action Result
Select Language
Continue
Identify the system
Confirm Information
Click Continue
255.255.255.0 is
Set the Name Service options
Set the date and time
Installation Initial
Geographic Region
Region
Services? screen is
Installation screen is
Allocate Client
Select Languages
Select the hard disks
Slice Name
GB Disk
Click Begin Installation Reboot/No Reboot
Click Reboot
Click Continue Mount Remote File
Complete the OS installation
Reestablish the disk mirrors
# /olds/olds -cleanup
# PATH=$PATH/usr/opt/SUNWmd/sbin/olds # export Path
# olds mirrored -mkfiles Success, creating md.tab.new
# olds -mirrored -checkdisk Success, checking md.tab.new
Hostname login root Password root password
Restoring specific files from a Cmsadm backup
# /usr/opt/SUNWmd/sbin/metastat
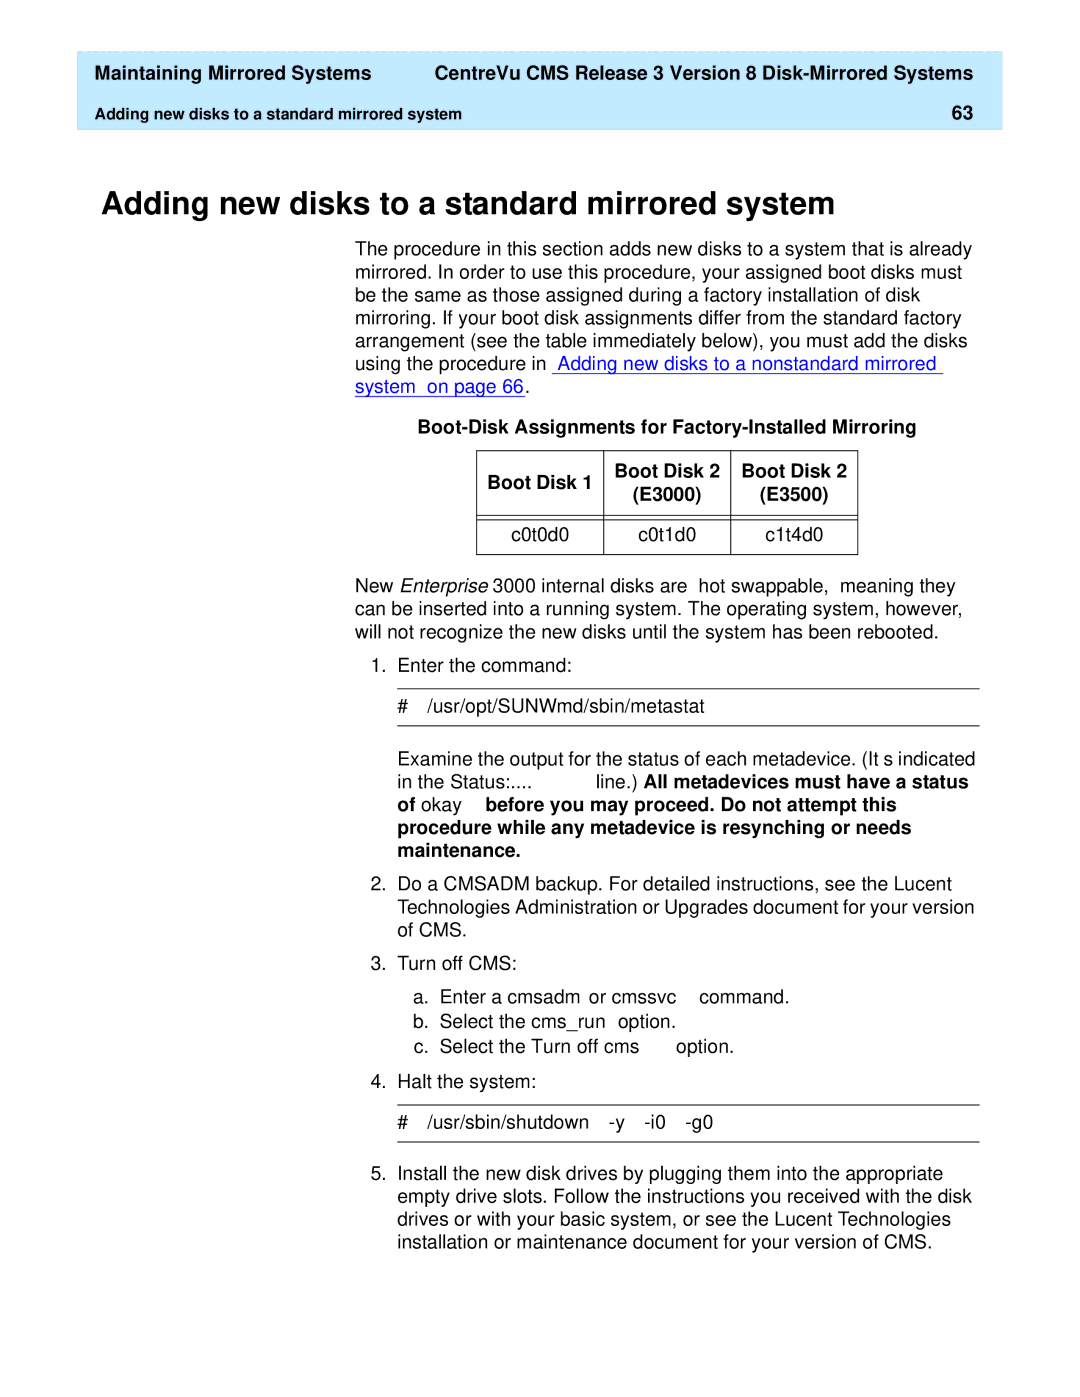
Adding new disks to a standard mirrored system
# olds -mirrored -mkfiles c0t10d0 c0t11d0
# olds -mirrored -setup newdisk1 newdisk2
# df -k /cms
Adding new disks to a nonstandard mirrored system
# metattach d19 c0t10d0s1 # metattach d20 c0t11d0s1
# metattach d19 newdisk1 # metattach d20 newdisk2
# metastat
# growfs -M /cms /dev/md/rdsk/d21
Replacing a faulty disk
Identify the faulty disk
# ls -l /dev/dsk/c Lrwxrwxrwx 1 root Root
Size 14960160 blocks Stripe Device
Identify the submirrors
Dbase State Hot Spare C0t2d0s1 Okay Stripe Device
Dbase State Hot Spare C0t4d0s3 Okay
Metadetach metamirror submirror
Detach the submirrors
Replace the faulty disk drive
Remove state database replicas boot disks only
Recreate the state database replicas
You may delay this step until a more convenient time
Reboot the system boot disks only
# metainit d20
# metattach d21 d20
State Database Replicas
Setting up replicas Replacing replicas
# metadb -d -f /dev/dsk/c0t0d0s1
# metadb -d -c4 -f /dev/dsk/c0t0d0s1
Partitioning disks with the format command
Enter # format
FC-AL E
Enter partition q
Root Metadevice Device Names
How to tell whether your mirrored system is standard
Valid vfstab files
Examples of valid system files
Valid vfstab file for a non mirrored R3V8 CMS system
Valid vstab file for an R3V8 CMS system with mirrored disks
Valid md.tab files
Valid md.tab file for a 3 disk non mirrored R3V8 CMS system
Valid md.tab file for a 4 disk mirrored R3V8 CMS system
Excessively long resync
Unmount /cms umount /cms
Enter mount /cms Remounts /cms
If you receive a This command may hang the system
Enter setenv auto-boot? false
System fails to recognize all disk drives
Ok setenv auto-boot? true
Ok boot -r Console login root Password
Toshiba XMS5701TASUN12XCD099704/09/97
C0t0d0s0 Okay
Fixing needs maintenance messages
Boot problems
Primary boot device is not available
Ok setenv boot-device bootdevice2
Touch /etc/notrouter
Excessive reboot time
File Name Description
Log files
# ls /olds/chkDisks
# /olds/chkDisks
Error Messages Explanation Response
Error messages
Message Explanation Response
# metareplace -e d13 c0t0d0s0
Disk diskname already setup, exiting
Device devicename cannot be setup or does Not exist
Device devicename will not be used
Message Explanation
Message Response
Command not found
No disks found! Internal error
Metadb hostname cxtyd0sz has a Metadevice database replica
Metadetach systemname d21 resync Progress
Message
Error Messages Response
File filename could not be restored
DiskSuite Software must be installed To run this script
Disk is not recognized by cms
/cms filesystem needs to be mounted
Enter reset-all
Unbalanced configurations not supported
Touch /cms/db/unixstart cannot create
Configuration, configure manually
You must be root in order to run this command
Usage olds -mirrored -checkdisks
Index
Symbols
Needs maintenance messages
How Are We Doing?