Radio Operation (continued)
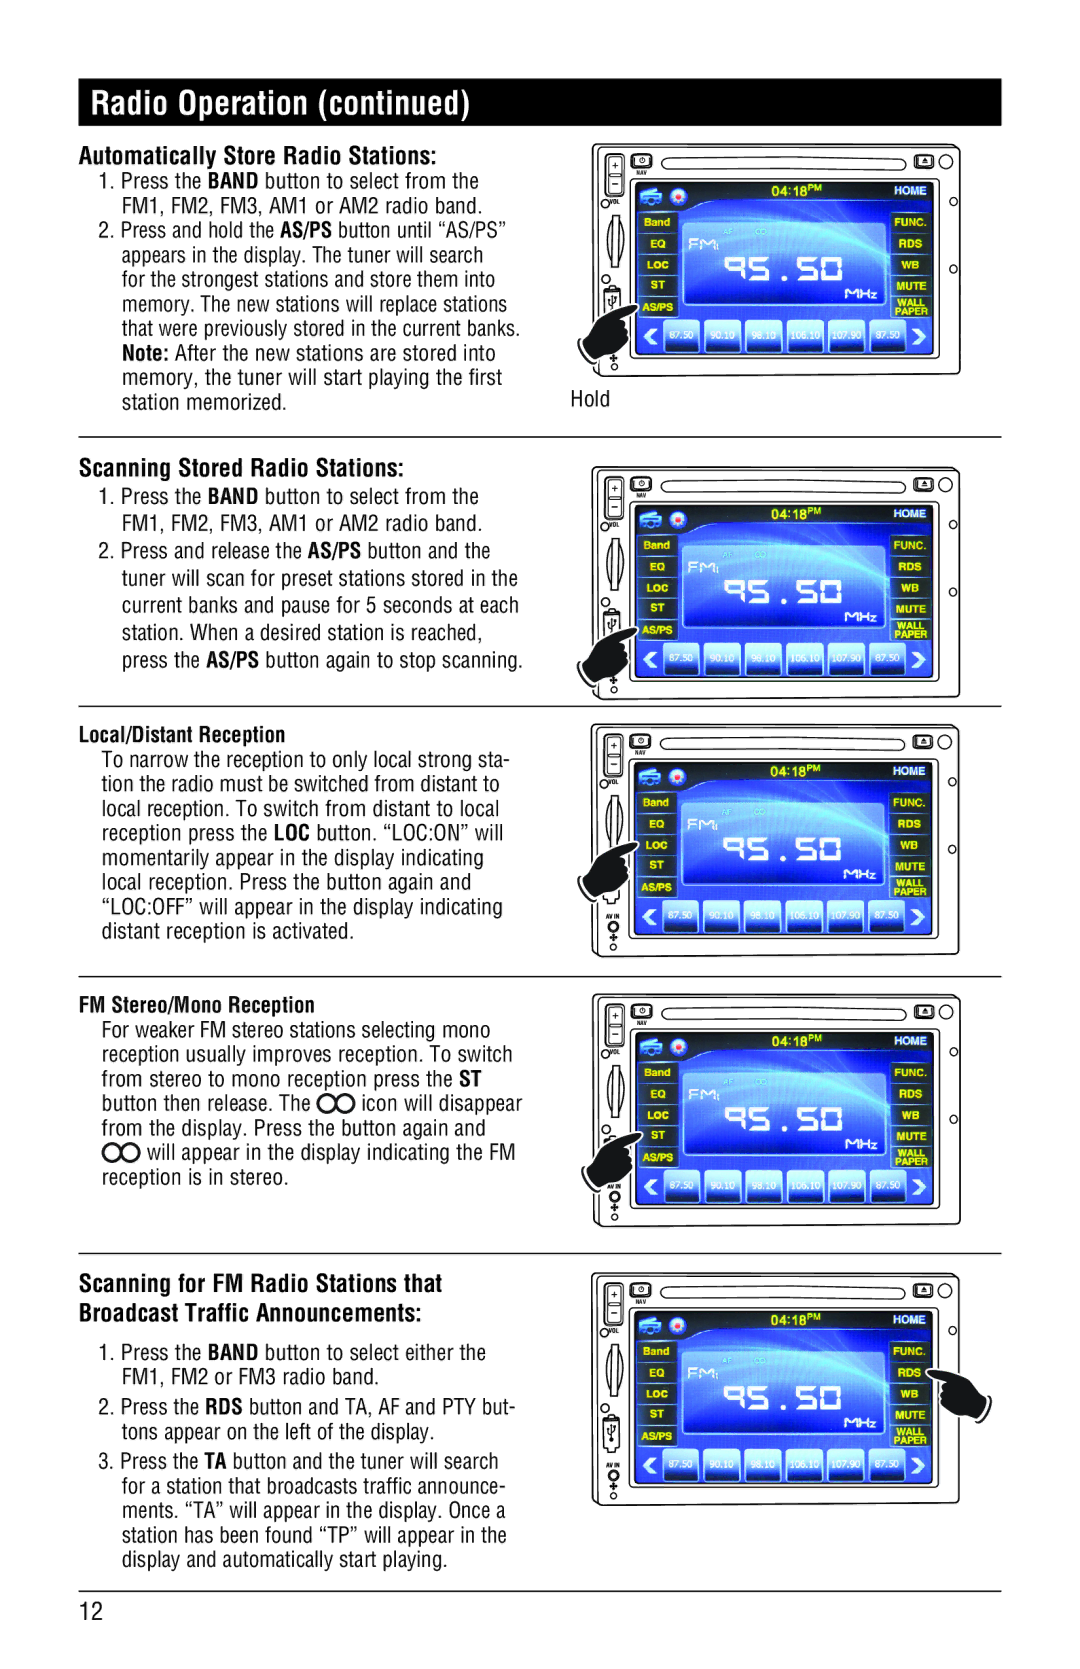
Automatically Store Radio Stations:
1. Press the BAND button to select from the FM1, FM2, FM3, AM1 or AM2 radio band.
2.Press and hold the AS/PS button until “AS/PS” appears in the display. The tuner will search for the strongest stations and store them into
memory. The new stations will replace stations that were previously stored in the current banks.
Note: After the new stations are stored into |
|
memory, the tuner will start playing the first | Hold |
station memorized. |
NAV
Scanning Stored Radio Stations:
1.Press the BAND button to select from the FM1, FM2, FM3, AM1 or AM2 radio band.
2.Press and release the AS/PS button and the tuner will scan for preset stations stored in the current banks and pause for 5 seconds at each station. When a desired station is reached, press the AS/PS button again to stop scanning.
NAV
Local/Distant Reception
To narrow the reception to only local strong sta- tion the radio must be switched from distant to local reception. To switch from distant to local reception press the LOC button. “LOC:ON” will momentarily appear in the display indicating local reception. Press the button again and “LOC:OFF” will appear in the display indicating distant reception is activated.
NAV
FM Stereo/Mono Reception
For weaker FM stereo stations selecting mono reception usually improves reception. To switch from stereo to mono reception press the ST
button then release. The ![]() icon will disappear from the display. Press the button again and
icon will disappear from the display. Press the button again and
![]() will appear in the display indicating the FM reception is in stereo.
will appear in the display indicating the FM reception is in stereo.
NAV
Scanning for FM Radio Stations that Broadcast Traffic Announcements:
1.Press the BAND button to select either the FM1, FM2 or FM3 radio band.
2.Press the RDS button and TA, AF and PTY but- tons appear on the left of the display.
3.Press the TA button and the tuner will search for a station that broadcasts traffic announce- ments. “TA” will appear in the display. Once a station has been found “TP” will appear in the display and automatically start playing.
NAV
12