5. BEFOREYOU START
5.1 Finding the Viewing Video Source Input on Your TV
After you have connected this unit to your TV with either an HDMI cable or video and audio cables, find the viewing source (external input source) on your TV.
1.Turn On your TV.
2.Press the button on the TV’s remote control that accesses the external input source. It may be labeled “SOURCE”, “AV”, ”AUX” or “INPUT” (refer to your TV’s user manual).
3.Plug the AC adapter for this unit into the unit (DC IN jack) and then into an AC outlet.
EN
Please Wait...
This is the correct viewing source (external input source).
• If the TV is connected with an HDMI cable, it may take a while for the opening picture to come up.
•“Please Wait...” screen is output only when the unit is connected to a TV with an HDMI cable.
5.2Initial Setup
Please follow the instructions below to complete the initial setup.
1.While the welcome screen is displayed, use [Í/ Æ] to select “Next”, then press [OK].
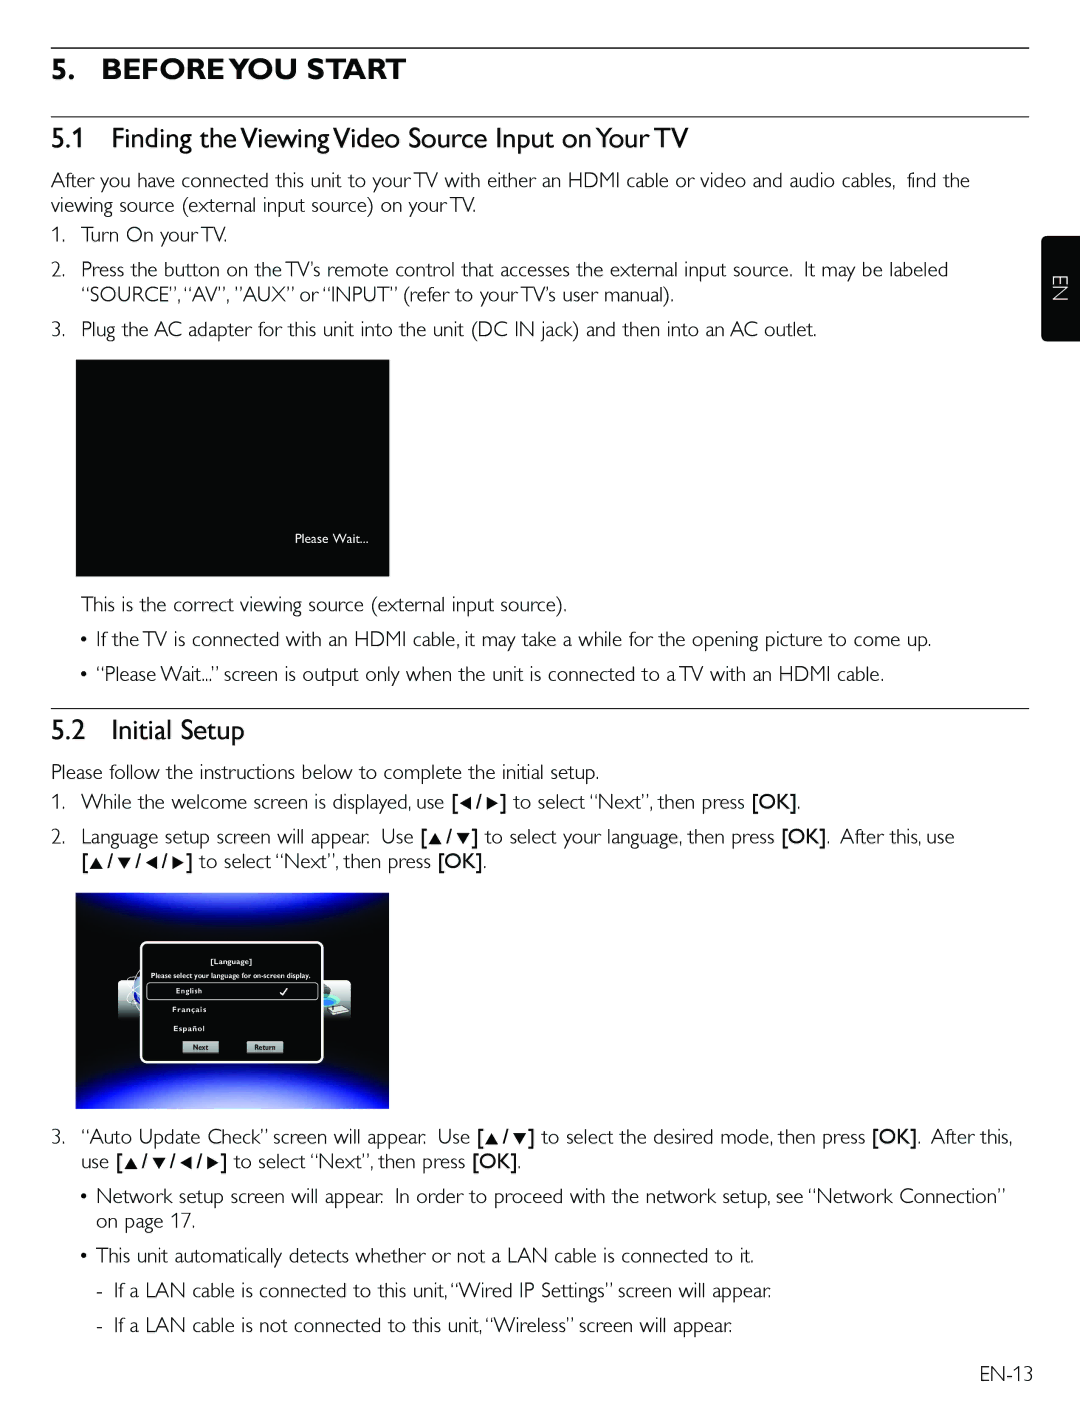
2.Language setup screen will appear. Use [Î/ ï] to select your language, then press [OK]. After this, use [Î/ ï/ Í/ Æ] to select “Next”, then press [OK].
[Language]
Please select your language for
English
Français
Español
Next Return
3.“Auto Update Check” screen will appear. Use [Î/ ï] to select the desired mode, then press [OK]. After this, use [Î/ ï/ Í/ Æ] to select “Next”, then press [OK].
•Network setup screen will appear. In order to proceed with the network setup, see “Network Connection” on page 17.
•This unit automatically detects whether or not a LAN cable is connected to it.
- If a LAN cable is connected to this unit, “Wired IP Settings” screen will appear. - If a LAN cable is not connected to this unit, “Wireless” screen will appear.
