 Repair
[4]DISASSEMBLY/ASSEMBLY
[4]-7. Ignition system (cont.)
REMOVING IGNITION COIL
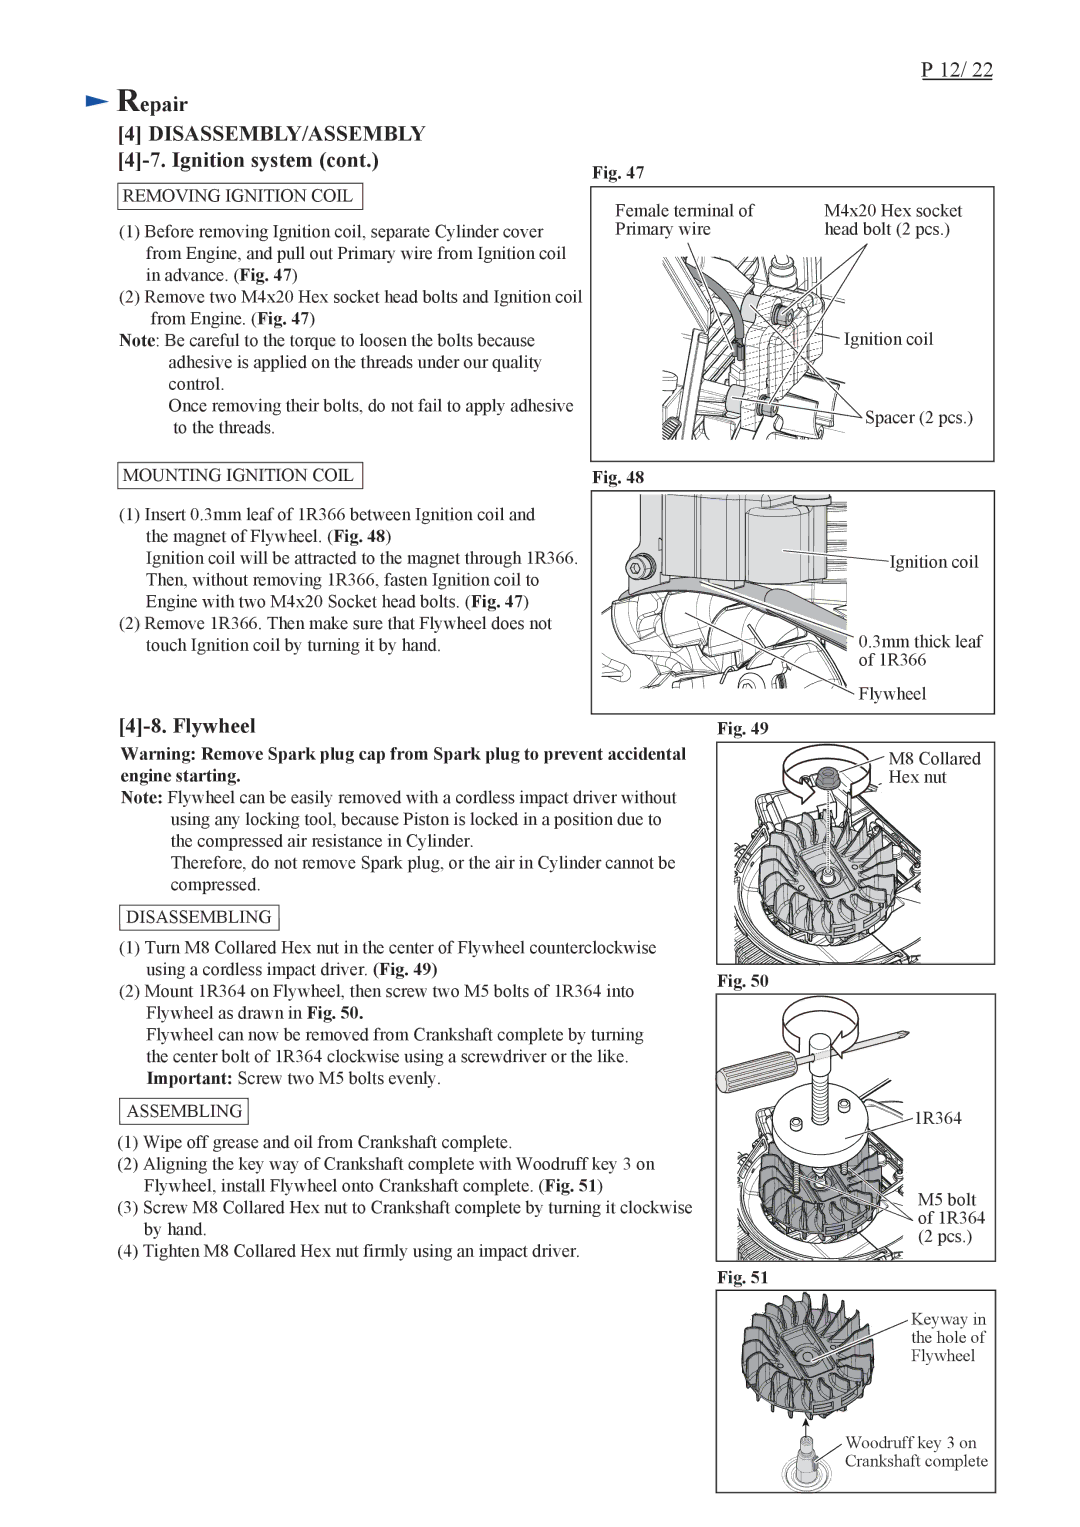
(1)Before removing Ignition coil, separate Cylinder cover from Engine, and pull out Primary wire from Ignition coil in advance. (Fig. 47)
(2)Remove two M4x20 Hex socket head bolts and Ignition coil from Engine. (Fig. 47)
Note: Be careful to the torque to loosen the bolts because adhesive is applied on the threads under our quality control.
Once removing their bolts, do not fail to apply adhesive to the threads.
P 12/ 22
Fig. 47 |
|
Female terminal of | M4x20 Hex socket |
Primary wire | head bolt (2 pcs.) |
| Ignition coil |
| Spacer (2 pcs.) |
MOUNTING IGNITION COIL
(1)Insert 0.3mm leaf of 1R366 between Ignition coil and the magnet of Flywheel. (Fig. 48)
Ignition coil will be attracted to the magnet through 1R366. Then, without removing 1R366, fasten Ignition coil to Engine with two M4x20 Socket head bolts. (Fig. 47)
(2)Remove 1R366. Then make sure that Flywheel does not touch Ignition coil by turning it by hand.
[4]-8. Flywheel
Fig. 48
![]() Ignition coil
Ignition coil
0.3mm thick leaf of 1R366
Flywheel
Fig. 49
Warning: Remove Spark plug cap from Spark plug to prevent accidental engine starting.
Note: Flywheel can be easily removed with a cordless impact driver without using any locking tool, because Piston is locked in a position due to the compressed air resistance in Cylinder.
Therefore, do not remove Spark plug, or the air in Cylinder cannot be compressed.
DISASSEMBLING
(1)Turn M8 Collared Hex nut in the center of Flywheel counterclockwise using a cordless impact driver. (Fig. 49)
(2)Mount 1R364 on Flywheel, then screw two M5 bolts of 1R364 into Flywheel as drawn in Fig. 50.
Flywheel can now be removed from Crankshaft complete by turning the center bolt of 1R364 clockwise using a screwdriver or the like. Important: Screw two M5 bolts evenly.
ASSEMBLING
(1)Wipe off grease and oil from Crankshaft complete.
(2)Aligning the key way of Crankshaft complete with Woodruff key 3 on Flywheel, install Flywheel onto Crankshaft complete. (Fig. 51)
(3)Screw M8 Collared Hex nut to Crankshaft complete by turning it clockwise by hand.
(4)Tighten M8 Collared Hex nut firmly using an impact driver.
M8 Collared |
Hex nut |
Fig. 50
1R364 |
M5 bolt |
of 1R364 |
(2 pcs.) |
Fig. 51
Keyway in the hole of Flywheel
Woodruff key 3 on Crankshaft complete
