Options Settings Menu
Setting the allocation of the audio connectors
Setting the AUDIO 1, 2, and 3 connectors to the desired input.
Example: Setting “AUDIO 1” to “VIDEO 2”
Press the PROCEED button on the remote control to
display the MAIN MENU on the screen, then...
1.Use the ▲ and ▼ buttons to select “OPTIONS”, then press the PROCEED button.
The “OPTIONS” screen appears.
2.Use the ▲ and ▼ buttons to select “AUDIO 1”.
O P T I O N S
AUDIO INPUT |
|
|
|
| ||
|
|
| : VIDEO1 | |||
| AUDIO1 |
|
| |||
| AUDIO2 |
| : HD/DVD1 | |||
| AUDIO3 |
| : RGB1 | |||
BNC SELECT |
| : RGB | ||||
RGB SELECT |
| : AUTO | ||||
HD SELECT |
| : 1080B | ||||
PICTURE SIZE | : ON | |||||
| SEL. | ADJ. |
|
| RETURN | |
| EXIT | |||||
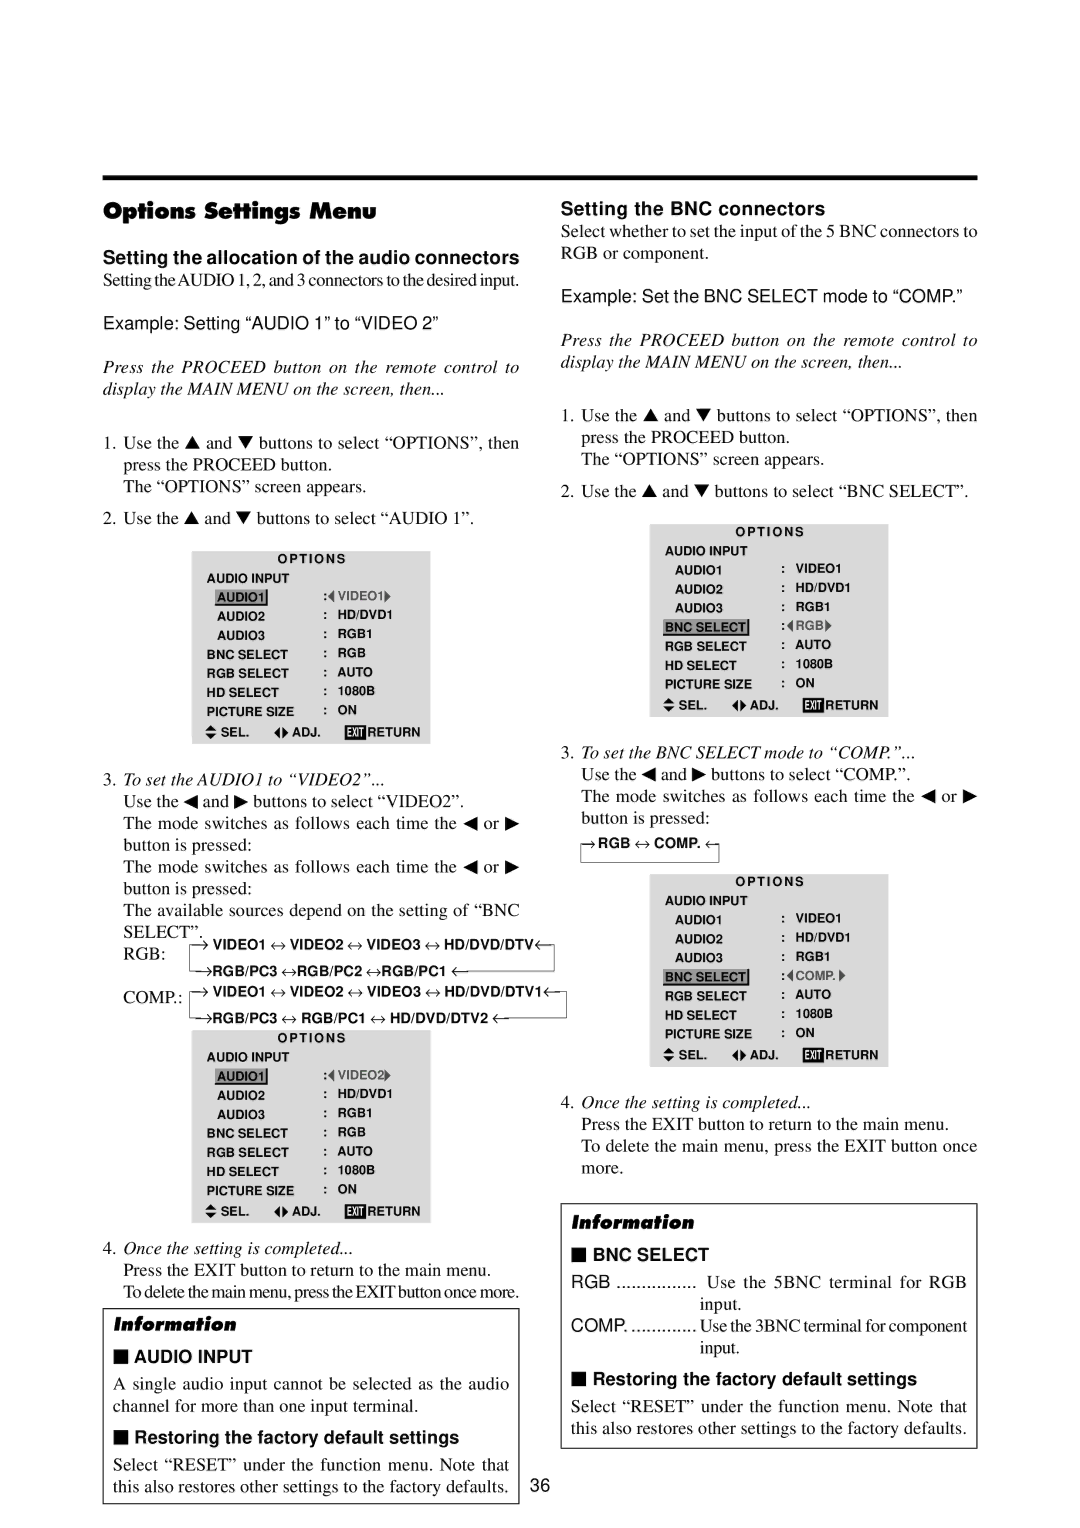
Setting the BNC connectors
Select whether to set the input of the 5 BNC connectors to RGB or component.
Example: Set the BNC SELECT mode to “COMP.”
Press the PROCEED button on the remote control to
display the MAIN MENU on the screen, then...
1.Use the ▲ and ▼ buttons to select “OPTIONS”, then press the PROCEED button.
The “OPTIONS” screen appears.
2.Use the ▲ and ▼ buttons to select “BNC SELECT”.
O P T I O N S
AUDIO INPUT |
|
|
|
|
AUDIO1 |
| : VIDEO1 | ||
AUDIO2 |
| : HD/DVD1 | ||
AUDIO3 |
| : RGB1 | ||
|
| : RGB | ||
BNC SELECT |
| |||
RGB SELECT |
| : AUTO | ||
HD SELECT |
| : 1080B | ||
PICTURE SIZE | : ON | |||
SEL. | ADJ. |
|
| RETURN |
| EXIT | |||
|
|
|
|
|
|
|
|
|
|
|
|
|
|
|
|
|
| 3. To set the BNC SELECT mode to “COMP.”... | |||||||||||||
3. To set the AUDIO1 to “VIDEO2”... |
|
|
|
|
|
|
|
| Use the ◀ and ▶ buttons to select “COMP.”. | ||||||||||||||||||||||
|
|
|
|
|
|
|
| The mode switches as follows each time the ◀ or ▶ | |||||||||||||||||||||||
Use the ◀ and ▶ buttons to select “VIDEO2”. |
|
|
| ||||||||||||||||||||||||||||
|
|
| button is pressed: |
|
|
|
|
| |||||||||||||||||||||||
The mode switches as follows each time the ◀ or ▶ |
|
|
|
|
|
|
|
| |||||||||||||||||||||||
|
|
|
|
|
|
|
|
|
|
|
|
|
| ||||||||||||||||||
button is pressed: |
|
|
|
|
|
|
|
|
|
|
|
|
| → | RGB ↔ COMP. ← |
|
|
|
|
|
|
| |||||||||
The mode switches as follows each time the ◀ or ▶ |
|
|
|
|
|
|
|
|
|
|
|
|
|
| |||||||||||||||||
|
|
|
|
|
|
|
|
|
|
|
|
|
| ||||||||||||||||||
button is pressed: |
|
|
|
|
|
|
|
|
|
|
|
|
|
|
|
|
|
| O P T I O N S |
| |||||||||||
|
|
|
|
|
|
|
|
|
|
|
|
|
|
|
| AUDIO INPUT |
|
|
|
|
| ||||||||||
The available sources depend on the setting of “BNC |
|
|
|
|
|
|
|
|
|
|
| ||||||||||||||||||||
|
|
|
|
|
| AUDIO1 |
| : VIDEO1 |
| ||||||||||||||||||||||
SELECT”. |
|
|
|
|
|
|
|
|
|
|
|
|
|
|
|
|
|
|
|
|
| ||||||||||
|
|
|
|
|
|
|
|
|
|
|
|
|
|
|
|
|
|
| AUDIO2 |
| : HD/DVD1 |
| |||||||||
RGB: |
| → |
|
| VIDEO1 ↔ | VIDEO2 ↔ | VIDEO3 ↔ | HD/DVD/DTV← |
|
|
|
|
|
|
|
|
| ||||||||||||||
| → |
| RGB/PC3 ↔ | RGB/PC2 ↔ | RGB/PC1 ← |
|
|
|
|
|
|
|
|
|
| AUDIO3 |
| : RGB1 |
| ||||||||||||
|
|
|
|
|
|
|
|
|
|
|
| BNC SELECT |
| : COMP. |
| ||||||||||||||||
| → |
|
| VIDEO1 ↔ | VIDEO2 ↔ | VIDEO3 ↔ | HD/DVD/DTV1← |
|
|
|
|
|
|
|
| ||||||||||||||||
COMP.: |
|
|
|
|
|
|
| RGB SELECT |
| : AUTO |
| ||||||||||||||||||||
|
|
|
|
|
|
|
|
|
| ||||||||||||||||||||||
|
|
|
|
|
|
|
|
|
|
|
|
|
|
|
| ||||||||||||||||
|
| → |
| RGB/PC3 ↔ | RGB/PC1 ↔ | HD/DVD/DTV2 ← |
|
|
|
|
|
|
|
|
| HD SELECT |
| : 1080B |
| ||||||||||||
|
|
|
|
|
|
|
|
|
|
|
| ||||||||||||||||||||
|
|
|
|
|
|
|
|
|
|
|
|
|
|
|
|
|
|
|
|
|
|
|
| PICTURE SIZE | : ON |
| |||||
|
|
|
|
|
|
| O P T I O N S |
|
|
|
|
|
|
|
|
|
|
| |||||||||||||
|
|
|
|
| AUDIO INPUT |
|
|
|
|
|
|
|
|
|
|
|
|
|
|
|
| SEL. | ADJ. |
| EXIT | RETURN |
| ||||
|
|
|
|
|
| AUDIO1 |
| : VIDEO2 |
|
|
|
|
|
|
|
|
|
|
|
|
|
|
|
|
|
|
| ||||
|
|
|
|
|
| AUDIO2 | : HD/DVD1 |
|
|
|
|
| 4. Once the setting is completed... | ||||||||||||||||||
|
|
|
|
|
| AUDIO3 | : RGB1 |
|
|
|
|
|
| ||||||||||||||||||
|
|
|
|
|
|
|
|
|
|
|
|
|
|
| Press the EXIT button to return to the main menu. | ||||||||||||||||
|
|
|
|
| BNC SELECT | : RGB |
|
|
|
|
|
|
|
|
|
| |||||||||||||||
|
|
|
|
|
|
|
|
|
|
|
|
|
|
| To delete the main menu, press the EXIT button once | ||||||||||||||||
|
|
|
|
| RGB SELECT | : AUTO |
|
|
|
|
|
|
|
|
| ||||||||||||||||
|
|
|
|
|
|
|
|
|
|
|
|
|
| more. |
|
|
|
|
| ||||||||||||
|
|
|
|
| HD SELECT | : | 1080B |
|
|
|
|
|
|
|
|
|
|
|
|
|
| ||||||||||
|
|
|
|
| PICTURE SIZE : | ON |
|
|
|
|
|
|
|
|
|
|
|
|
|
|
|
|
|
|
|
|
| ||||
|
|
|
|
|
| SEL. | ADJ. |
|
| RETURN |
|
|
|
|
|
|
|
|
|
|
|
|
|
|
|
|
|
|
| ||
|
|
|
|
|
|
| EXIT |
|
|
|
|
|
|
| Information |
|
|
|
|
| |||||||||||
4. Once the setting is completed... |
|
|
|
|
|
|
|
|
|
|
|
|
|
| |||||||||||||||||
|
|
|
|
|
|
|
|
| ⬛ BNC SELECT |
|
|
|
|
| |||||||||||||||||
Press the EXIT button to return to the main menu. |
|
|
|
|
|
|
| ||||||||||||||||||||||||
|
| RGB ................ Use the 5BNC terminal for RGB | |||||||||||||||||||||||||||||
To delete the main menu, press the EXIT button once more. |
|
| |||||||||||||||||||||||||||||
|
|
|
|
|
| input. |
|
|
|
|
| ||||||||||||||||||||
|
|
|
|
|
|
|
|
|
|
|
|
|
|
|
|
|
|
|
|
|
|
|
|
|
|
|
|
| |||
Information |
|
|
|
|
|
|
|
|
|
|
|
| COMP. ............. Use the 3BNC terminal for component | ||||||||||||||||||
⬛ AUDIO INPUT |
|
|
|
|
|
|
|
|
|
|
|
|
|
|
|
| input. |
|
|
|
|
| |||||||||
|
|
|
|
|
|
|
|
|
|
|
|
|
|
|
|
|
|
|
|
|
|
|
| ||||||||
A single audio input cannot be selected as the audio |
|
|
|
| ⬛ Restoring the factory default settings | ||||||||||||||||||||||||||
channel for more than one input terminal. |
|
|
|
|
|
|
| Select “RESET” under the function menu. Note that | |||||||||||||||||||||||
⬛ Restoring the factory default settings |
|
|
|
| this also restores other settings to the factory defaults. | ||||||||||||||||||||||||||
|
|
|
|
|
|
|
|
|
|
|
|
|
|
|
| ||||||||||||||||
Select “RESET” under the function menu. Note that |
|
|
|
|
|
|
|
|
|
|
|
|
|
|
|
| |||||||||||||||
this also restores other settings to the factory defaults. | 36 |
|
|
|
|
|
|
|
|
|
|
|
|
|
| ||||||||||||||||
|
|
|
|
|
|
|
|
|
|
|
|
|
|
|
|
|
|
|
|
|
|
|
|
|
|
|
|
|
|
|
|