TABLE OF CONTENTS
FOREWORD
PRECAUTIONS |
FOREWORD | 1 |
INTRODUCTION | 1 |
PRECAUTIONS | 1 |
A NOTE ABOUT RECYCLING | 1 |
DESCRIPTION | 2 |
FEATURES | 3 |
ACCESSORIES | 3 |
FRONT PANEL | 4 |
FL DISPLAY | 5 |
REAR PANEL | 6 |
REMOTE CONTROL OPERATION | 7 |
FUNCTION AND OPERATION | 7 |
PROGRAMMING THE REMOTE CONTROLLER | 8 |
OPERATION OF REMOTE CONTROL UNIT | 9 |
GENERAL INFORMATION OF RC5500SR TO SR3001 | 9 |
CONNECTIONS | 11 |
SPEAKER PLACEMENT | 11 |
CONNECTING SPEAKERS | 11 |
BASIC OPERATION (PLAY BACK) | 23 |
SELECTING AN INPUT SOURCE | 23 |
SELECTING THE SURROUND MODE | 23 |
ADJUSTING THE MAIN VOLUME | 23 |
ADJUSTING THE TONE (BASS & TREBLE) CONTROL | 23 |
TEMPORARILY TURNING OFF THE SOUND | 23 |
USING THE SLEEP TIMER | 23 |
NIGHT MODE | 23 |
SURROUND MODE | 24 |
OTHER FUNCTION | 27 |
ATTENUATION TO ANALOG INPUT SIGNAL | 27 |
LISTENING THROUGH HEADPHONES | 27 |
VIDEO ON/OFF | 27 |
DISPLAY MODE | 27 |
SELECTING ANALOG AUDIO INPUT OR DIGITAL AUDIO | |
INPUT | 27 |
RECORDING AN ANALOG SOURCE | 28 |
28 | |
7.1 CH INPUT | 28 |
7.1 CH INPUT LEVEL | 29 |
This section must be read before any connection is made to the mains supply.
EQUIPMENT MAINS WORKING SETTING
Your Marantz product has been prepared to comply with the household power and safety requirements that exist in your area.
SR3001 can be powered by 230V AC only.
COPYRIGHT
Recording and playback of any material may require consent. For further information refer to the following:
—Copyright Act 1956
—Dramatic and Musical Performers Act 1958
—Performers Protection Acts 1963 and 1972
—any subsequent statutory enactments and orders
CAUTIONS ON INSTALLATION |
| ENGLISH |
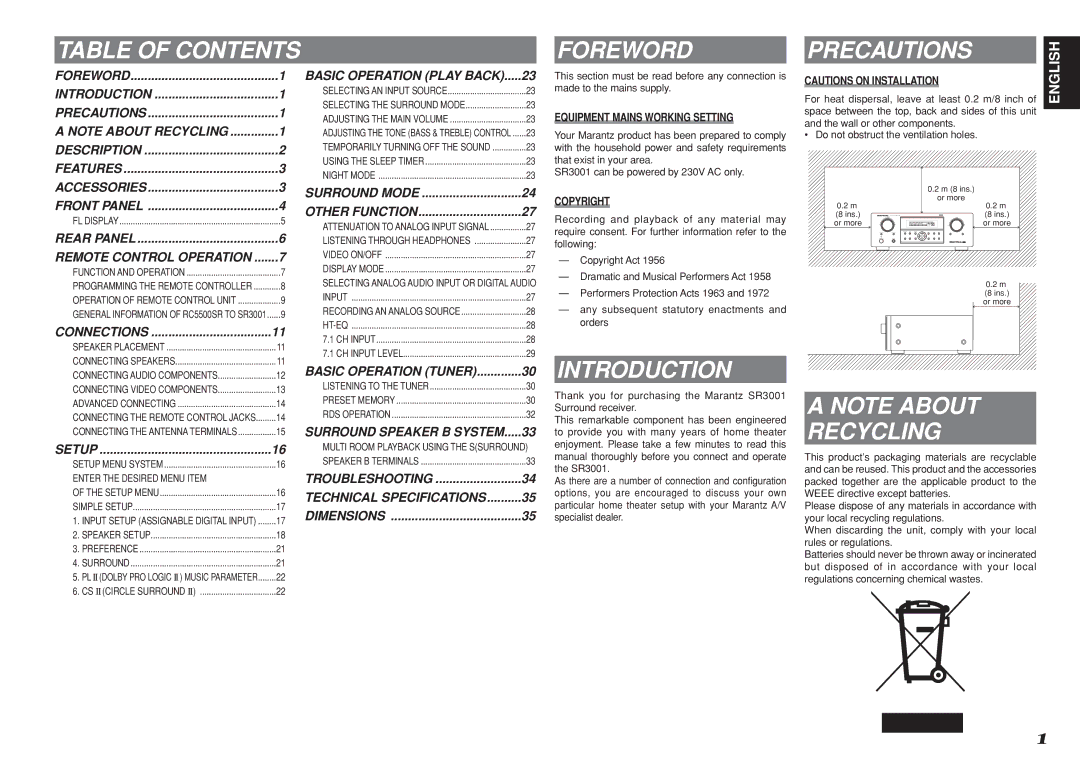
For heat dispersal, leave at least 0.2 m/8 inch of | ||
space between the top, back and sides of this unit |
| |
and the wall or other components. |
| |
• Do not obstruct the ventilation holes. |
| |
| 0.2 m (8 ins.) |
0.2 m | or more |
0.2 m | |
(8 ins.) | (8 ins.) |
or more | or more |
0.2 m (8 ins.) or more
CONNECTING AUDIO COMPONENTS | 12 |
CONNECTING VIDEO COMPONENTS | 13 |
ADVANCED CONNECTING | 14 |
CONNECTING THE REMOTE CONTROL JACKS | 14 |
CONNECTING THE ANTENNA TERMINALS | 15 |
SETUP | 16 |
SETUP MENU SYSTEM | 16 |
ENTER THE DESIRED MENU ITEM |
|
OF THE SETUP MENU | 16 |
SIMPLE SETUP | 17 |
1. INPUT SETUP (ASSIGNABLE DIGITAL INPUT) | 17 |
2. SPEAKER SETUP | 18 |
3. PREFERENCE | 21 |
4. SURROUND | 21 |
5. PL II(DOLBY PRO LOGIC II) MUSIC PARAMETER | 22 |
6. CS II (CIRCLE SURROUND II) | 22 |
BASIC OPERATION (TUNER) | 30 |
LISTENING TO THE TUNER | 30 |
PRESET MEMORY | 30 |
RDS OPERATION | 32 |
SURROUND SPEAKER B SYSTEM | 33 |
MULTI ROOM PLAYBACK USING THE S(SURROUND) | |
SPEAKER B TERMINALS | 33 |
TROUBLESHOOTING | 34 |
TECHNICAL SPECIFICATIONS | 35 |
DIMENSIONS | 35 |
INTRODUCTION
Thank you for purchasing the Marantz SR3001 Surround receiver.
This remarkable component has been engineered to provide you with many years of home theater enjoyment. Please take a few minutes to read this manual thoroughly before you connect and operate the SR3001.
As there are a number of connection and configuration options, you are encouraged to discuss your own particular home theater setup with your Marantz A/V specialist dealer.
A NOTE ABOUT
RECYCLING
This product’s packaging materials are recyclable and can be reused. This product and the accessories packed together are the applicable product to the WEEE directive except batteries.
Please dispose of any materials in accordance with your local recycling regulations.
When discarding the unit, comply with your local rules or regulations.
Batteries should never be thrown away or incinerated but disposed of in accordance with your local regulations concerning chemical wastes.
1