Part Name | Descriptive Picture |
| How To Do |
|
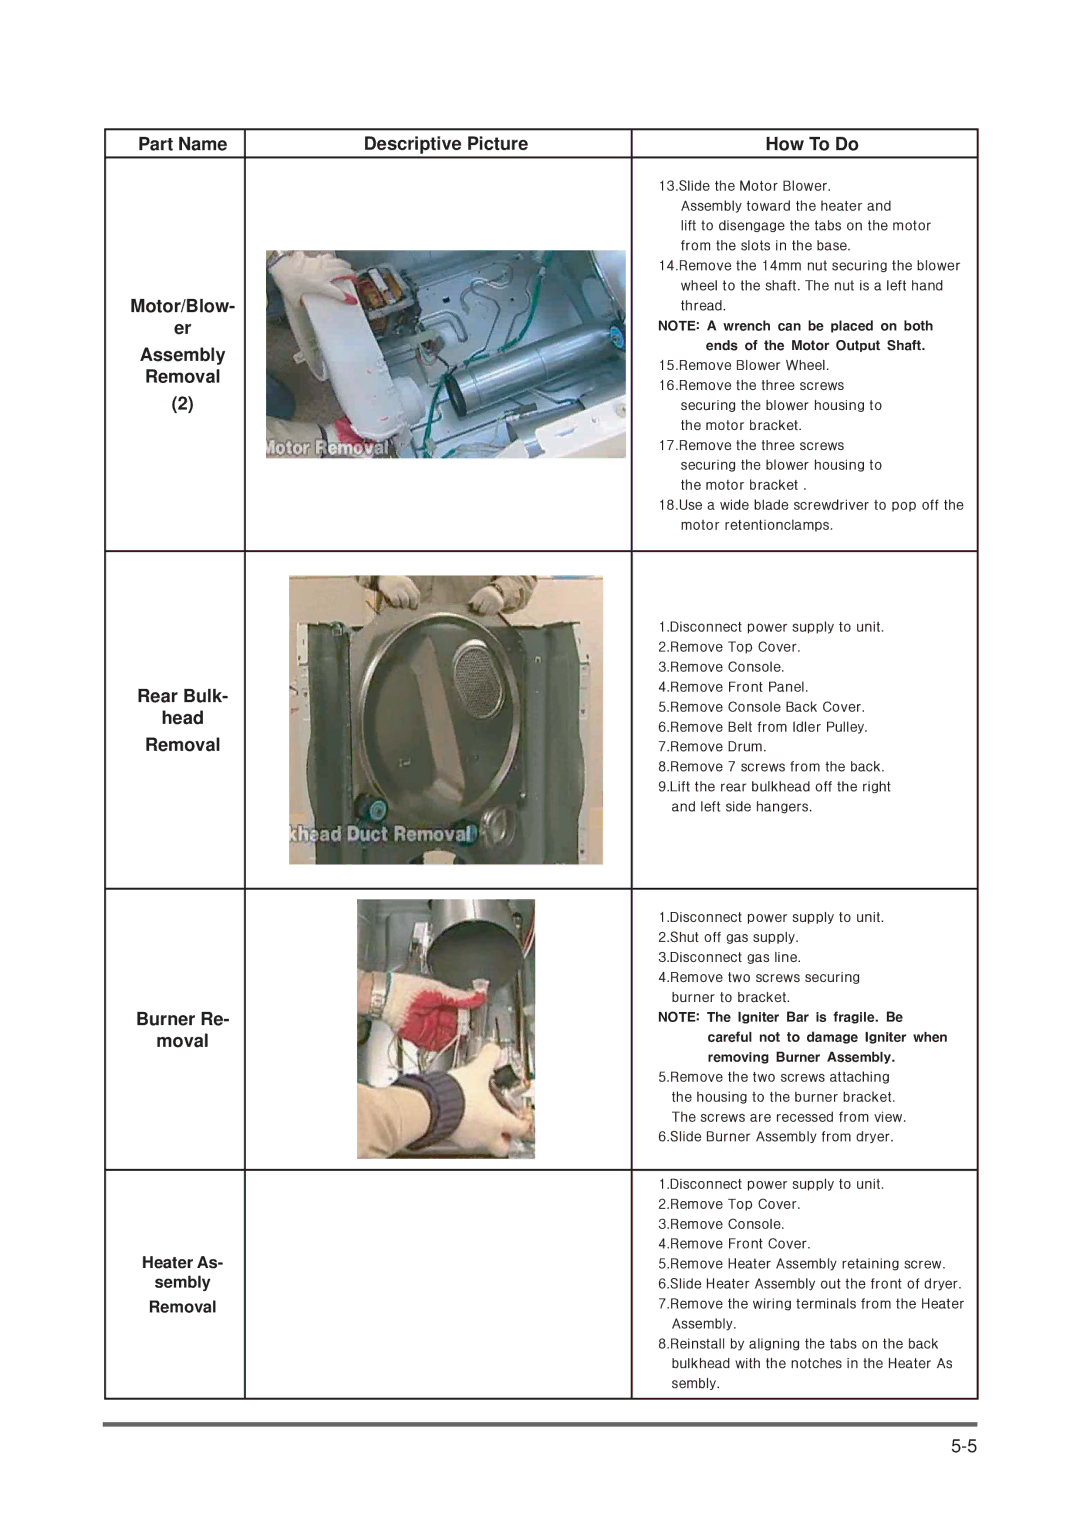
| 13.Slide the Motor Blower. | |
|
|
| Assembly toward the heater and |
|
|
| lift to disengage the tabs on the motor |
|
|
| from the slots in the base. |
|
| 14.Remove the 14mm nut securing the blower | |
|
|
| wheel to the shaft. The nut is a left hand |
Motor/Blow- |
|
| thread. |
er |
| QRWH=#D#zuhqfk#fdq#eh#sodfhg#rq#erwk## | |
| # | # hqgv#ri#wkh#Prwru#Rxwsxw#Vkdiw1 | |
Assembly |
| ||
| 15.Remove Blower Wheel. | ||
Removal |
| ||
| 16.Remove the three screws | ||
(2) |
|
| securing the blower housing to |
|
|
| the motor bracket. |
|
| 17.Remove the three screws | |
|
|
| securing the blower housing to |
|
|
| the motor bracket . |
|
| 18.Use a wide blade screwdriver to pop off the | |
|
|
| motor retentionclamps. |
|
|
| |
|
| 1.Disconnect power supply to unit. | |
|
| 2.Remove Top Cover. | |
|
| 3.Remove Console. | |
Rear Bulk- |
| 4.Remove Front Panel. | |
| 5.Remove Console Back Cover. | ||
head |
| ||
| 6.Remove Belt from Idler Pulley. | ||
Removal |
| 7.Remove Drum. | |
|
| 8.Remove 7 screws from the back. | |
|
| 9.Lift the rear bulkhead off the right | |
|
| and left side hangers. | |
|
|
| |
|
| 1.Disconnect power supply to unit. | |
|
| 2.Shut off gas supply. | |
|
| 3.Disconnect gas line. | |
|
| 4.Remove two screws securing | |
|
| burner to bracket. | |
Burner Re- |
| QRWH=#Wkh#Ljqlwhu#Edu#lv#iudjloh1#Eh# | |
|
|
| |
moval |
| # # | fduhixo#qrw#wr#gdpdjh#Ljqlwhu#zkhq## |
| # # | uhprylqj#Exuqhu#Dvvhpeo1 | |
|
| ||
|
| 5.Remove the two screws attaching | |
|
| the housing to the burner bracket. | |
|
| The screws are recessed from view. | |
|
| 6.Slide Burner Assembly from dryer. | |
|
|
| |
|
| 1.Disconnect power supply to unit. | |
|
| 2.Remove Top Cover. | |
|
| 3.Remove Console. | |
|
| 4.Remove Front Cover. | |
Heater As- |
| 5.Remove Heater Assembly retaining screw. | |
sembly |
| 6.Slide Heater Assembly out the front of dryer. | |
Removal |
| 7.Remove the wiring terminals from the Heater | |
| Assembly. | ||
|
| ||
|
| 8.Reinstall by aligning the tabs on the back | |
|
| bulkhead with the notches in the Heater As | |
|
| sembly. | |
