Tip:
The Reverse L/R and U/D functions are useful if you are observing in the Southern hemisphere.
Tip:
If the "ENTER to Sync" feature is accessed by mistake (holding the ENTER key for more than 2 seconds), press MODE to return to the previous screen.
Want to learn more about
adding and editing
sites? See page 32.
Time Zone | Shift | |
Atlantic | ||
Eastern | ||
Central | ||
Mountain | Hours | |
Pacific | Hours | |
Alaska | Hours | |
Hawaii | Hours | |
Table 1: Time Zone Shift.
Note: The Download and Clone functions require the optional #505 Astrofinder Software and Cable Connector Kit. See the instruction sheet included with the kit for more information on how to download.
b.Lunar: Choose this option to properly track the Moon over long observing sessions.
c.Custom: Allows entry of
■Reverse L/R: Reverses the functions of the Left and Right Arrow keys (i.e., the Right key moves the telescope to the left).
■Reverse U/D: Reverses the functions of the Up and Down Arrow keys (i.e., the Up key moves the telescope down).
■Calibrate Motor: If the telescope motors appear to have a problem, use this option to retest the motors before performing a Reset. This option is also used if an Autostar unit is moved between telescopes, to match Autostar to the new tel- escope. To calibrate the motors, select this option and press ENTER.
■High Precision: If High Precision is turned on, when looking for a faint celestial object (i.e., a nebula or galaxy), Autostar first slews to a nearby bright star and displays "ENTER to Sync." Center the star in the eyepiece, then press ENTER. At that point the telescope has a high precision alignment to that part of the sky and it then slews to the object that was originally requested.
Targets switches between Astronomical targets and Terrestrial targets. If "Astronomical" is selected, the telescope tracking motor is activated and any object you observe will remain centered in the eyepiece. If "Terrestrial" is selected, the track- ing motor is turned off. To learn how to track an object automatically, see page 18.
Site provides access to several options including:
■Select: Displays the currently selected observing site. Use the Scroll keys to cycle through all available sites (see ADD below). Press ENTER when the site you wish to select displays. Use this option when you move to a different geo- graphic location.
■Add: Allows you to add new observing sites to the database (up to six sites may be stored). Scroll through the list of Countries/States. Press ENTER when the site you wish to add displays. Then choose the desired city in the same manner.
■Delete: Deletes a stored site from the database.
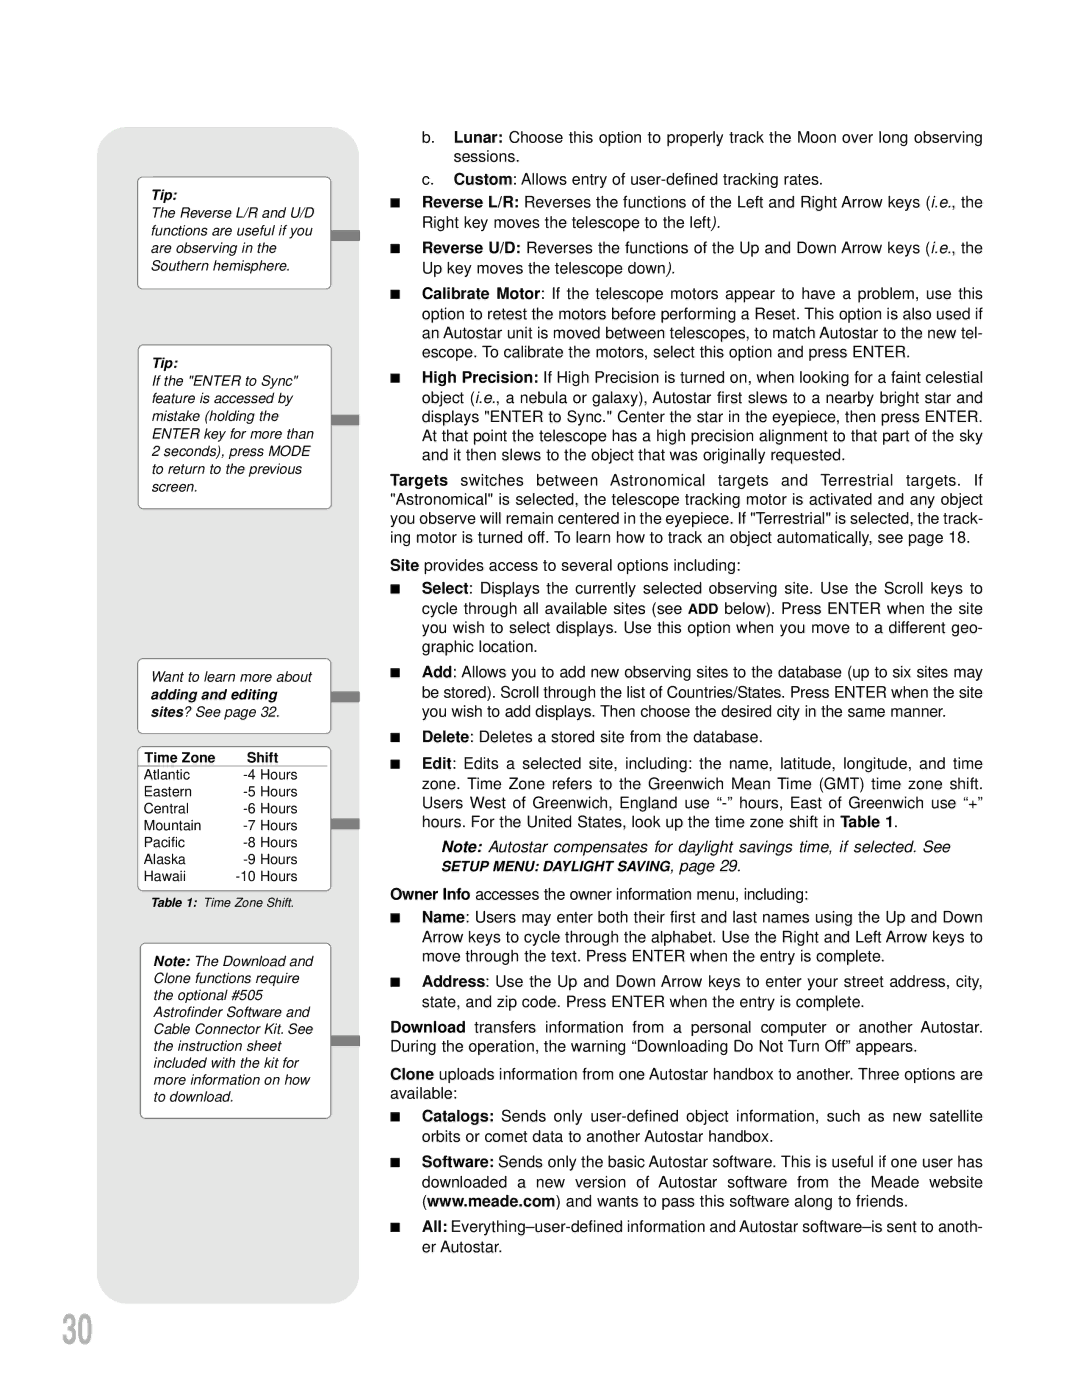
■Edit: Edits a selected site, including: the name, latitude, longitude, and time zone. Time Zone refers to the Greenwich Mean Time (GMT) time zone shift. Users West of Greenwich, England use
Note: Autostar compensates for daylight savings time, if selected. See
SETUP MENU: DAYLIGHT SAVING, page 29.
Owner Info accesses the owner information menu, including:
■Name: Users may enter both their first and last names using the Up and Down Arrow keys to cycle through the alphabet. Use the Right and Left Arrow keys to move through the text. Press ENTER when the entry is complete.
■Address: Use the Up and Down Arrow keys to enter your street address, city, state, and zip code. Press ENTER when the entry is complete.
Download transfers information from a personal computer or another Autostar. During the operation, the warning “Downloading Do Not Turn Off” appears.
Clone uploads information from one Autostar handbox to another. Three options are available:
■Catalogs: Sends only
■Software: Sends only the basic Autostar software. This is useful if one user has downloaded a new version of Autostar software from the Meade website (www.meade.com) and wants to pass this software along to friends.
■All:
30
