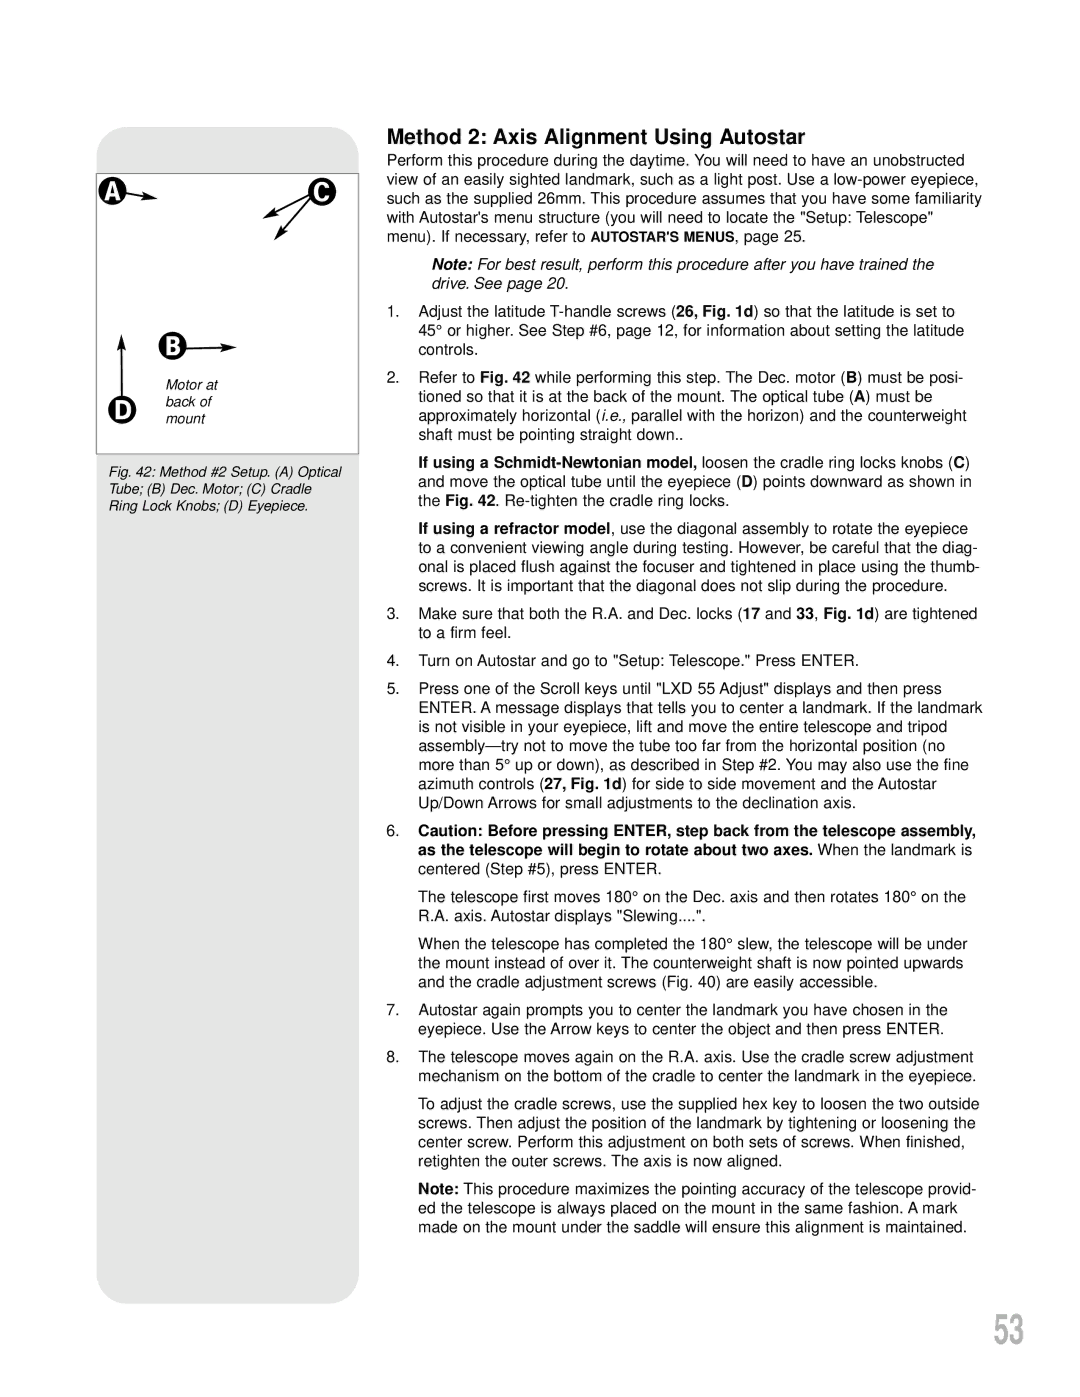
Motor at back of mount
Fig. 42: Method #2 Setup. (A) Optical Tube; (B) Dec. Motor; (C) Cradle Ring Lock Knobs; (D) Eyepiece.
Method 2: Axis Alignment Using Autostar
Perform this procedure during the daytime. You will need to have an unobstructed view of an easily sighted landmark, such as a light post. Use a
Note: For best result, perform this procedure after you have trained the drive. See page 20.
1.Adjust the latitude
2.Refer to Fig. 42 while performing this step. The Dec. motor (B) must be posi- tioned so that it is at the back of the mount. The optical tube (A) must be approximately horizontal (i.e., parallel with the horizon) and the counterweight shaft must be pointing straight down..
If using a
If using a refractor model, use the diagonal assembly to rotate the eyepiece to a convenient viewing angle during testing. However, be careful that the diag- onal is placed flush against the focuser and tightened in place using the thumb- screws. It is important that the diagonal does not slip during the procedure.
3.Make sure that both the R.A. and Dec. locks (17 and 33, Fig. 1d) are tightened to a firm feel.
4.Turn on Autostar and go to "Setup: Telescope." Press ENTER.
5.Press one of the Scroll keys until "LXD 55 Adjust" displays and then press ENTER. A message displays that tells you to center a landmark. If the landmark is not visible in your eyepiece, lift and move the entire telescope and tripod assembly— try not to move the tube too far from the horizontal position (no more than 5° up or down), as described in Step #2. You may also use the fine azimuth controls (27, Fig. 1d) for side to side movement and the Autostar Up/Down Arrows for small adjustments to the declination axis.
6.Caution: Before pressing ENTER, step back from the telescope assembly, as the telescope will begin to rotate about two axes. When the landmark is centered (Step #5), press ENTER.
The telescope first moves 180° on the Dec. axis and then rotates 180° on the R.A. axis. Autostar displays "Slewing....".
When the telescope has completed the 180° slew, the telescope will be under the mount instead of over it. The counterweight shaft is now pointed upwards and the cradle adjustment screws (Fig. 40) are easily accessible.
7.Autostar again prompts you to center the landmark you have chosen in the eyepiece. Use the Arrow keys to center the object and then press ENTER.
8.The telescope moves again on the R.A. axis. Use the cradle screw adjustment mechanism on the bottom of the cradle to center the landmark in the eyepiece.
To adjust the cradle screws, use the supplied hex key to loosen the two outside screws. Then adjust the position of the landmark by tightening or loosening the center screw. Perform this adjustment on both sets of screws. When finished, retighten the outer screws. The axis is now aligned.
Note: This procedure maximizes the pointing accuracy of the telescope provid- ed the telescope is always placed on the mount in the same fashion. A mark made on the mount under the saddle will ensure this alignment is maintained.
53