25
6.If “growing” bubbles appear on any of the connection points, you have detected a gas leak. Immediately close the LP Gas Cylinder valve by turning handle clockwise
a.If leak appears at either end of hose and regulator assembly, retighten the connection at the leak, but do not
b.If the leak is coming from the Gas Cylinder, from the valves at the Control Knobs, or if the leak cannot be stopped, do not use the grill. Call Customer Service at
7.Upon completion of leak test, turn all Control Knobs to the “Off” position. Turn the handle on the LP Gas Cylinder clockwise until it stops. Disconnect LP Gas Cylinder by turning coupling nut on regulator in a counterclockwise direction until regulator is released from threaded LP Gas Cylinder nozzle.
8.Place the protective cap over LP Gas Cylinder nozzle.
Lighting the Grill Using the Ignitor
!WARNING
To reduce the risk of death or serious injury from an explosion or a fire beneath the grill:
•Regularly inspect and clean Burner/Venturi Tubes for insects or insect nests. Spiders or small insects can build nests, webs, and lay eggs in the grill’s Venturi Tubes, (Fig 9, page 31) obstructing the flow of gas to the Burner. The backed- up gas can ignite behind the Control Panel and cause a fire beneath the grill, posing the risk of death or serious bodily injury. This is known as a “flashback.”
•Be sure Burners are
Should you notice that your Burner(s) are getting hard to light or the flame is not as hot as it once was, refer to the “How to Clean your Burners” section on page 31, to remove any possible obstructions.
!WARNING
To reduce the risk of serious bodily injury or death from fire or explosion:
•Open Hood before lighting the grill to prevent an explosion from gas
•During failed lighting attempts, or if the Burners go out during operation, turn Control Knobs “Off” to dissipate any accumulation of gas. Wait five minutes before repeating lighting procedure.
•Light each burner from the left before lighting the next burning to prevent gas from accumulating.
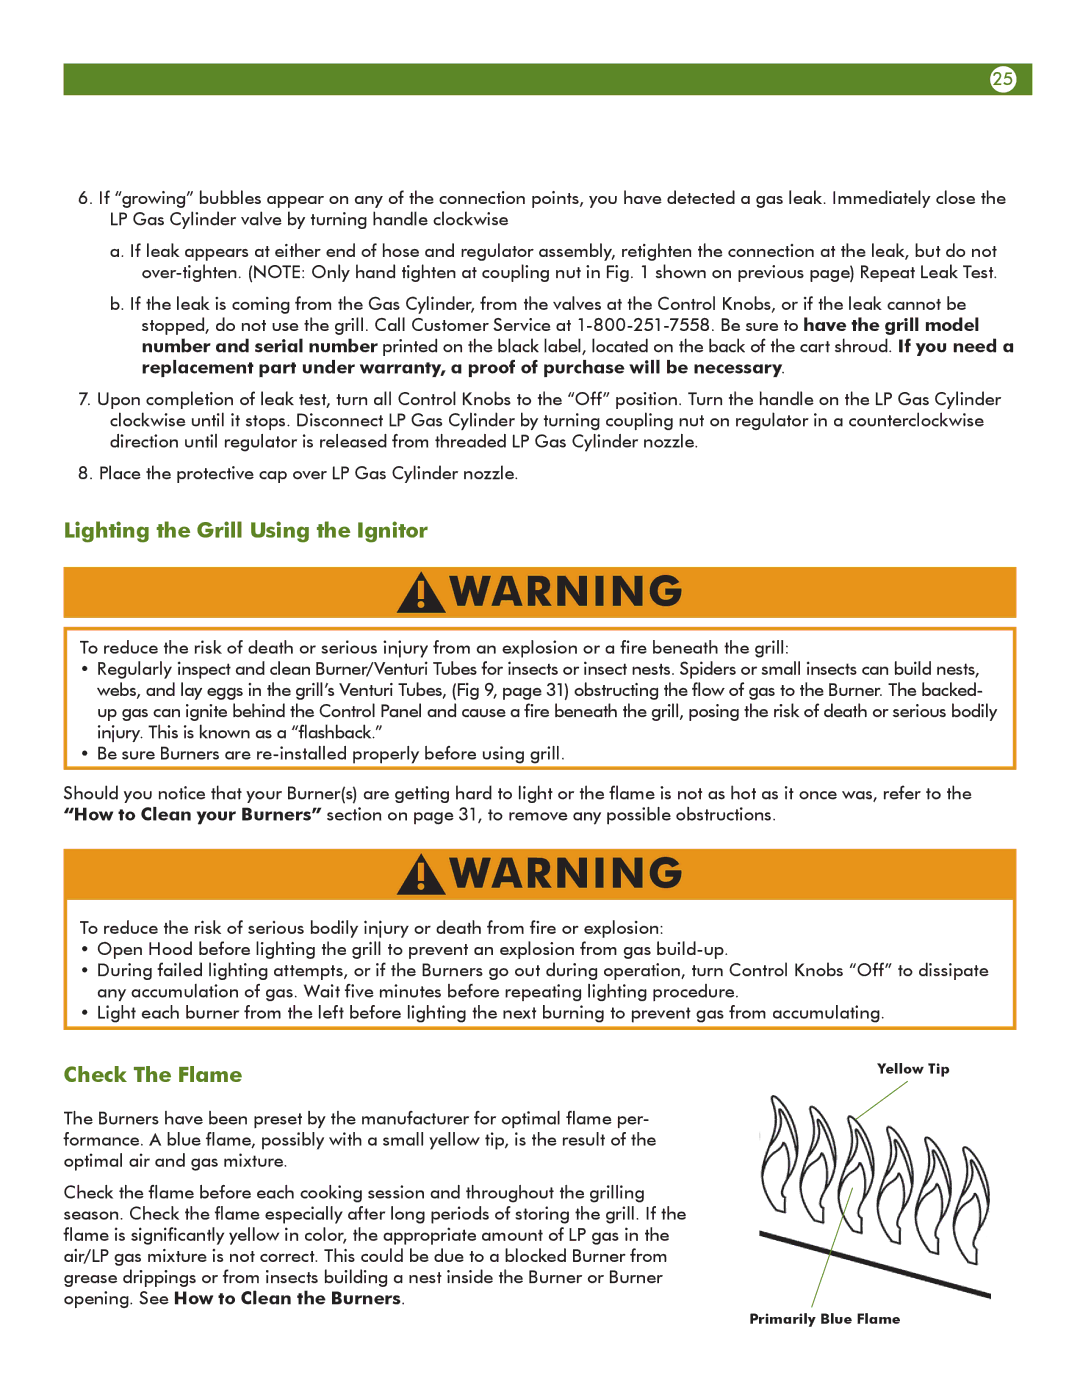
Check The Flame
The Burners have been preset by the manufacturer for optimal flame per- formance. A blue flame, possibly with a small yellow tip, is the result of the optimal air and gas mixture.
Check the flame before each cooking session and throughout the grilling season. Check the flame especially after long periods of storing the grill. If the flame is significantly yellow in color, the appropriate amount of LP gas in the air/LP gas mixture is not correct. This could be due to a blocked Burner from grease drippings or from insects building a nest inside the Burner or Burner opening. See How to Clean the Burners.
Yellow Tip
Primarily Blue Flame