Network (JPEG2000+H.264)
Network Stand Alone DVR
CHAP. 4 Operation
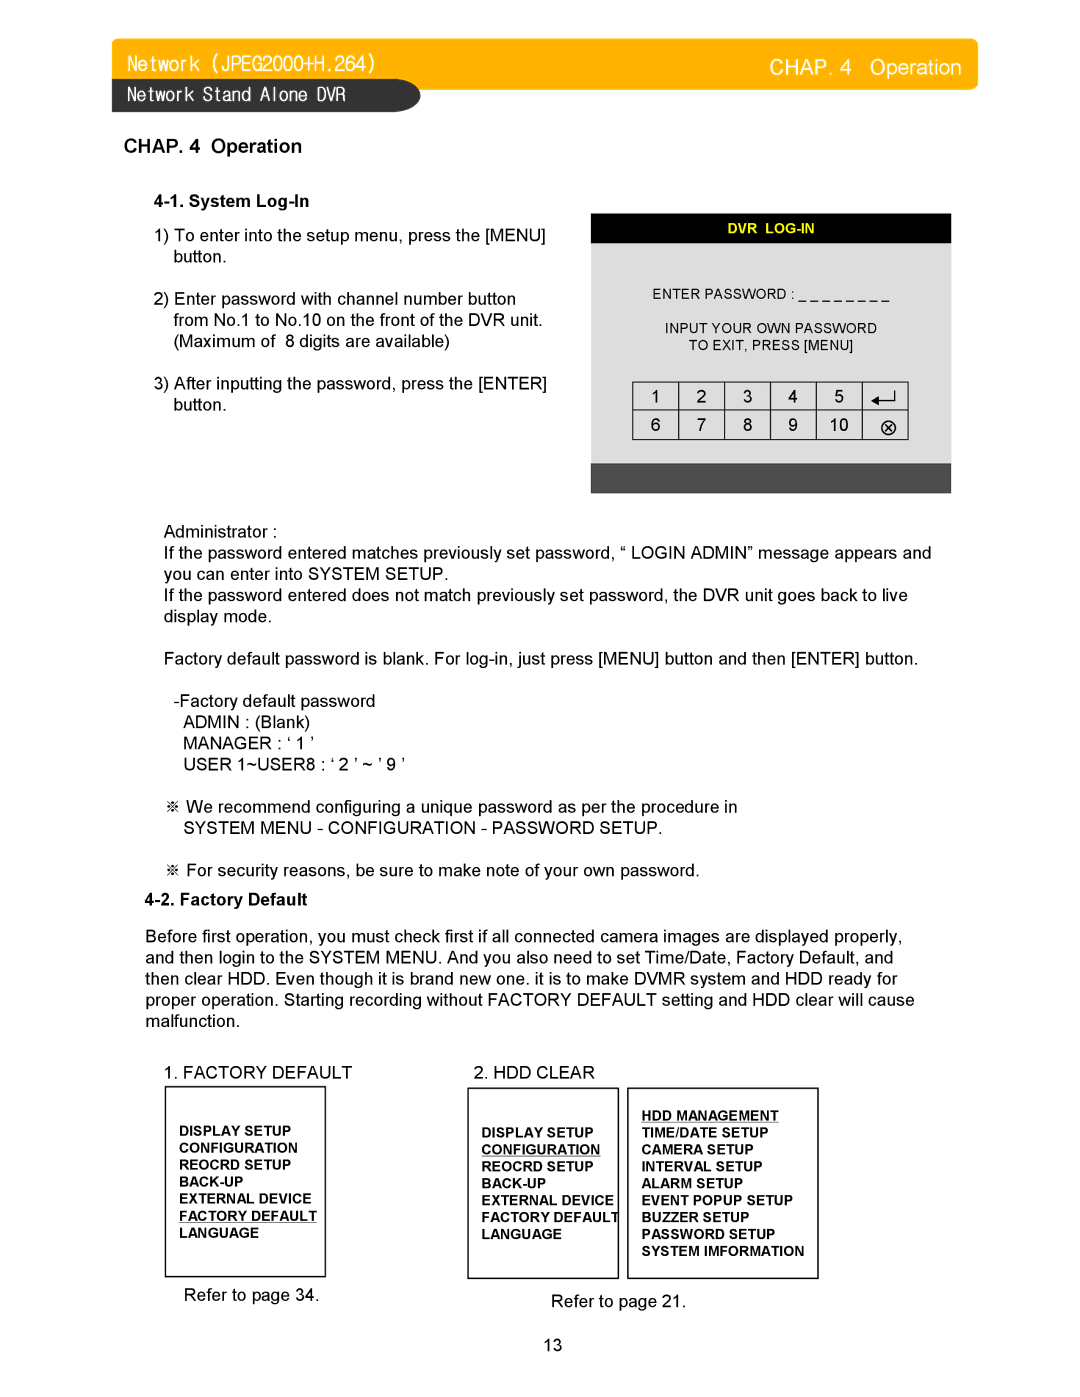
1)To enter into the setup menu, press the [MENU] button.
2)Enter password with channel number button from No.1 to No.10 on the front of the DVR unit. (Maximum of 8 digits are available)
3)After inputting the password, press the [ENTER] button.
CHAP. 4 Operation
DVR
ENTER PASSWORD : _ _ _ _ _ _ _ _
INPUT YOUR OWN PASSWORD
TO EXIT, PRESS [MENU]
| 1 | 2 | 3 | 4 | 5 |
|
|
|
|
|
|
|
|
| |||||
|
|
|
|
| |||||
|
|
|
|
|
|
|
|
|
|
| 6 | 7 | 8 | 9 | 10 |
|
|
|
|
|
|
|
|
|
|
|
|
|
|
|
|
|
|
|
|
|
|
|
|
|
|
|
|
|
|
|
|
|
|
Administrator :
If the password entered matches previously set password, “ LOGIN ADMIN” message appears and you can enter into SYSTEM SETUP.
If the password entered does not match previously set password, the DVR unit goes back to live display mode.
Factory default password is blank. For
USER 1~USER8 : ‘ 2 ’ ~ ’ 9 ’
※We recommend configuring a unique password as per the procedure in
SYSTEM MENU - CONFIGURATION - PASSWORD SETUP.
※For security reasons, be sure to make note of your own password.
Before first operation, you must check first if all connected camera images are displayed properly, and then login to the SYSTEM MENU. And you also need to set Time/Date, Factory Default, and then clear HDD. Even though it is brand new one. it is to make DVMR system and HDD ready for proper operation. Starting recording without FACTORY DEFAULT setting and HDD clear will cause malfunction.
1. FACTORY DEFAULT
DISPLAY SETUP
CONFIGURATION
REOCRD SETUP
EXTERNAL DEVICE
FACTORY DEFAULT
LANGUAGE
2. HDD CLEAR
|
| HDD MANAGEMENT |
DISPLAY SETUP |
| TIME/DATE SETUP |
CONFIGURATION |
| CAMERA SETUP |
REOCRD SETUP |
| INTERVAL SETUP |
| ALARM SETUP | |
EXTERNAL DEVICE |
| EVENT POPUP SETUP |
FACTORY DEFAULT |
| BUZZER SETUP |
LANGUAGE |
| PASSWORD SETUP |
|
| SYSTEM IMFORMATION |
|
|
|
Refer to page 34. | Refer to page 21. |
|
13
