SETUP MENU (CONTINUED)
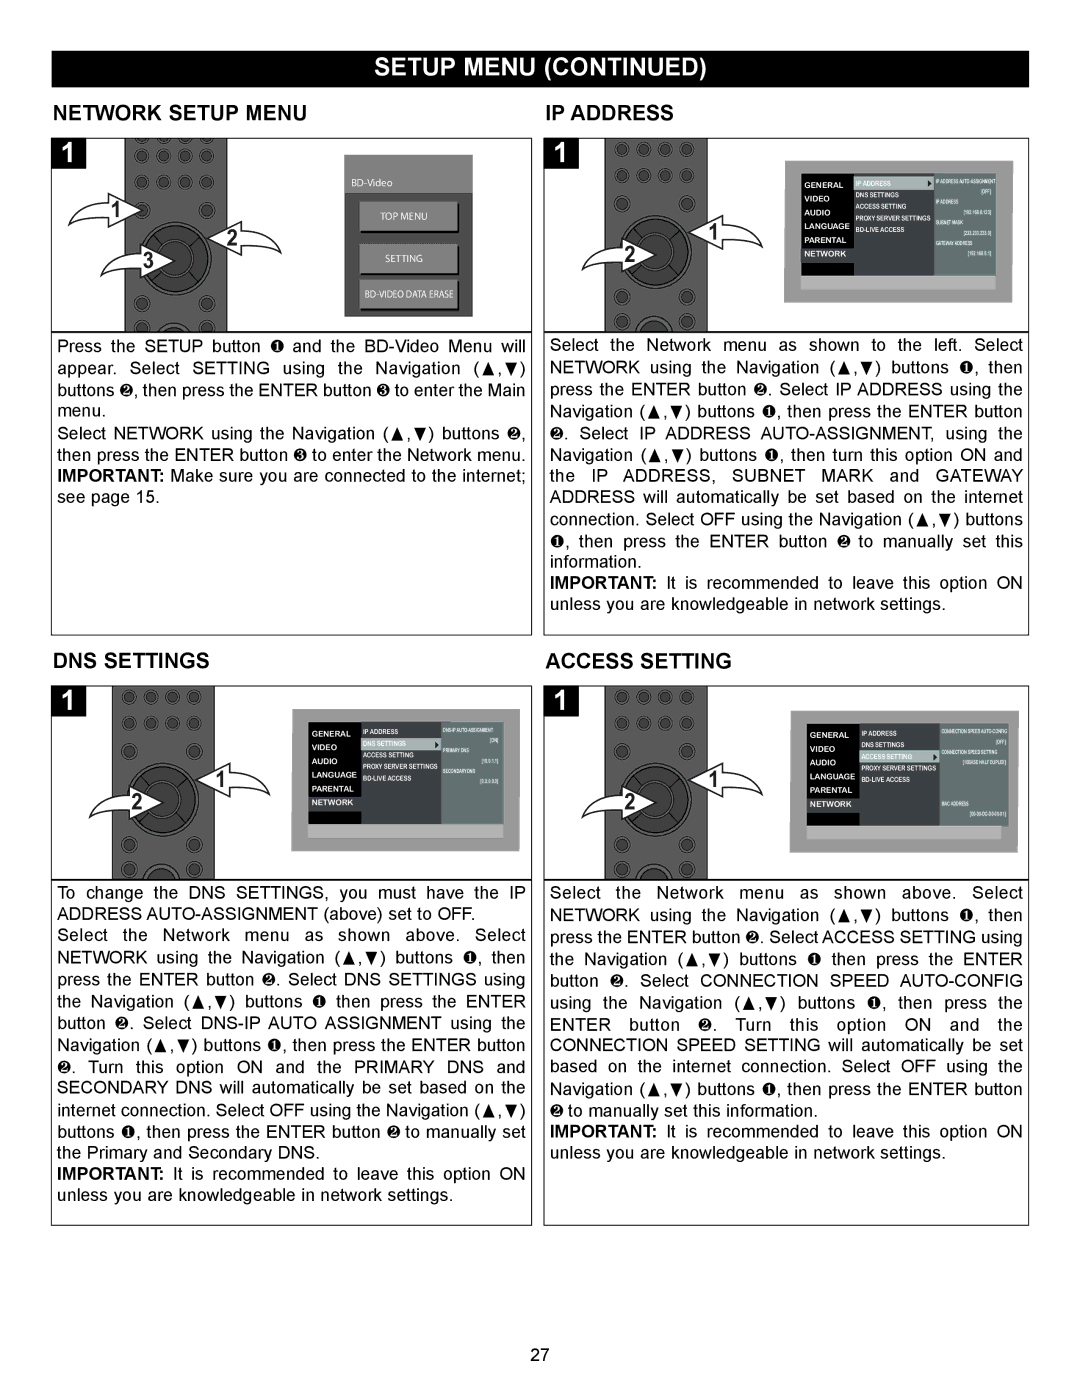
NETWORK SETUP MENU
1
| |
1 | TOP MENU |
3 | 2 | |
SETTING | ||
| ||
|
Press the SETUP button 1 and the
Select NETWORK using the Navigation (π,†) buttons 2, then press the ENTER button 3 to enter the Network menu. IMPORTANT: Make sure you are connected to the internet; see page 15.
IP ADDRESS
1
| GENERAL | IP ADDRESS | IP ADDRESS | |
| [OFF] | |||
| VIDEO | DNS SETTINGS | ||
| IP ADDRESS | |||
| ACCESS SETTING | |||
| AUDIO | [192.168.8.123] | ||
1 | PROXY SERVER SETTINGS | |||
LANGUAGE | SUBNET MASK | |||
[233.233.233.0] | ||||
PARENTAL |
| |||
| GATEWAY ADDRESS | |||
2 | NETWORK |
| [192.168.8.1] |
Select the Network menu as shown to the left. Select NETWORK using the Navigation (π,†) buttons 1, then press the ENTER button 2. Select IP ADDRESS using the Navigation (π,†) buttons 1, then press the ENTER button 2. Select IP ADDRESS
IMPORTANT: It is recommended to leave this option ON unless you are knowledgeable in network settings.
DNS SETTINGS
1
| GENERAL | IP ADDRESS | ||
| [ON] | |||
| VIDEO | DNS SETTINGS | ||
| PRIMARY DNS | |||
| ACCESS SETTING | |||
| AUDIO | [10.0.1.1] | ||
1 | PROXY SERVER SETTINGS | |||
LANGUAGE | SECONDARY DNS | |||
[0.0.0.0.0] | ||||
PARENTAL |
| |||
|
| |||
2 | NETWORK |
|
|
To change the DNS SETTINGS, you must have the IP ADDRESS
IMPORTANT: It is recommended to leave this option ON unless you are knowledgeable in network settings.
ACCESS SETTING
1
| GENERAL | IP ADDRESS | CONNECTION SPEED | |
| [OFF] | |||
| VIDEO | DNS SETTINGS | ||
| CONNECTION SPEED SETTING | |||
| ACCESS SETTING | |||
| AUDIO | [10BASE HALF DUPLEX] | ||
1 | PROXY SERVER SETTINGS | |||
|
| |||
LANGUAGE |
| |||
PARENTAL |
|
| ||
2 | NETWORK |
| MAC ADDRESS | |
|
| |||
Select the Network | menu as shown above. Select | |||
NETWORK using the Navigation (π,†) buttons 1, then press the ENTER button 2. Select ACCESS SETTING using the Navigation (π,†) buttons 1 then press the ENTER button 2. Select CONNECTION SPEED
IMPORTANT: It is recommended to leave this option ON unless you are knowledgeable in network settings.
27