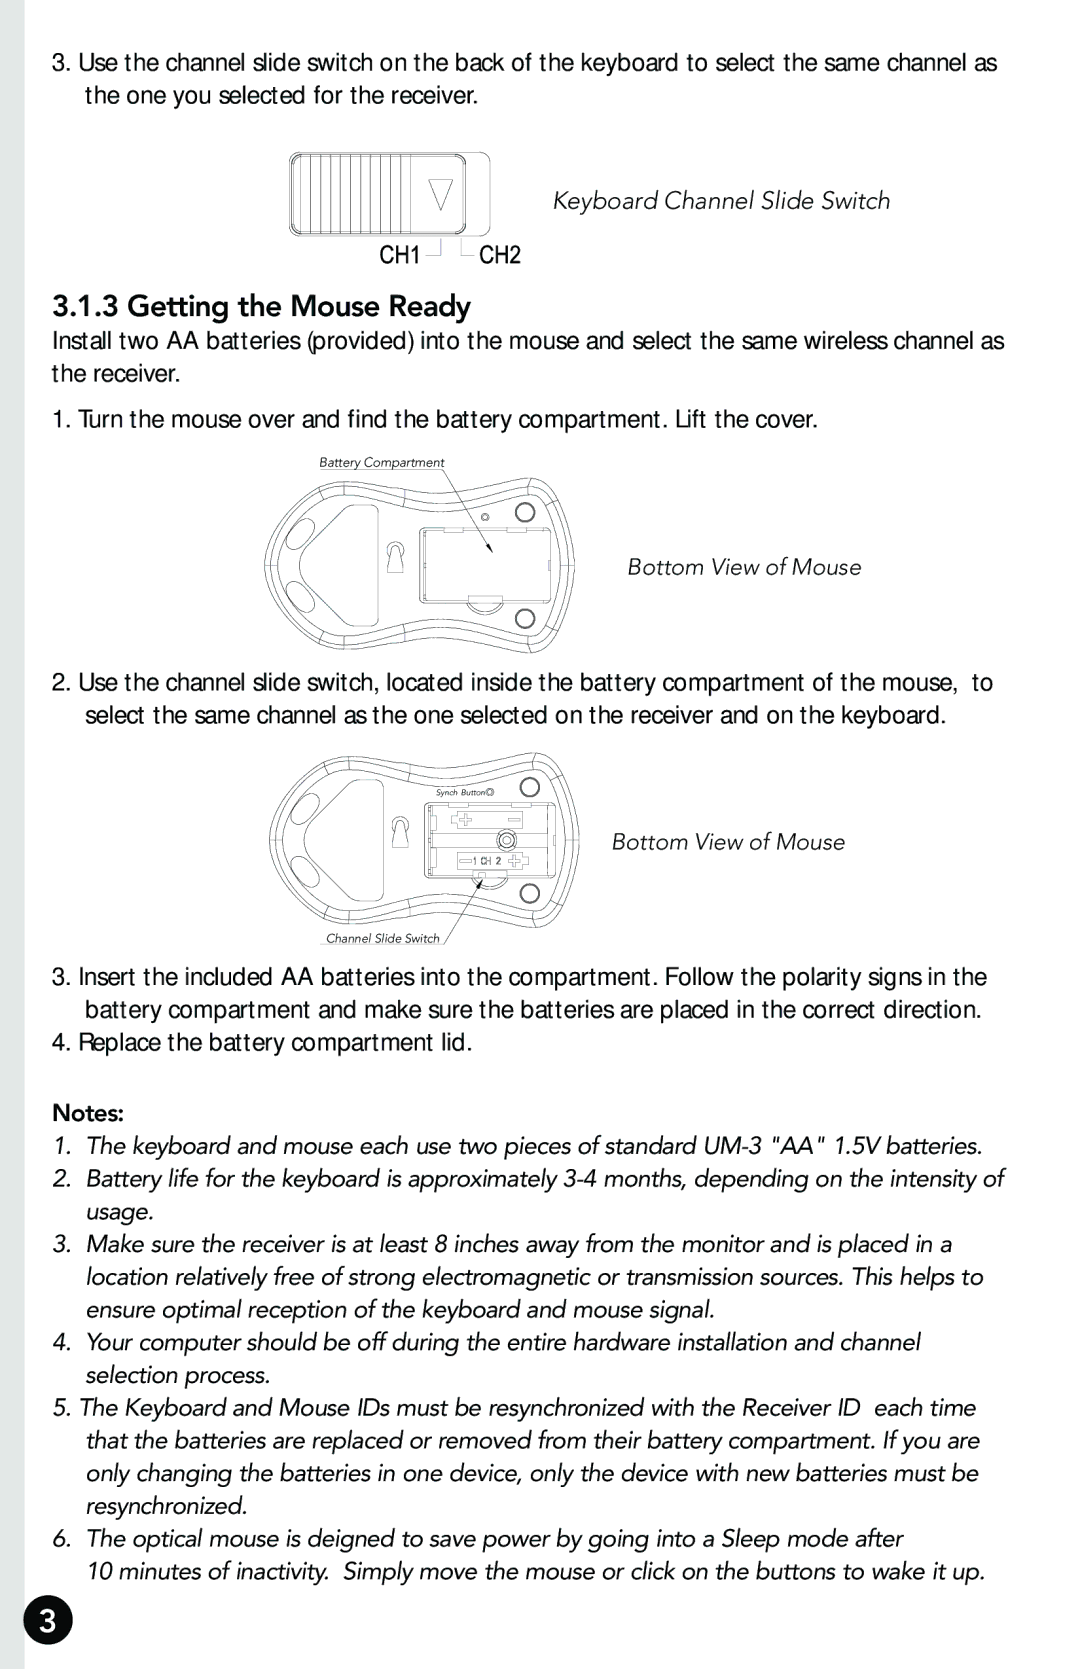
3.Use the channel slide switch on the back of the keyboard to select the same channel as the one you selected for the receiver.
Keyboard Channel Slide Switch
3.1.3 Getting the Mouse Ready
Install two AA batteries (provided) into the mouse and select the same wireless channel as the receiver.
1. Turn the mouse over and find the battery compartment. Lift the cover.
Battery Compartment
Bottom View of Mouse
2.Use the channel slide switch, located inside the battery compartment of the mouse, to select the same channel as the one selected on the receiver and on the keyboard.
Synch Button
Bottom View of Mouse
Channel Slide Switch
3.Insert the included AA batteries into the compartment. Follow the polarity signs in the battery compartment and make sure the batteries are placed in the correct direction.
4.Replace the battery compartment lid.
Notes:
1.The keyboard and mouse each use two pieces of standard
2.Battery life for the keyboard is approximately
3.Make sure the receiver is at least 8 inches away from the monitor and is placed in a location relatively free of strong electromagnetic or transmission sources. This helps to ensure optimal reception of the keyboard and mouse signal.
4.Your computer should be off during the entire hardware installation and channel selection process.
5.The Keyboard and Mouse IDs must be resynchronized with the Receiver ID each time that the batteries are replaced or removed from their battery compartment. If you are only changing the batteries in one device, only the device with new batteries must be resynchronized.
6.The optical mouse is deigned to save power by going into a Sleep mode after
10 minutes of inactivity. Simply move the mouse or click on the buttons to wake it up.
3
