OSD / OPERATING INSTRUCTIONS
Contrast
Factory 50
Note: It is best to set Brightness and Contrast levels using the controls of the display with the proper test pattern and with the DVP1500 in the Factory default setting for the initial setup. This means with
Color
Factory 50
This adjusts the amount of color. The Faroudja processor is calibrated to meet broadcast (SMPTE) color specifications so only minor color adjustments should be needed.
Tint
Factory 50
Tint is not available with YPrPb sources
Detail
Factory 4
Note: The Detail circuit is a powerful tool for image quality. The settings have been optimized for the output scan rate and resolution. However, the viewer’s tastes plus the types of software and display require making adjustments of this setting to
Typically, digital displays will need less detail than analog displays. High quality software will need less detail than poor quality ones. Reducing the Detail level can help to reduce the visibility of MPEG artifacts on some DVDs and satellite systems and noise with VHS tapes. The best results are achieved by adjusting the levels to the software being viewed instead of just using test patterns.
Advanced Color System Normal (default) /Bypass
For some DVDs with computer animation or with very high levels of color, the Faroudja patented chroma edge processing circuits may not be needed and can be turned off (Bypass). For most sources, the Normal setting should be selected. These settings can be stored as a User Preset.
Note: Any changes to the picture level adjustments are automatically stored after one minute has passed without making any changes. This information is stored separately for each input. As each input is selected the last use settings will automatically be recalled. If picture levels are adjusted but then the input is changed before one minute has passed, the changes for that input will not be stored and the previous settings will be recalled the next time that input is used.
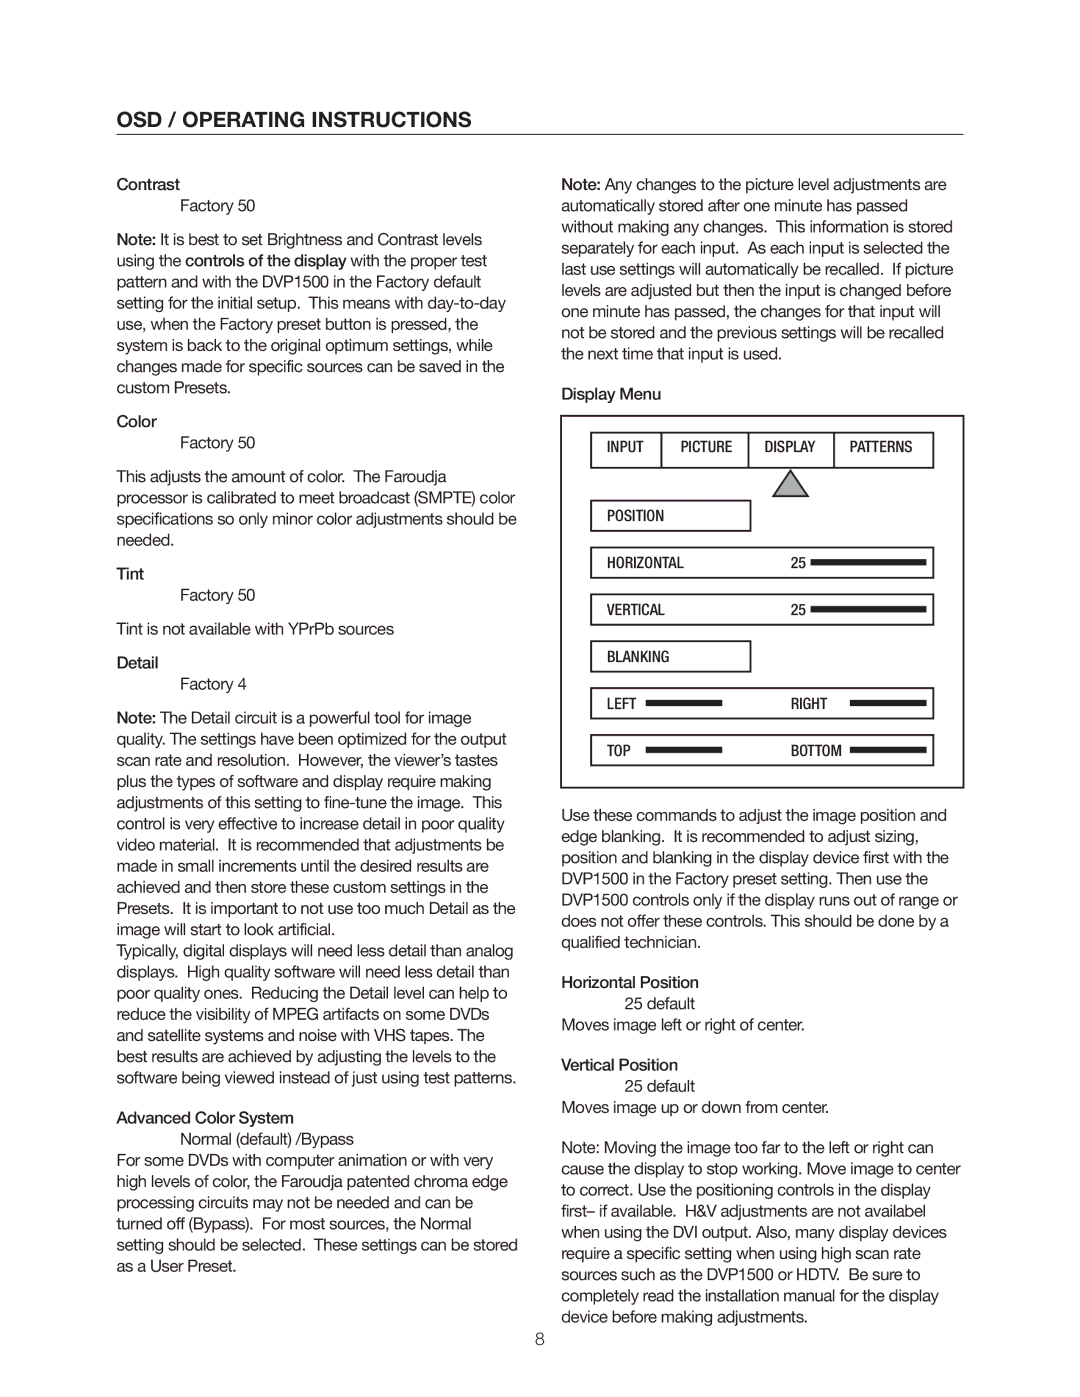
Display Menu
INPUT | PICTURE | DISPLAY | PATTERNS |
POSITION |
|
|
|
HORIZONTAL | 25 |
| |
VERTICAL |
| 25 |
|
BLANKING |
|
|
|
LEFT |
| RIGHT |
|
TOP |
| BOTTOM |
|
Use these commands to adjust the image position and edge blanking. It is recommended to adjust sizing, position and blanking in the display device first with the DVP1500 in the Factory preset setting. Then use the DVP1500 controls only if the display runs out of range or does not offer these controls. This should be done by a qualified technician.
Horizontal Position
25 default
Moves image left or right of center.
Vertical Position
25 default
Moves image up or down from center.
Note: Moving the image too far to the left or right can cause the display to stop working. Move image to center to correct. Use the positioning controls in the display first– if available. H&V adjustments are not availabel when using the DVI output. Also, many display devices require a specific setting when using high scan rate sources such as the DVP1500 or HDTV. Be sure to completely read the installation manual for the display device before making adjustments.
8
