SETUP
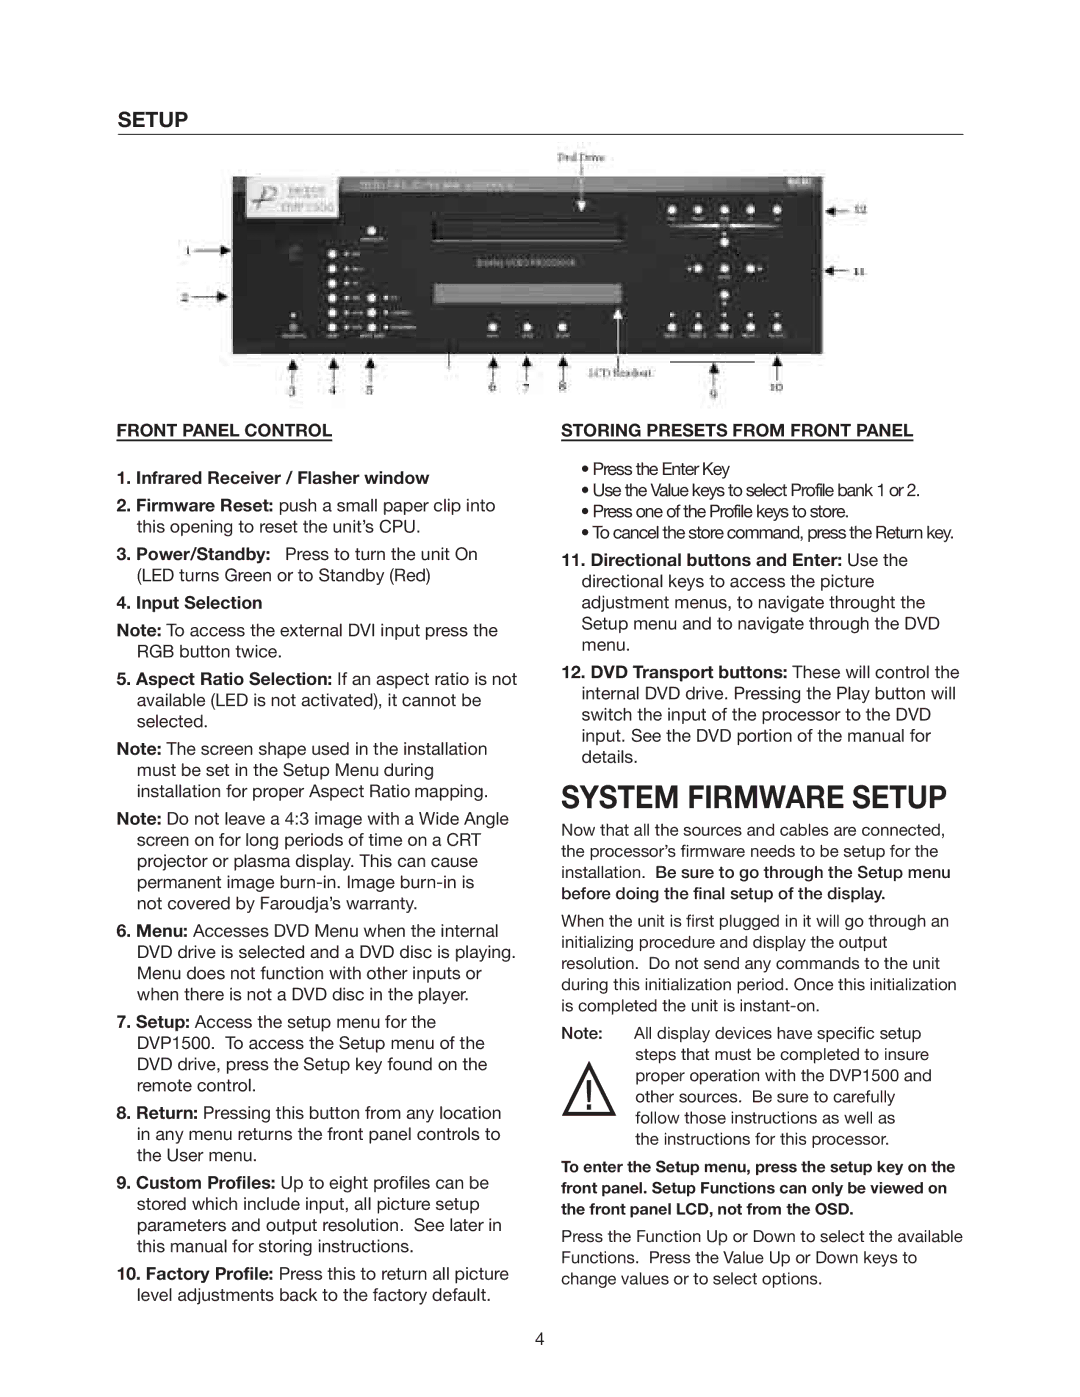
FRONT PANEL CONTROL
1.Infrared Receiver / Flasher window
2.Firmware Reset: push a small paper clip into this opening to reset the unit’s CPU.
3.Power/Standby: Press to turn the unit On (LED turns Green or to Standby (Red)
4.Input Selection
Note: To access the external DVI input press the RGB button twice.
5.Aspect Ratio Selection: If an aspect ratio is not available (LED is not activated), it cannot be selected.
Note: The screen shape used in the installation must be set in the Setup Menu during installation for proper Aspect Ratio mapping.
Note: Do not leave a 4:3 image with a Wide Angle screen on for long periods of time on a CRT projector or plasma display. This can cause permanent image
6.Menu: Accesses DVD Menu when the internal DVD drive is selected and a DVD disc is playing. Menu does not function with other inputs or when there is not a DVD disc in the player.
7.Setup: Access the setup menu for the DVP1500. To access the Setup menu of the DVD drive, press the Setup key found on the remote control.
8.Return: Pressing this button from any location in any menu returns the front panel controls to the User menu.
9.Custom Profiles: Up to eight profiles can be stored which include input, all picture setup parameters and output resolution. See later in this manual for storing instructions.
10.Factory Profile: Press this to return all picture level adjustments back to the factory default.
STORING PRESETS FROM FRONT PANEL
•Press the Enter Key
•Use the Value keys to select Profile bank 1 or 2.
•Press one of the Profile keys to store.
•To cancel the store command, press the Return key.
11.Directional buttons and Enter: Use the directional keys to access the picture adjustment menus, to navigate throught the Setup menu and to navigate through the DVD menu.
12.DVD Transport buttons: These will control the internal DVD drive. Pressing the Play button will switch the input of the processor to the DVD input. See the DVD portion of the manual for details.
SYSTEM FIRMWARE SETUP
Now that all the sources and cables are connected, the processor’s firmware needs to be setup for the installation. Be sure to go through the Setup menu before doing the final setup of the display.
When the unit is first plugged in it will go through an initializing procedure and display the output resolution. Do not send any commands to the unit during this initialization period. Once this initialization is completed the unit is
Note: All display devices have specific setup steps that must be completed to insure proper operation with the DVP1500 and ![]() other sources. Be sure to carefully follow those instructions as well as the instructions for this processor.
other sources. Be sure to carefully follow those instructions as well as the instructions for this processor.
To enter the Setup menu, press the setup key on the front panel. Setup Functions can only be viewed on the front panel LCD, not from the OSD.
Press the Function Up or Down to select the available Functions. Press the Value Up or Down keys to change values or to select options.
4
