OPERATION MANUAL
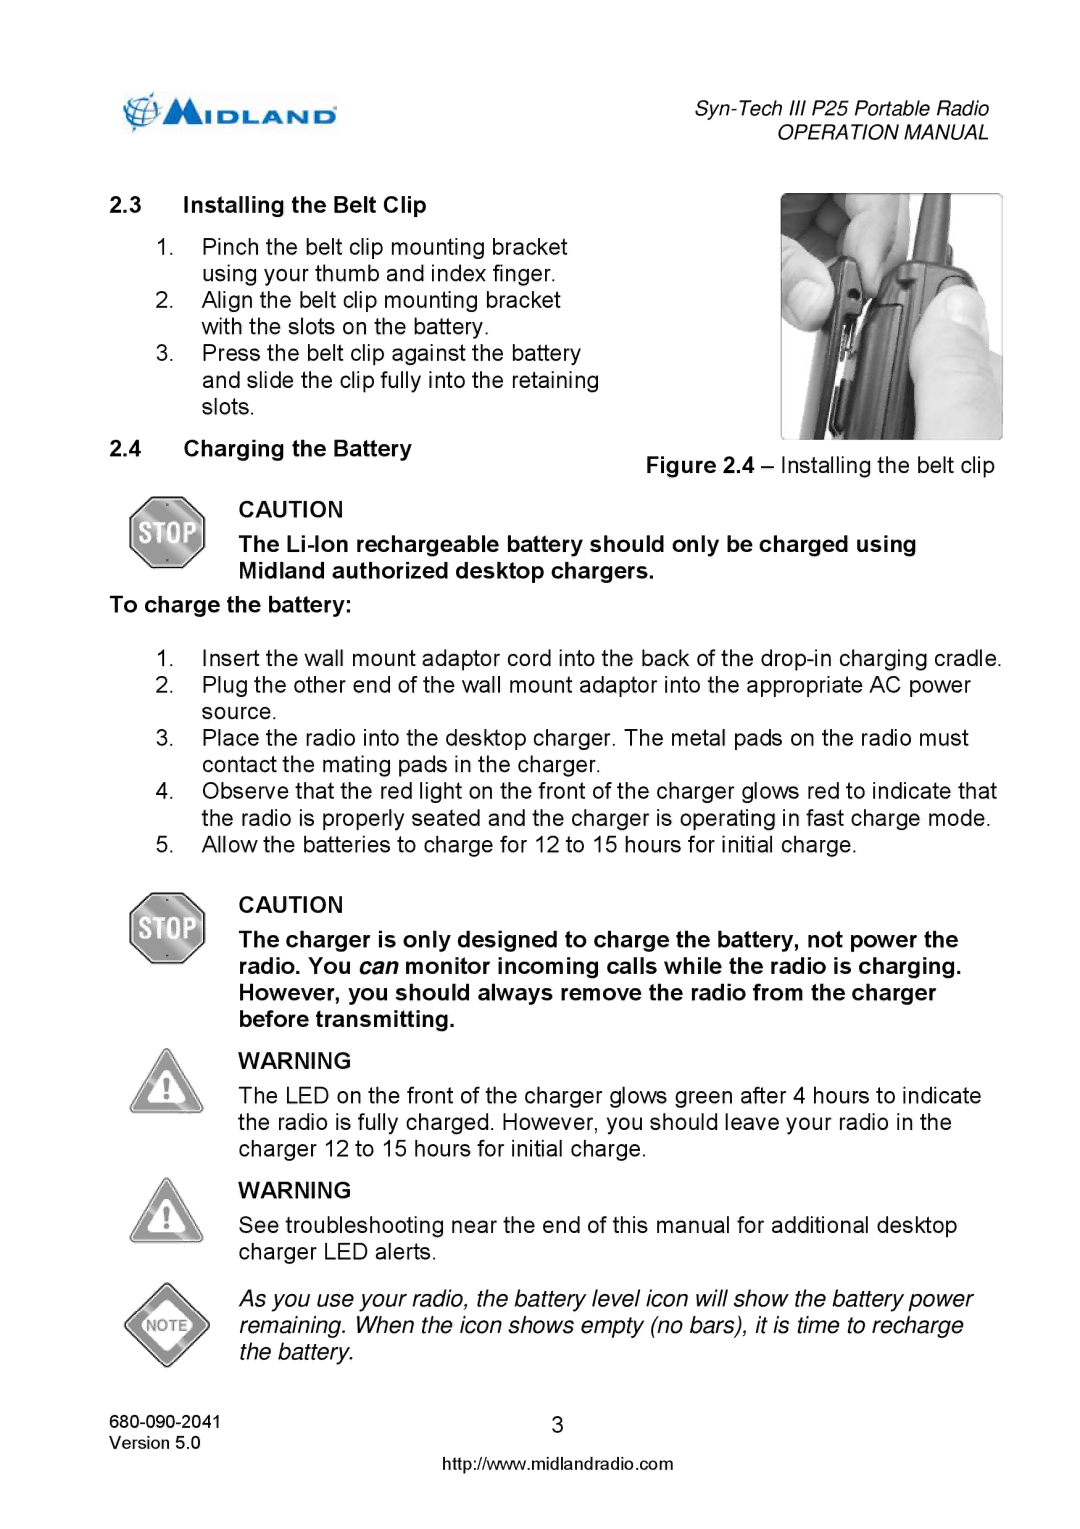
2.3 Installing the Belt Clip
1. Pinch the belt clip mounting bracket using your thumb and index finger.
2. Align the belt clip mounting bracket with the slots on the battery.
3. Press the belt clip against the battery and slide the clip fully into the retaining slots.
2.4 Charging the Battery
CAUTION
Figure 2.4 – Installing the belt clip
The
To charge the battery:
1.Insert the wall mount adaptor cord into the back of the
2.Plug the other end of the wall mount adaptor into the appropriate AC power source.
3.Place the radio into the desktop charger. The metal pads on the radio must contact the mating pads in the charger.
4.Observe that the red light on the front of the charger glows red to indicate that the radio is properly seated and the charger is operating in fast charge mode.
5.Allow the batteries to charge for 12 to 15 hours for initial charge.
CAUTION
The charger is only designed to charge the battery, not power the radio. You can monitor incoming calls while the radio is charging. However, you should always remove the radio from the charger before transmitting.
WARNING
The LED on the front of the charger glows green after 4 hours to indicate the radio is fully charged. However, you should leave your radio in the charger 12 to 15 hours for initial charge.
WARNING
See troubleshooting near the end of this manual for additional desktop charger LED alerts.
As you use your radio, the battery level icon will show the battery power remaining. When the icon shows empty (no bars), it is time to recharge the battery.
3 | |
Version 5.0 | http://www.midlandradio.com |
|