
H 4746 BP, H 4744 BP specifications
The Miele H 4744 BP and H 4746 BP are sophisticated built-in ovens that set a new standard in culinary excellence. Renowned for their precision engineering and user-friendly interfaces, these models are designed for both professional chefs and home cooking enthusiasts alike. Their elegant aesthetics, combined with innovative technology, ensure they not only perform exceptionally but also enhance the overall kitchen experience.One of the standout features of both the H 4744 BP and H 4746 BP is the PerfectClean enamel finish. This technology makes the ovens exceptionally easy to clean, with surfaces that resist dirt and grime buildup. The innovative enamel means that any splatters or spills can be effortlessly wiped away, saving users precious time in maintenance.
Another key characteristic is the use of Miele's advanced Moisture Plus technology. This feature introduces steam into the cooking environment, allowing for moist cooking, and is perfect for baking bread or roasting meats, ensuring a crispy outer crust while retaining moisture inside. This functionality greatly enhances the versatility of these ovens, making them ideal for a wide range of cooking styles.
The Miele H 4744 BP and H 4746 BP also come equipped with MultiLingua and SmartControl features, offering an intuitive user experience. MultiLingua allows users to select their preferred language on the display, making the oven accessible to a broader audience. SmartControl enables users to easily navigate through various cooking programs and settings, giving them the precision needed to achieve perfect results every time.
Both models offer a generous interior capacity, with large baking trays and various rack levels, allowing for multiple dishes to be cooked simultaneously. The efficient heat distribution ensures that every dish is cooked uniformly, a crucial quality for professional-grade ovens.
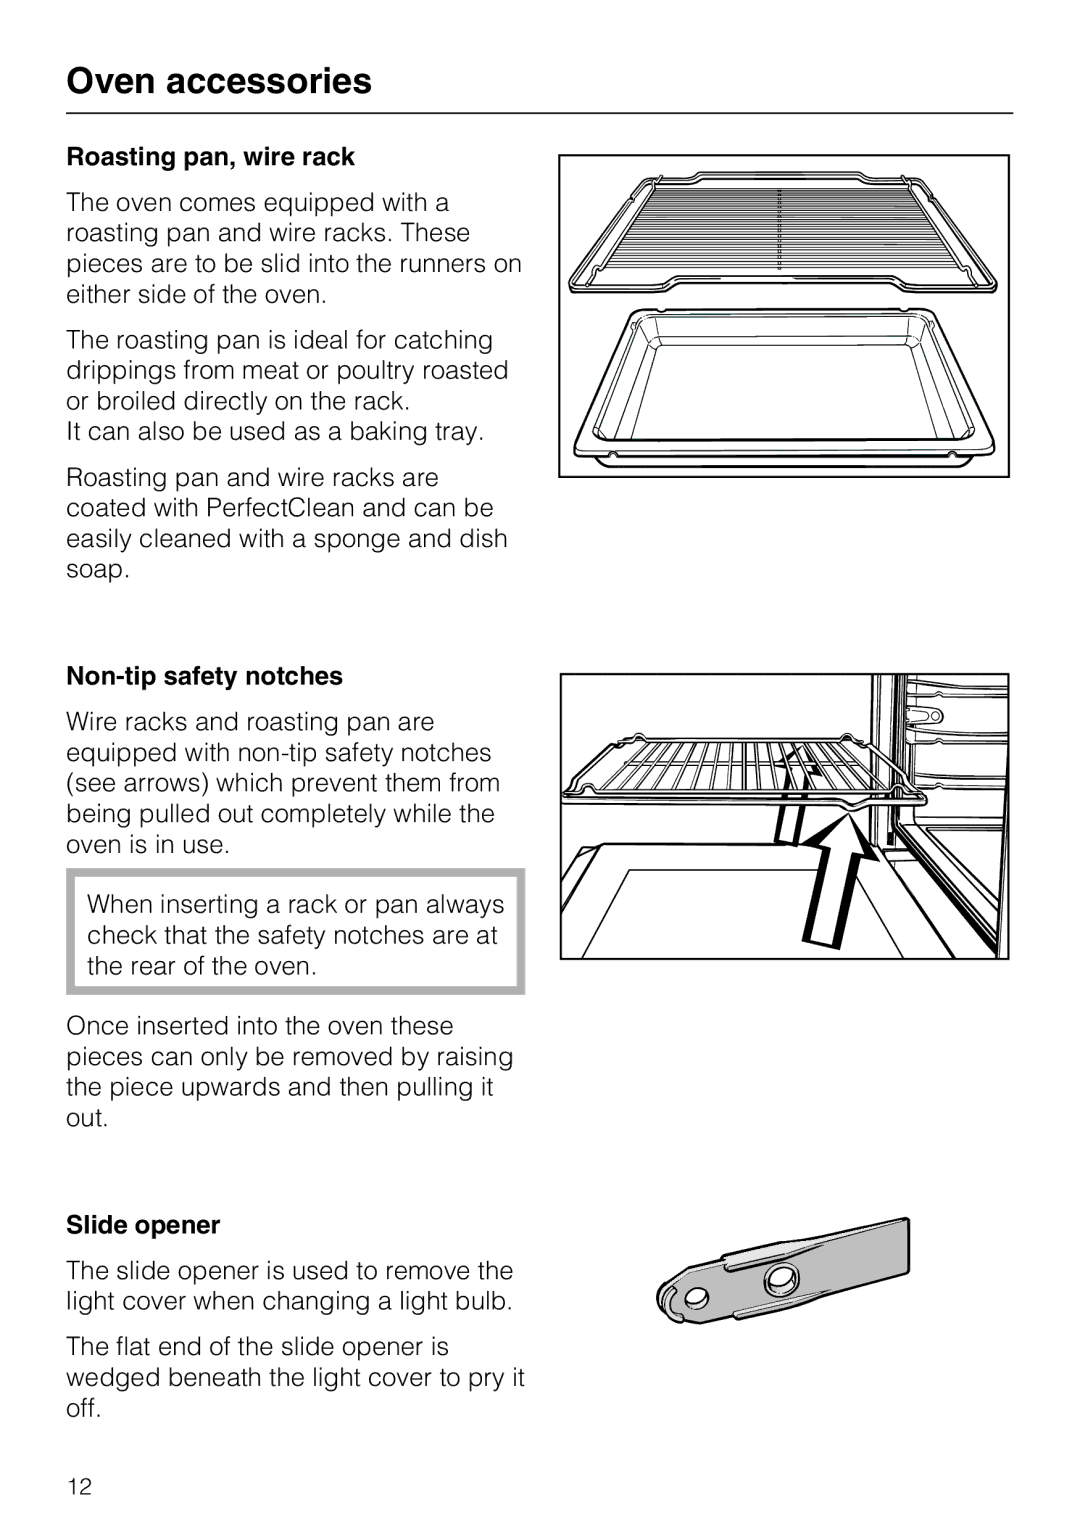
FlexiClip runners are another thoughtful addition; they facilitate easy access to food while it cooks, which is particularly advantageous when checking on meals that require attention.
Energy efficiency is also a hallmark of the H 4744 BP and H 4746 BP ovens, adhering to the highest environmental standards while still delivering powerful performance. The combination of aesthetic form, cutting-edge technology, and robust design makes these Miele ovens a worthy investment for any kitchen.