6. NetCommand

53

Setting Up NetCommand Control of an A/V Receiver

Perform this setup to:

Operate the A/V receiver’s power and volume functions with the TV’s remote control.

Enable the A/V receiver to switch automatically to the correct audio input when you select a device in the TV’s Input Selection menu.

To set up control of an A/V receiver you need:

The remote controls for both the TV and the A/V receiver.

The IR emitter cable supplied with the TV.

Note: To set up control of other device types, see “Initial NetCommand Setup for Most Devices” earlier in this chapter.

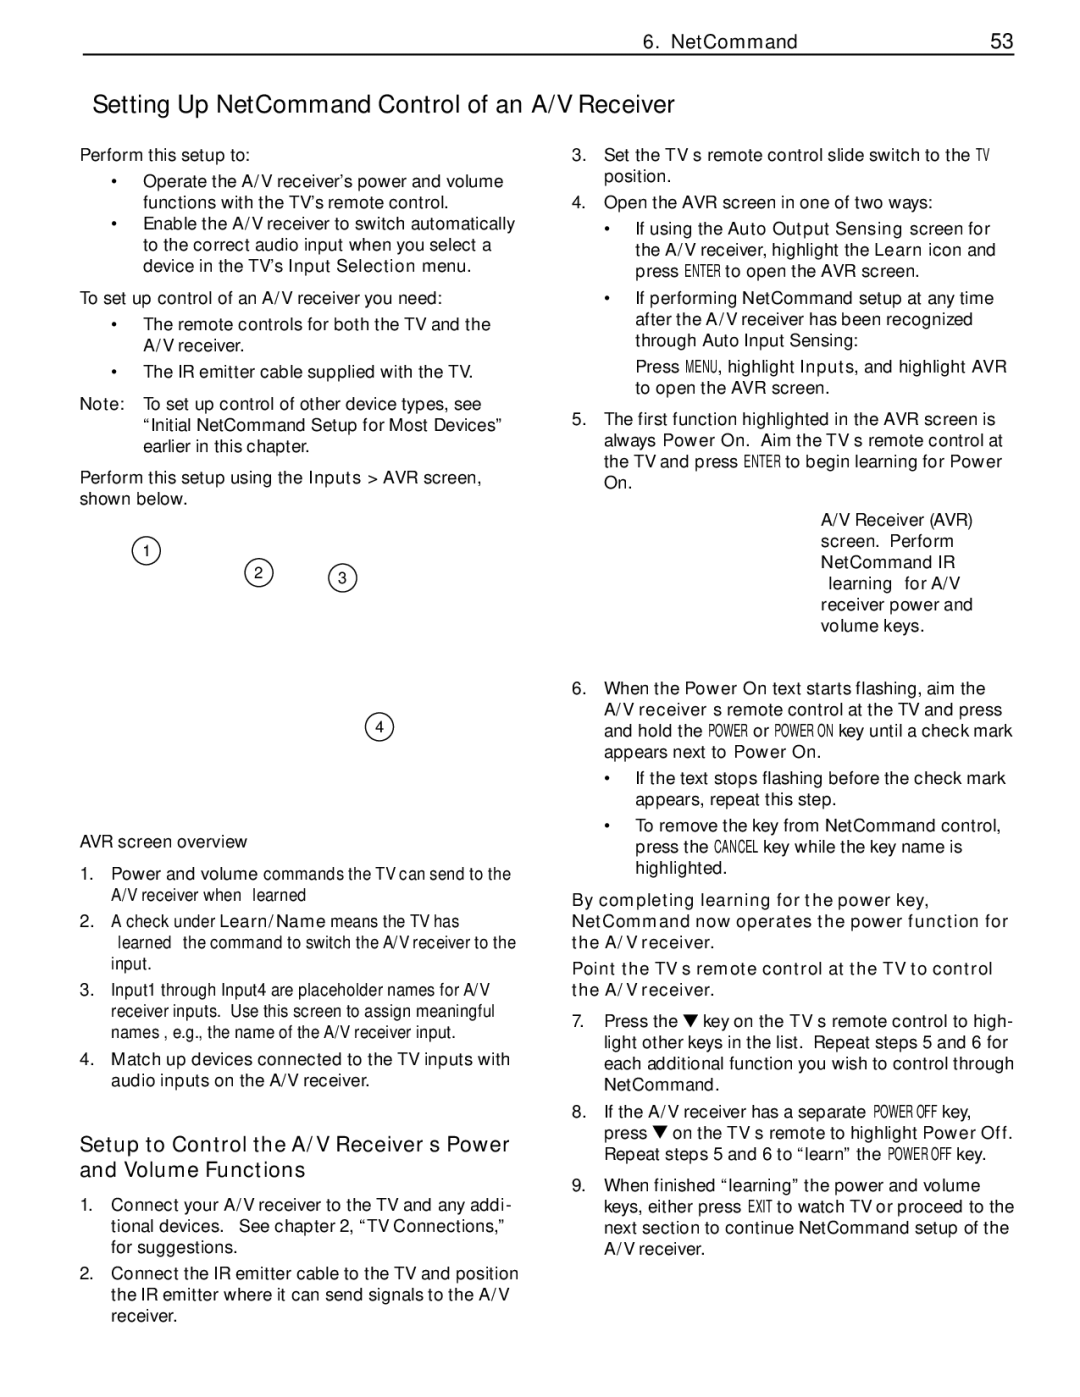
Perform this setup using the Inputs > AVR screen, shown below.

1

2 3

4

AVR screen overview

1.Power and volume commands the TV can send to the A/V receiver when “learned”

2.A check under Learn/Name means the TV has “learned” the command to switch the A/V receiver to the input.

3.Input1 through Input4 are placeholder names for A/V receiver inputs. Use this screen to assign meaningful names , e.g., the name of the A/V receiver input.

4.Match up devices connected to the TV inputs with audio inputs on the A/V receiver.

Setup to Control the A/V Receiver’s Power and Volume Functions

1.Connect your A/V receiver to the TV and any addi- tional devices. See chapter 2, “TV Connections,” for suggestions.

2.Connect the IR emitter cable to the TV and position the IR emitter where it can send signals to the A/V receiver.

3.Set the TV’s remote control slide switch to the TV position.

4.Open the AVR screen in one of two ways:

If using the Auto Output Sensing screen for the A/V receiver, highlight the Learn icon and press ENTER to open the AVR screen.

If performing NetCommand setup at any time after the A/V receiver has been recognized through Auto Input Sensing:

Press MENU, highlight Inputs, and highlight AVR to open the AVR screen.

5.The first function highlighted in the AVR screen is always Power On. Aim the TV’s remote control at the TV and press ENTER to begin learning for Power On.

A/V Receiver (AVR) screen. Perform NetCommand IR “learning” for A/V receiver power and volume keys.

6.When the Power On text starts flashing, aim the A/V receiver’s remote control at the TV and press and hold the POWER or POWER ON key until a check mark appears next to Power On.

If the text stops flashing before the check mark appears, repeat this step.

To remove the key from NetCommand control, press the CANCEL key while the key name is highlighted.

By completing “learning” for the power key, NetCommand now operates the power function for the A/V receiver.

Point the TV’s remote control at the TV to control the A/V receiver.

7.Press thekey on the TV’s remote control to high- light other keys in the list. Repeat steps 5 and 6 for each additional function you wish to control through NetCommand.

8.If the A/V receiver has a separate POWER OFF key,

presson the TV’s remote to highlight Power Off. Repeat steps 5 and 6 to “learn” the POWER OFF key.

9.When finished “learning” the power and volume keys, either press EXIT to watch TV or proceed to the next section to continue NetCommand setup of the A/V receiver.

Page 53
Image 53
Mitsubishi Electronics WD-65734, WD-57734, WD-65733, WD-57733, WD-Y577 manual Setting Up NetCommand Control of an A/V Receiver

WD-Y657, WD-Y577, WD-73733, WD-57733, WD-65733 specifications

The Mitsubishi Electronics WD-65734 and WD-73734 are part of the renowned line of DLP (Digital Light Processing) televisions that have garnered a strong following among home theater enthusiasts. These models feature advanced technologies that deliver stunning image quality and an immersive viewing experience.

Both the WD-65734 and WD-73734 showcase Mitsubishi's exceptional commitment to high-definition viewing. With screen sizes of 65 and 73 inches, respectively, these models offer large displays that are perfect for movie nights or gaming sessions. The DLP technology utilized in these televisions ensures vibrant colors, deep blacks, and excellent contrast ratios, making images pop on the screen.

One of the standout features of these models is the incorporation of Mitsubishi's 6-Color Processing technology. Traditional televisions typically utilize only three primary colors (red, green, and blue). In contrast, the 6-Color Processing adds additional colors, including yellow, cyan, and magenta, resulting in a more accurate and richer color palette. This technology enhances the overall viewing experience, making it feel more lifelike and immersive.

The WD-65734 and WD-73734 also include Mitsubishi's advanced Brilliant Color technology. This feature optimizes color performance across various brightness levels, making images appear brighter and more vibrant without sacrificing detail in darker scenes. The result is a television that excels in a wide range of lighting conditions, from well-lit rooms to darkened home theaters.

In terms of connectivity, these models offer multiple HDMI ports, allowing users to easily connect their Blu-ray players, gaming consoles, and streaming devices. They also support 1080p resolution, ensuring that viewers can fully enjoy HD content from various sources.

Another notable characteristic is the integrated Motion Estimation/Motion Compensation (MEMC) technology, which helps eliminate motion blur during fast-paced scenes. This is particularly advantageous for sports fans and action movie lovers, as it provides a smoother viewing experience.

Durability and reliability have been key considerations for Mitsubishi Electronics, and both the WD-65734 and WD-73734 are designed to provide long-lasting performance. The LED light source used in these models is not only energy-efficient but also has a longer lifespan compared to traditional lamps.

In summary, the Mitsubishi Electronics WD-65734 and WD-73734 DLP televisions deliver a compelling combination of advanced technology, stunning visual performance, and user-friendly features, making them excellent choices for anyone looking to enhance their home entertainment systems.