14 Basic Radio Operation
| 11 |
9 | 13 |
7 | 15 |
| |
5 | 1 |
| 3 |
1 | 2 A B C | 3 D E F |
4 G H I | 5 J K L | 6MNO |
7P R S | 8 T U V | 9 W X Y |
| 0 |
|
| HOME |
|
Radio On/Off and Power-Up
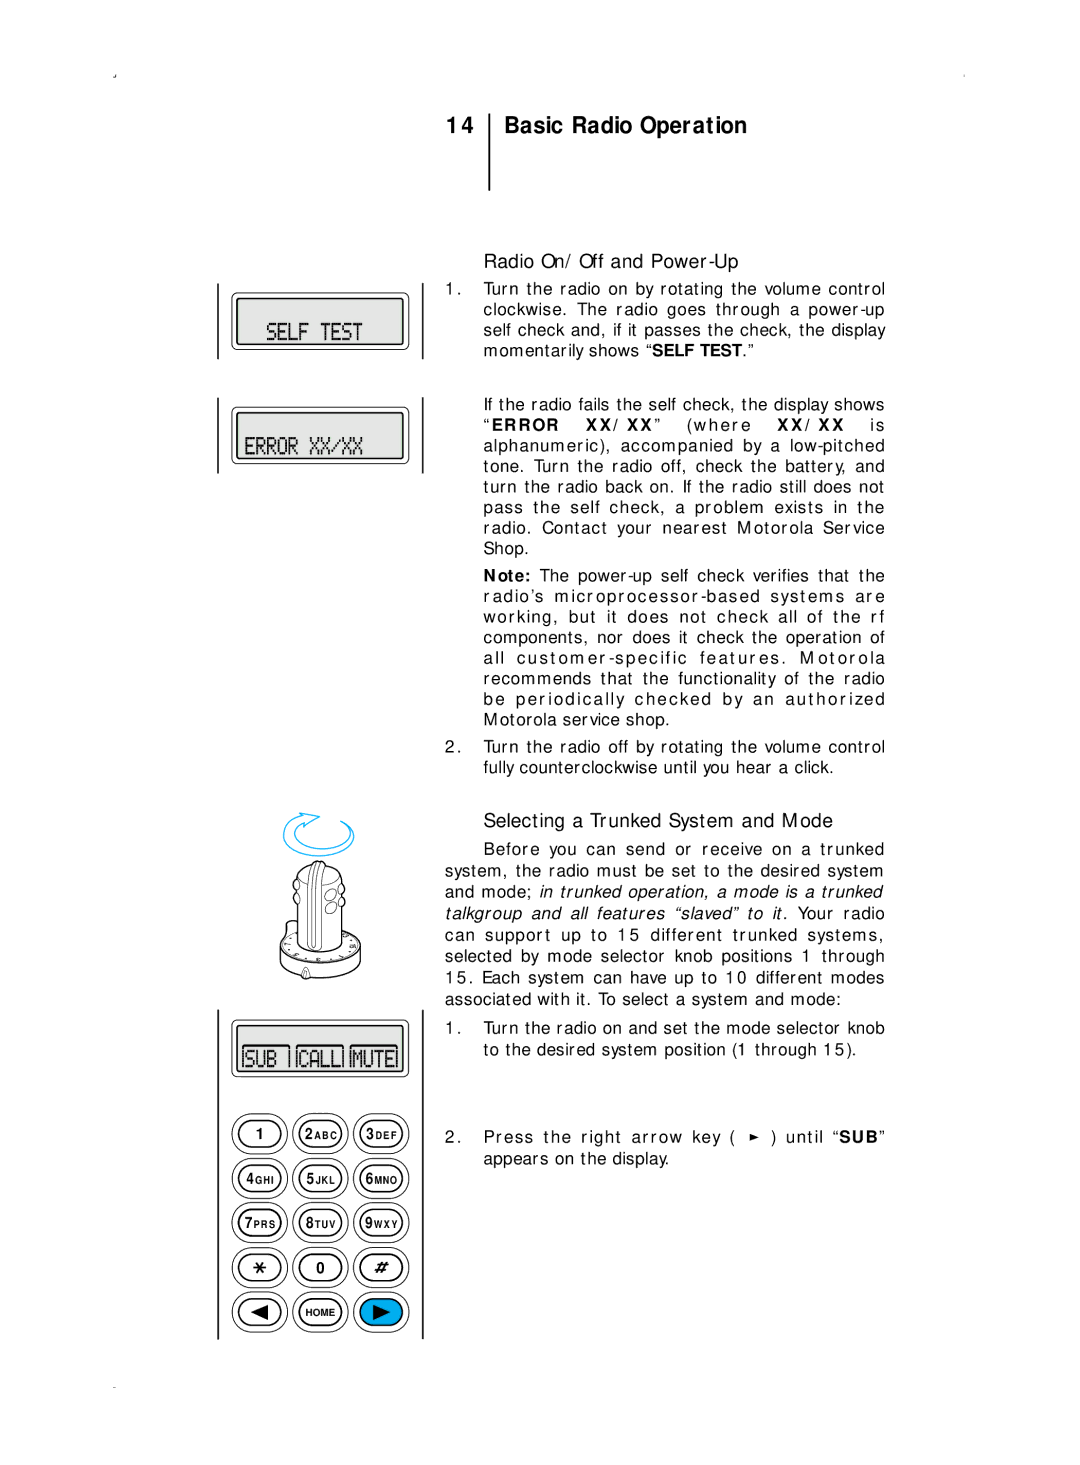
1.Turn the radio on by rotating the volume control clockwise. The radio goes through a
If the radio fails the self check, the display shows “ERROR XX/XX” (where XX/XX is alphanumeric), accompanied by a
Note: The
2.Turn the radio off by rotating the volume control fully counterclockwise until you hear a click.
Selecting a Trunked System and Mode
Before you can send or receive on a trunked system, the radio must be set to the desired system and mode; in trunked operation, a mode is a trunked talkgroup and all features “slaved” to it. Your radio can support up to 15 different trunked systems, selected by mode selector knob positions 1 through
15.Each system can have up to 10 different modes associated with it. To select a system and mode:
1.Turn the radio on and set the mode selector knob to the desired system position (1 through 15).
2.Press the right arrow key ( ![]() ) until “SUB” appears on the display.
) until “SUB” appears on the display.
