Adding New Events
Adding New Events
Using the following instructions, you will enter the information in the order the items appear on the Event Form screen. However, you can enter this information in any order by pressing S to scroll through the items on the Event Form screen. You can leave any item blank or unchanged by pressing S to scroll past it on the Event Form screen. Only a title and a date are required for a valid event.
To cancel a Datebook event entry at any time, press e to return to the Ready screen.
To add a Datebook event:
1 Access the Event Form screen: | b |
While viewing a week in the Datebook, | |
press m to access the Datebook Menu. | |
Press R to scroll to New. | |
Press B under SELECT. | |
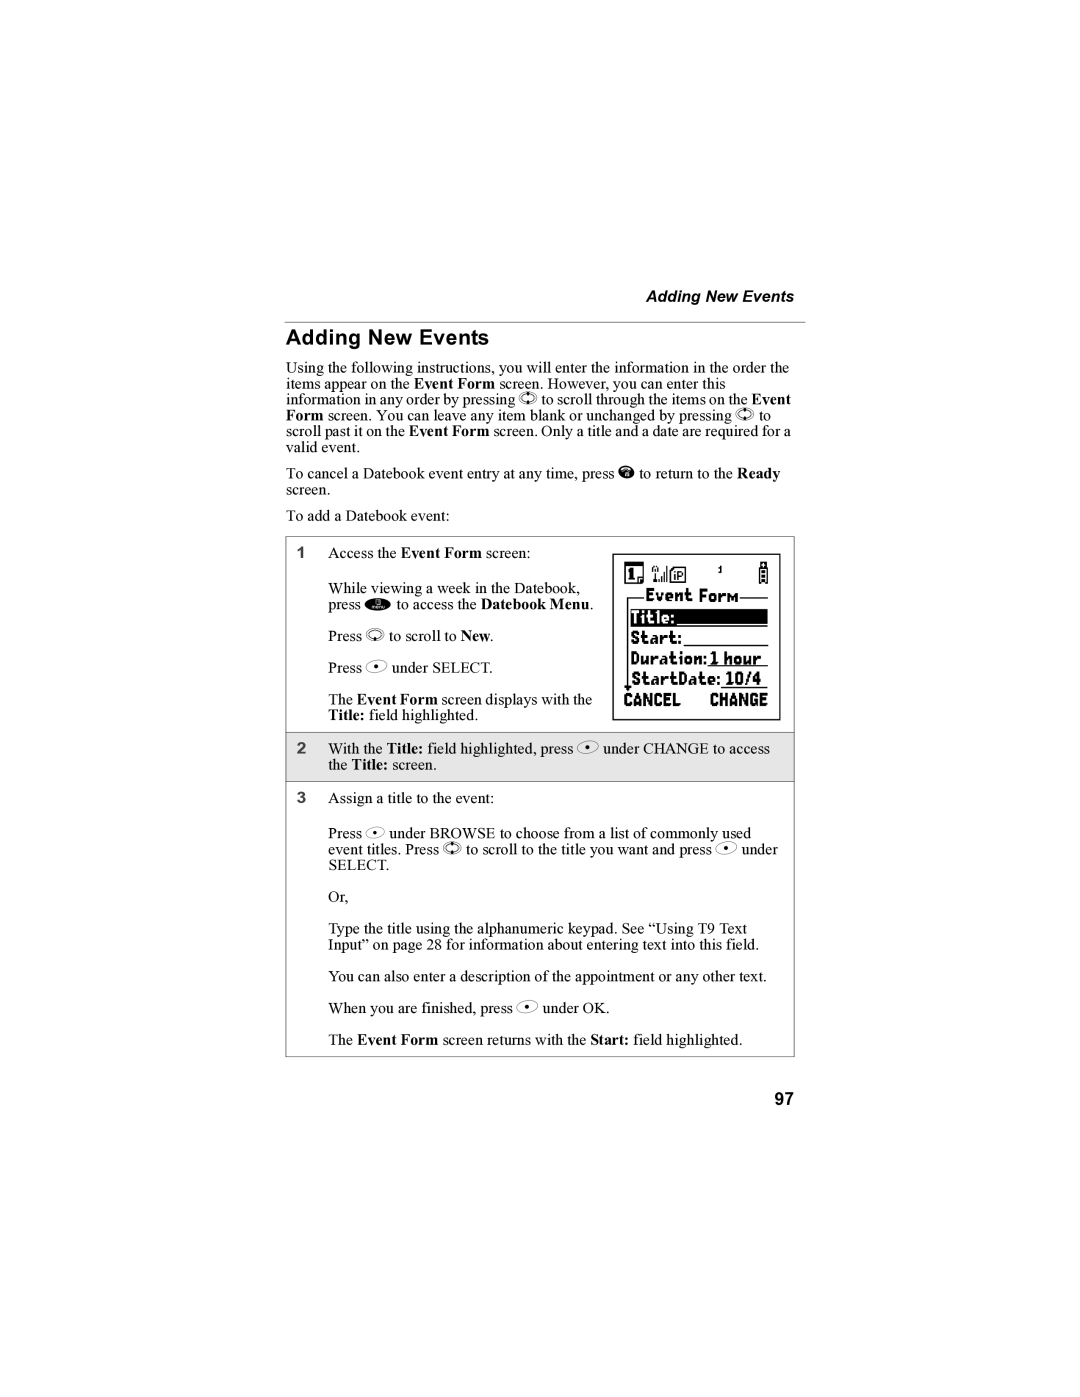
The Event Form screen displays with the |
|
Title: field highlighted. |
|
2With the Title: field highlighted, press B under CHANGE to access
the Title: screen.
3Assign a title to the event:
Press B under BROWSE to choose from a list of commonly used event titles. Press S to scroll to the title you want and press B under
SELECT.
Or,
Type the title using the alphanumeric keypad. See “Using T9 Text Input” on page 28 for information about entering text into this field.
You can also enter a description of the appointment or any other text. When you are finished, press B under OK.
The Event Form screen returns with the Start: field highlighted.
97
