Overview Installation Troubleshooting Contact FAQ Glossary License
Configuration: Basic Advanced TCP/IP
Installation
To install your VT2142, you need to:
•Review “Before You Begin” on page 4 and “Precautions” on page 5
•
•
Gather Information (see page 5)
Connect the VT2142 (see page 5)
Before You Begin
Before you begin installation, check that you received the following items with your VT2142:
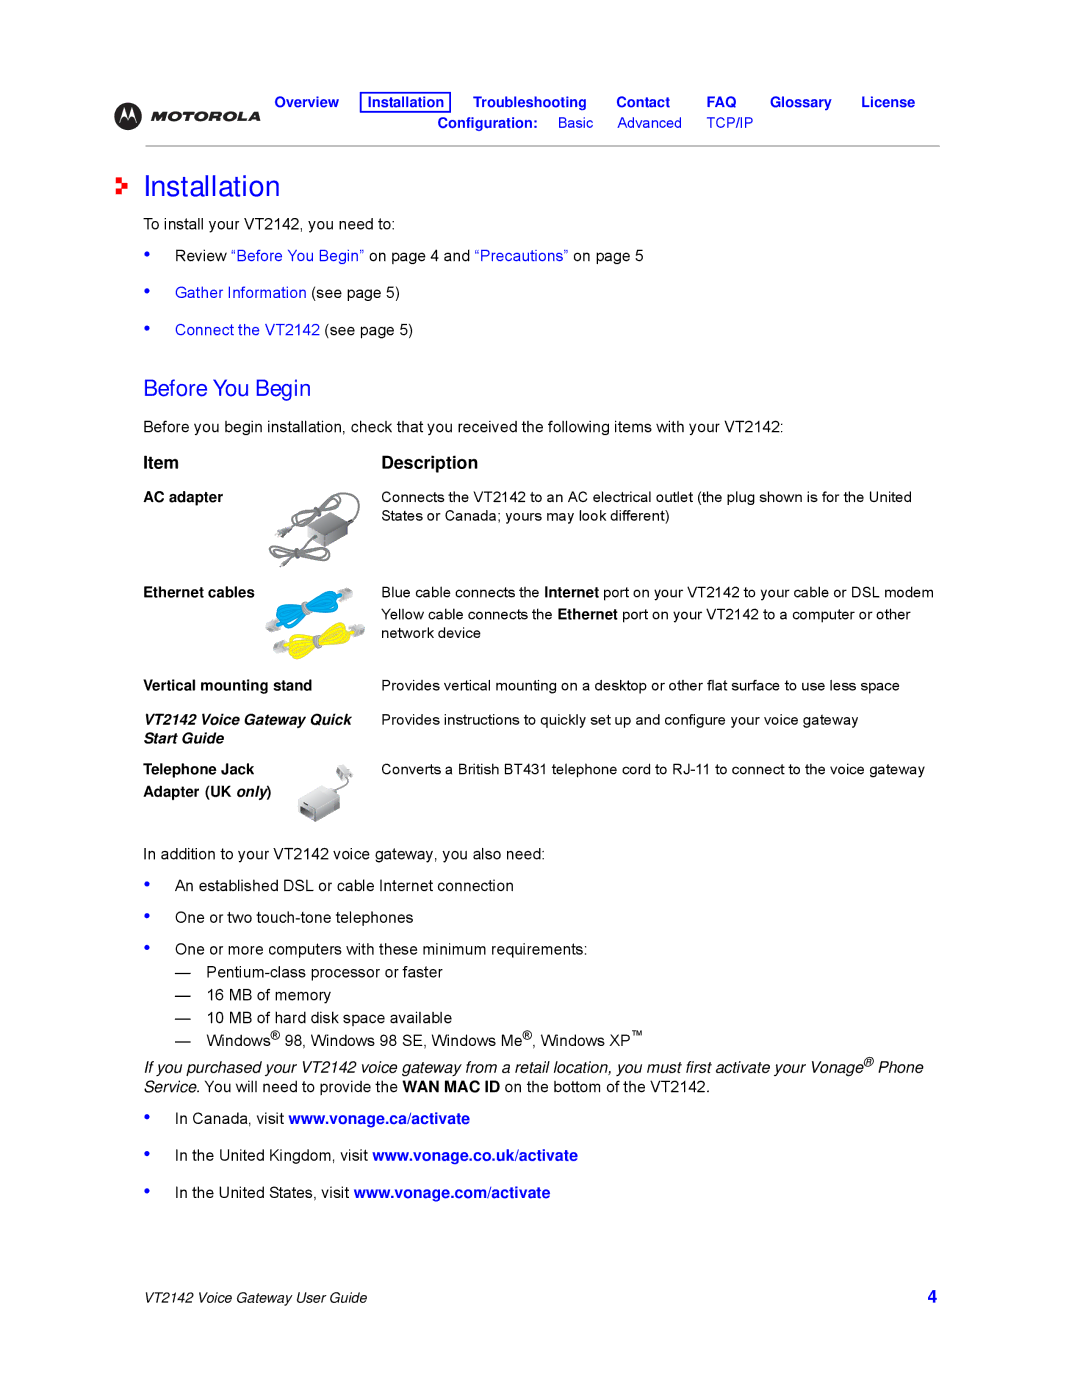
Item | Description |
AC adapter | Connects the VT2142 to an AC electrical outlet (the plug shown is for the United |
| States or Canada; yours may look different) |
Ethernet cables | Blue cable connects the Internet port on your VT2142 to your cable or DSL modem |
| Yellow cable connects the Ethernet port on your VT2142 to a computer or other |
| network device |
Vertical mounting stand | Provides vertical mounting on a desktop or other flat surface to use less space |
VT2142 Voice Gateway Quick | Provides instructions to quickly set up and configure your voice gateway |
Start Guide |
|
Telephone Jack | Converts a British BT431 telephone cord to |
Adapter (UK only) |
|
In addition to your VT2142 voice gateway, you also need:
•
•
•
An established DSL or cable Internet connection One or two
One or more computers with these minimum requirements:
—
—16 MB of memory
—10 MB of hard disk space available
—Windows® 98, Windows 98 SE, Windows Me®, Windows XP™
If you purchased your VT2142 voice gateway from a retail location, you must first activate your Vonage® Phone Service. You will need to provide the WAN MAC ID on the bottom of the VT2142.
•
•
•
In Canada, visit www.vonage.ca/activate
In the United Kingdom, visit www.vonage.co.uk/activate
In the United States, visit www.vonage.com/activate
VT2142 Voice Gateway User Guide | 4 |
