Moxa Technologies user manual Removing an Existing CP-168U Board Configuration

Models: CP-168U

1 63
Download 63 pages 28.34 Kb
Page 24
Image 24
Removing an Existing CP-168U Board Configuration

refer to the instructions from the previous section, “Installing the Driver.”

1.Open the [Control Panel], click on the [Network] icon, and select the [Adapters] tab.

2.Click on MOXA Smartio/Industio Family Adapter from the Network Adapters list.

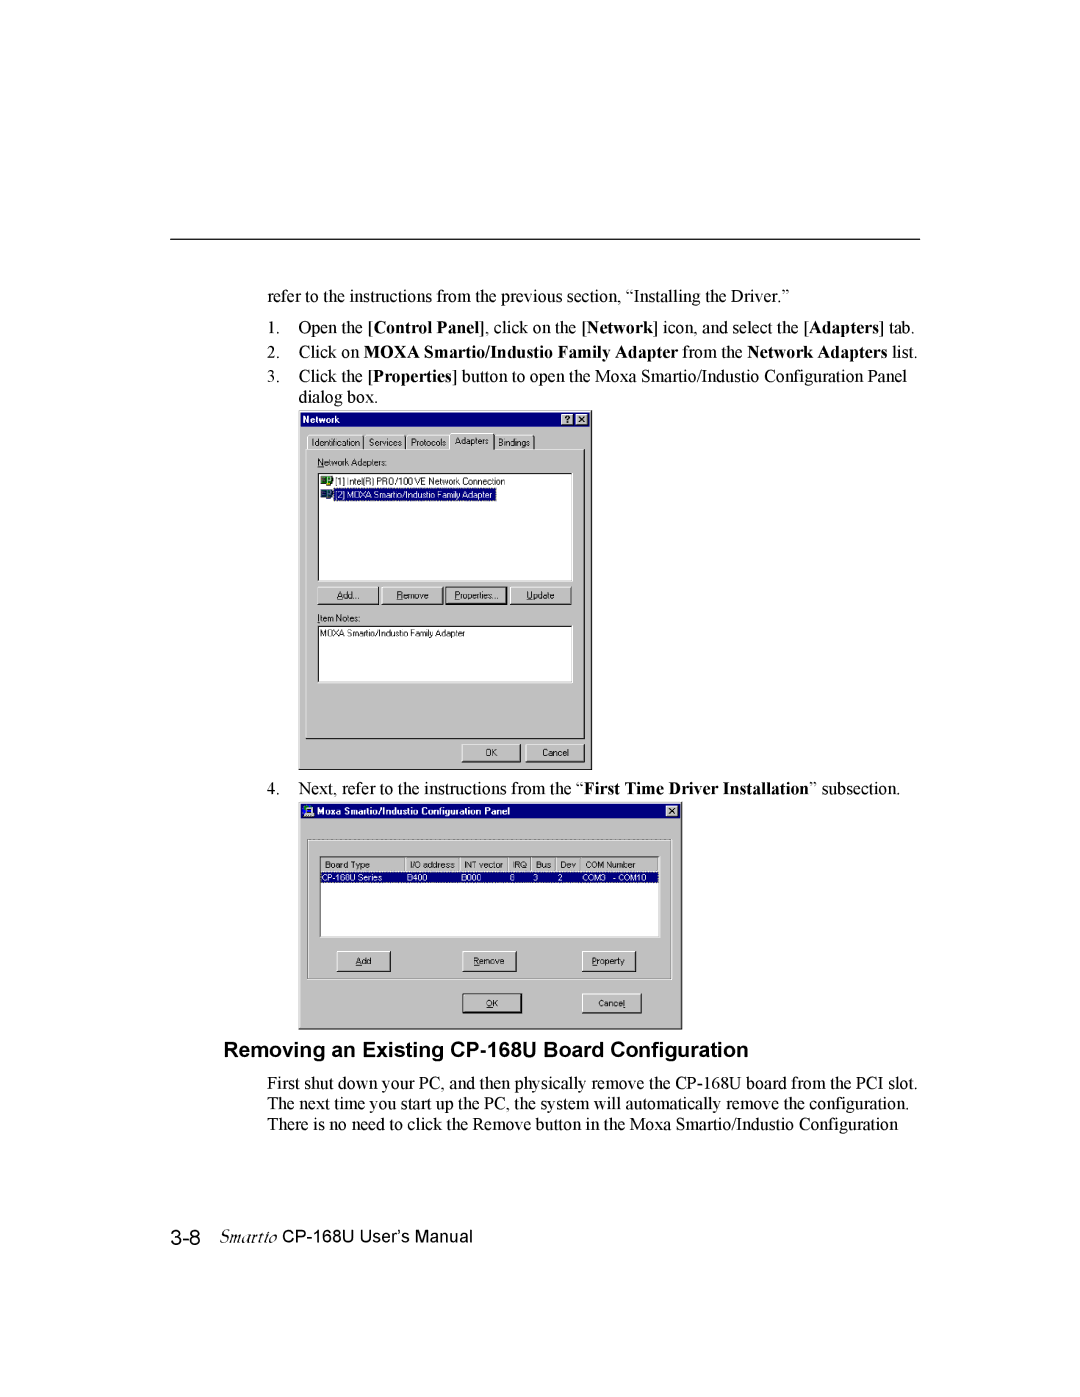
3.Click the [Properties] button to open the Moxa Smartio/Industio Configuration Panel dialog box.

4.Next, refer to the instructions from the “First Time Driver Installation” subsection.

Removing an Existing CP-168U Board Configuration

First shut down your PC, and then physically remove the CP-168U board from the PCI slot. The next time you start up the PC, the system will automatically remove the configuration. There is no need to click the Remove button in the Moxa Smartio/Industio Configuration

3-8Smartio CP-168U User’s Manual

Page 24
Image 24
Moxa Technologies user manual Removing an Existing CP-168U Board Configuration, Smartio CP-168U User’s Manual