Software Installation
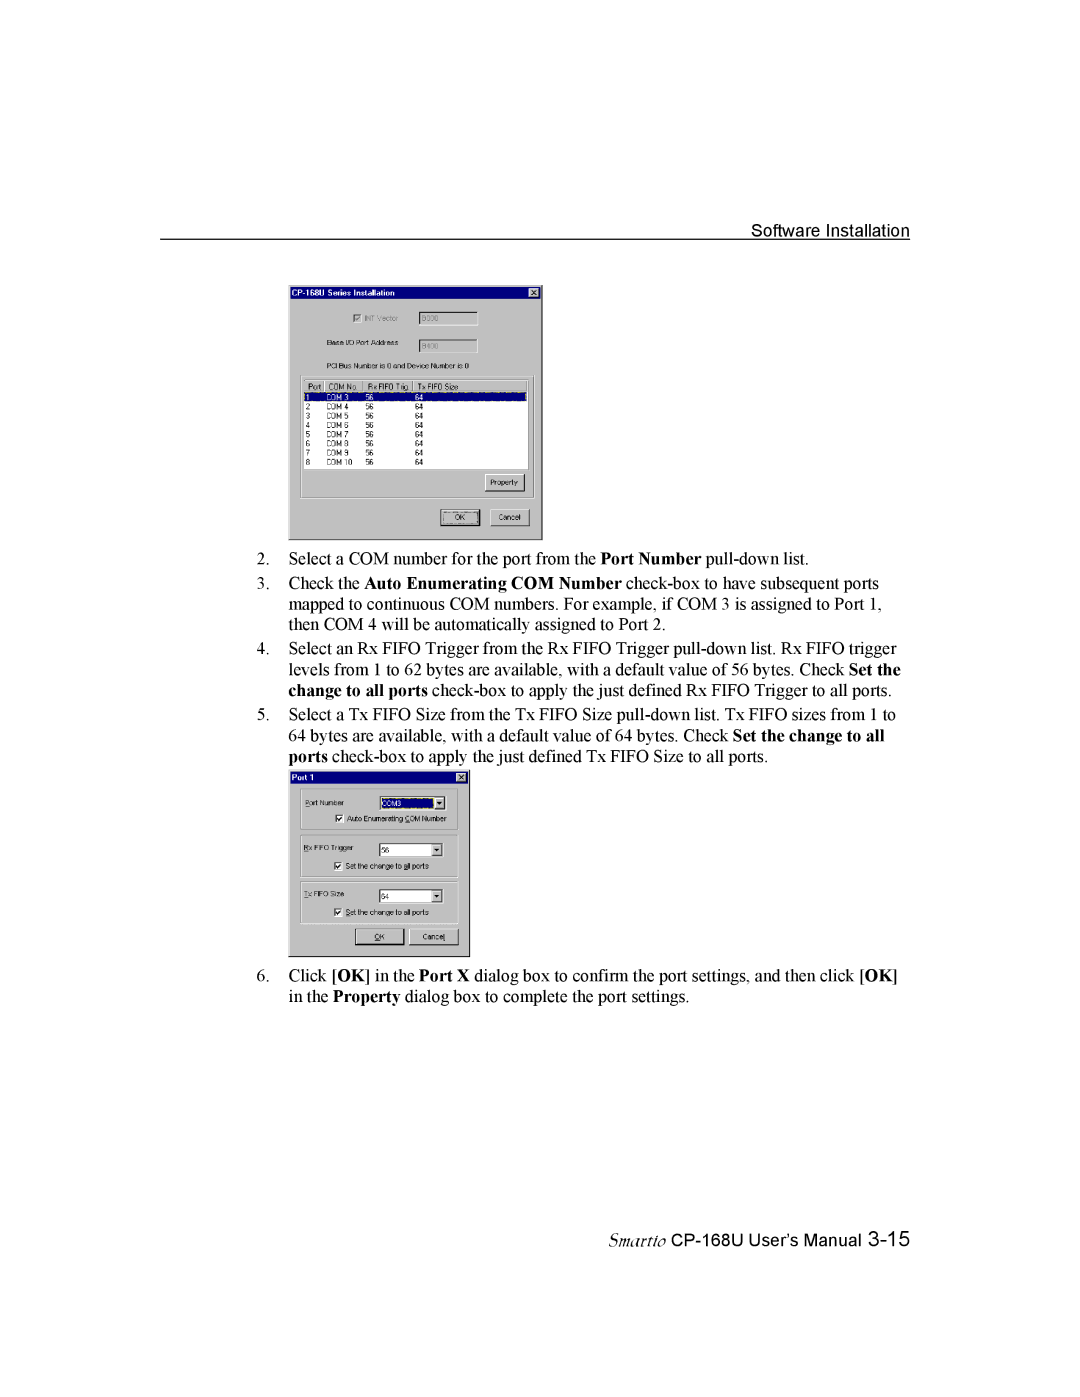
2.Select a COM number for the port from the Port Number pull-down list.
3.Check the Auto Enumerating COM Number check-box to have subsequent ports mapped to continuous COM numbers. For example, if COM 3 is assigned to Port 1, then COM 4 will be automatically assigned to Port 2.
4.Select an Rx FIFO Trigger from the Rx FIFO Trigger pull-down list. Rx FIFO trigger levels from 1 to 62 bytes are available, with a default value of 56 bytes. Check Set the change to all ports check-box to apply the just defined Rx FIFO Trigger to all ports.
5.Select a Tx FIFO Size from the Tx FIFO Size pull-down list. Tx FIFO sizes from 1 to 64 bytes are available, with a default value of 64 bytes. Check Set the change to all ports check-box to apply the just defined Tx FIFO Size to all ports.
6.Click [OK] in the Port X dialog box to confirm the port settings, and then click [OK] in the Property dialog box to complete the port settings.
Smartio CP-168U User’s Manual 3-15