SERVICING
Jumper J1 can be changed on the board to change the RJ45 copper port’s MDIX setting. See Connecting the Unit on page 9 for more details.
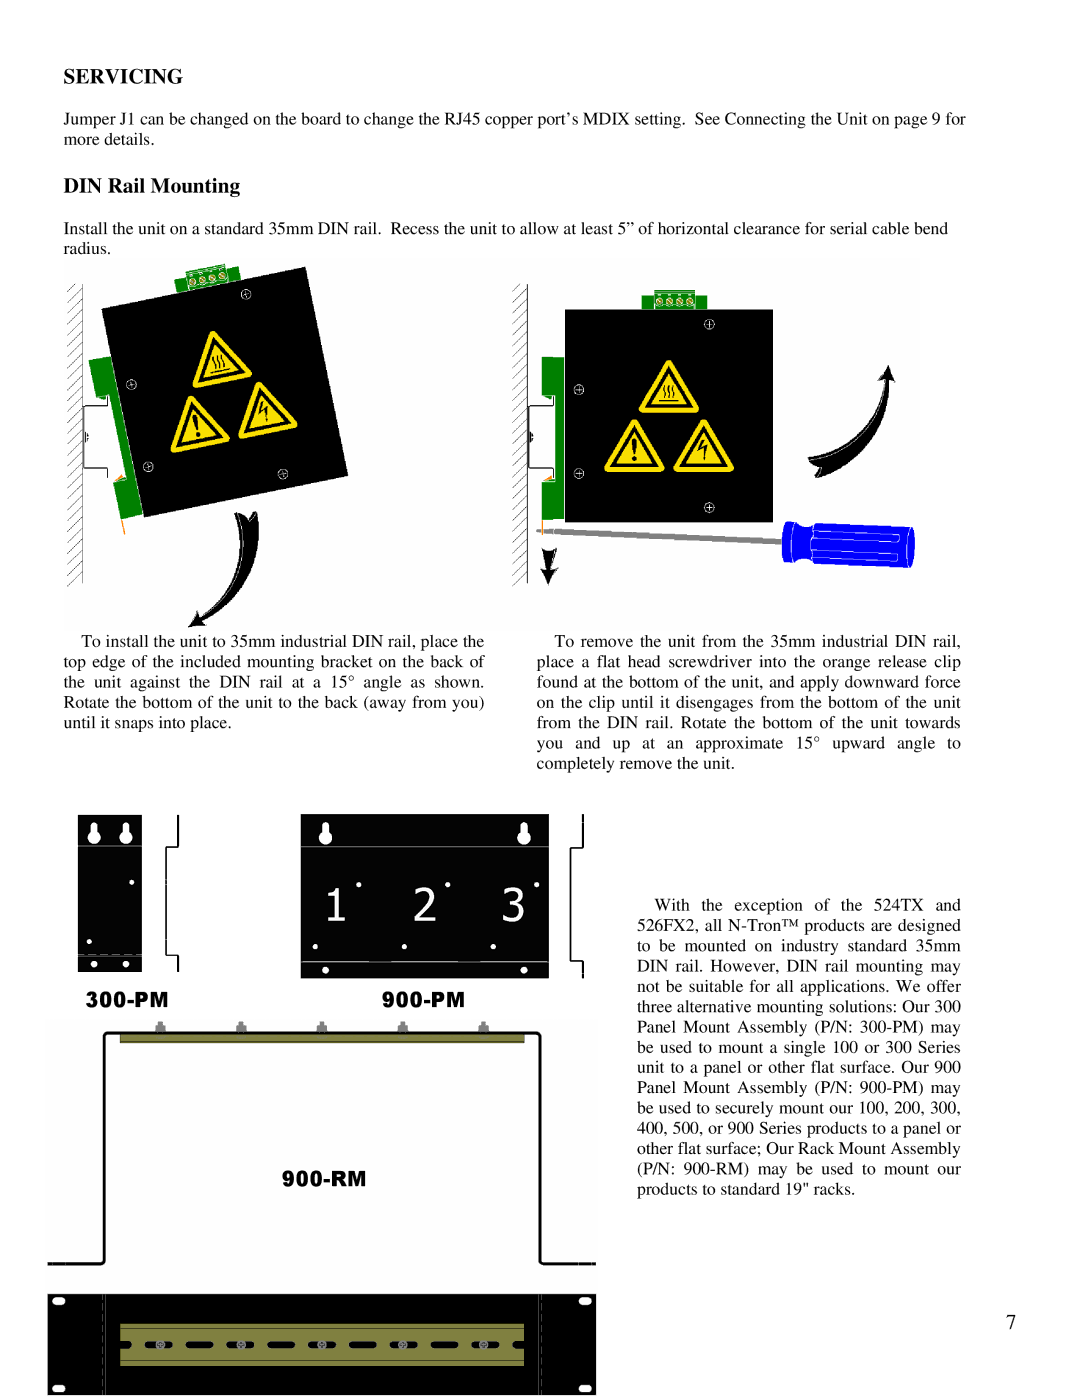
DIN Rail Mounting
Install the unit on a standard 35mm DIN rail. Recess the unit to allow at least 5” of horizontal clearance for serial cable bend radius.
To install the unit to 35mm industrial DIN rail, place the top edge of the included mounting bracket on the back of the unit against the DIN rail at a 15° angle as shown. Rotate the bottom of the unit to the back (away from you) until it snaps into place.
To remove the unit from the 35mm industrial DIN rail, place a flat head screwdriver into the orange release clip found at the bottom of the unit, and apply downward force on the clip until it disengages from the bottom of the unit from the DIN rail. Rotate the bottom of the unit towards you and up at an approximate 15° upward angle to completely remove the unit.
300-PM 900-PM
900-RM
With the exception of the 524TX and 526FX2, all
12/1/2006 | 7 |