8The 12V TRIGGER IN and OUT connectors are 3.5mm monotype miniature phone jacks, with the centre pin of each serving respectively as a 12V signal sensor and 12V signal driver. We recommend that you use a good quality cable with shield when attaching the 3.5mm monotype plugs so as to prevent false triggering of the amplifier due to electro-magnetic interference from nearby electronic equipment.
The 12V-IN TRIGGER allows you to have an external 12V signal turn on the NAD CI-series amplifier from standby. This 12V signal must be a continuous 12V signal in order to keep the amplifier in the on state. Once you remove the 12V signal the amplifier will return to standby. The 12V-OUT TRIGGER allows you to control other products with a 12V sensor, by the NAD CI-series amplifier. The 12V-OUT TRIGGER is constantly present when the NAD CI-series amplifier is in the on state, and absent when in standby or VACATION state.
NOTES
•Check the specifications of the trigger input terminal on the other components to ensure these are compatible with the NAD CI-series amplifiers.
•All 12V-TRIGGERinputs and outputs on other NAD components with a 12V-TRIGGERfeature are fully compatible with the NAD CI–series amplifier’s IN/OUT 12V-TRIGGER.
•Before making any connections to any 12V-TRIGGERinput or output, make sure all components are disconnected from the AC mains.
•If in doubt over the connections, installation and/or operation of the IN/OUT 12V-TRIGGERconnections consult your NAD dealer or sales representative.
•Failure to observe the above may result in damage to the NAD CI- series amplifier and/or any ancillary components attached to it.
9There is one set of speaker terminals per amplifier channel. They are marked “+” and “-” to indicate their polarity.
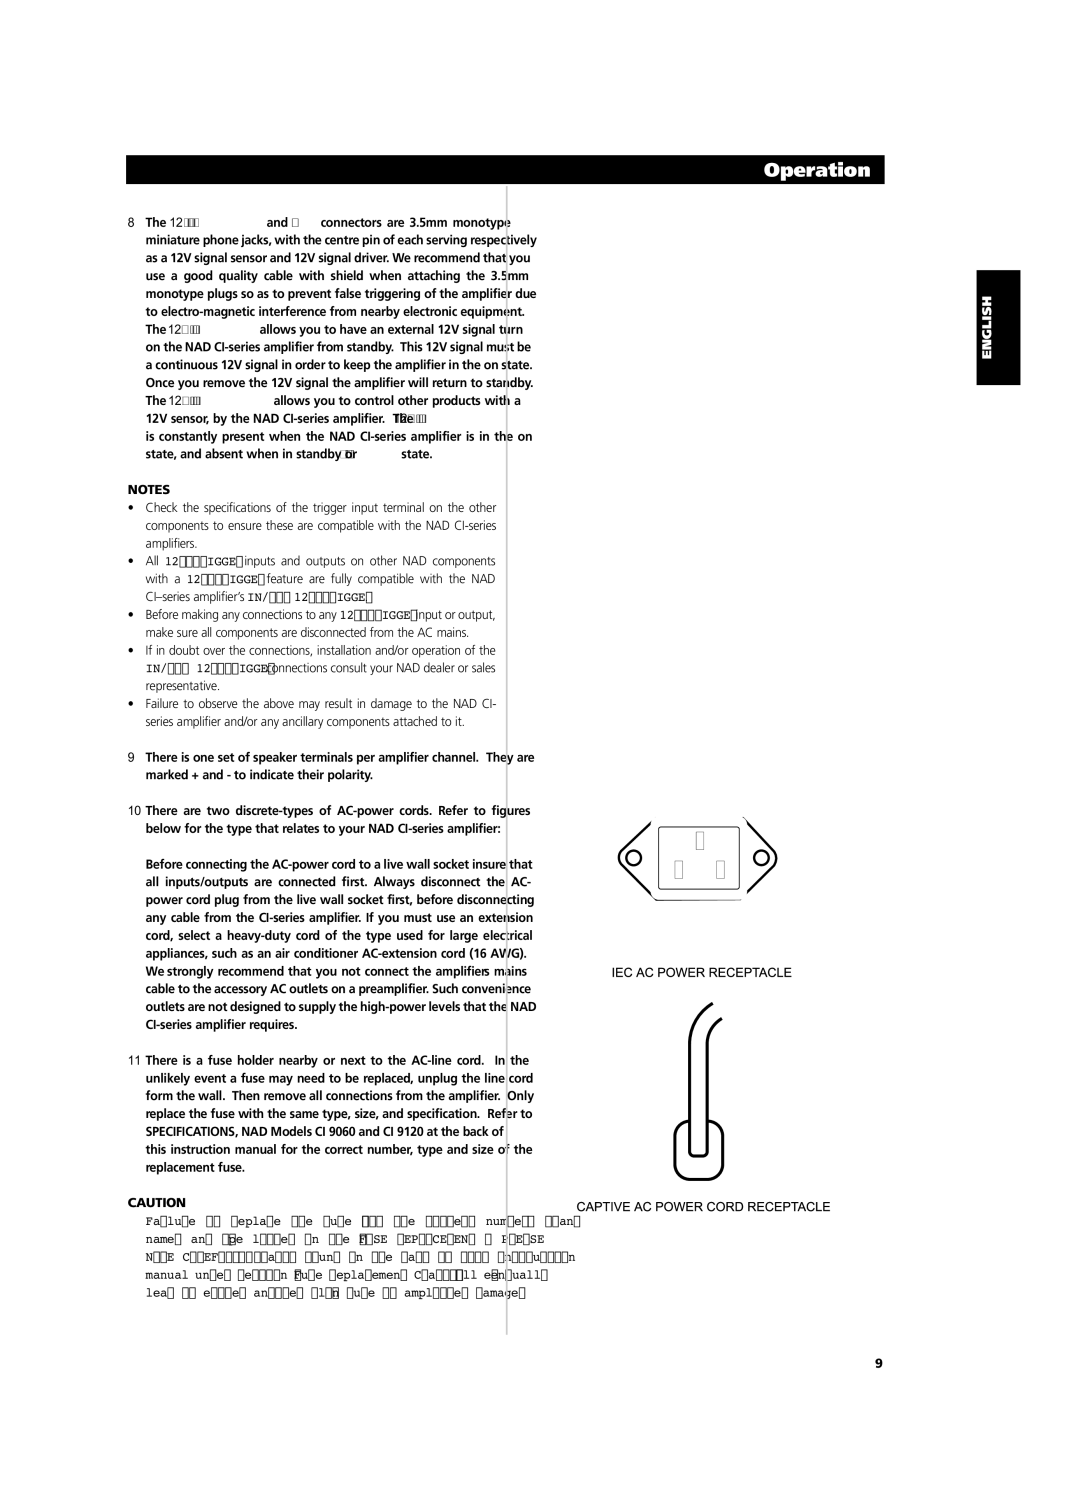
10There are two discrete-types of AC-power cords. Refer to figures below for the type that relates to your NAD CI-series amplifier:
Before connecting the AC-power cord to a live wall socket insure that all inputs/outputs are connected first. Always disconnect the AC- power cord plug from the live wall socket first, before disconnecting any cable from the CI-series amplifier. If you must use an extension cord, select a heavy-duty cord of the type used for large electrical appliances, such as an air conditioner AC-extension cord (16 AWG). We strongly recommend that you not connect the amplifier’s mains cable to the accessory AC outlets on a preamplifier. Such convenience outlets are not designed to supply the high-power levels that the NAD CI-series amplifier requires.
11There is a fuse holder nearby or next to the AC-line cord. In the unlikely event a fuse may need to be replaced, unplug the line cord form the wall. Then remove all connections from the amplifier. Only replace the fuse with the same type, size, and specification. Refer to “SPECIFICATIONS, NAD Models CI 9060 and CI 9120” at the back of this instruction manual for the correct number, type and size of the replacement fuse.
CAUTION
Failure to replace the fuse with the correct number, brand name, and type listed in the “FUSE REPLACEMENT - PLEASE NOTE CAREFULLY” chart, found in the back of this instruction manual under section “Fuse Replacement Chart” will eventually lead to either another blown fuse or amplifier damage.