GEM-P9600, GEM-P816, GEM-P1632 specifications
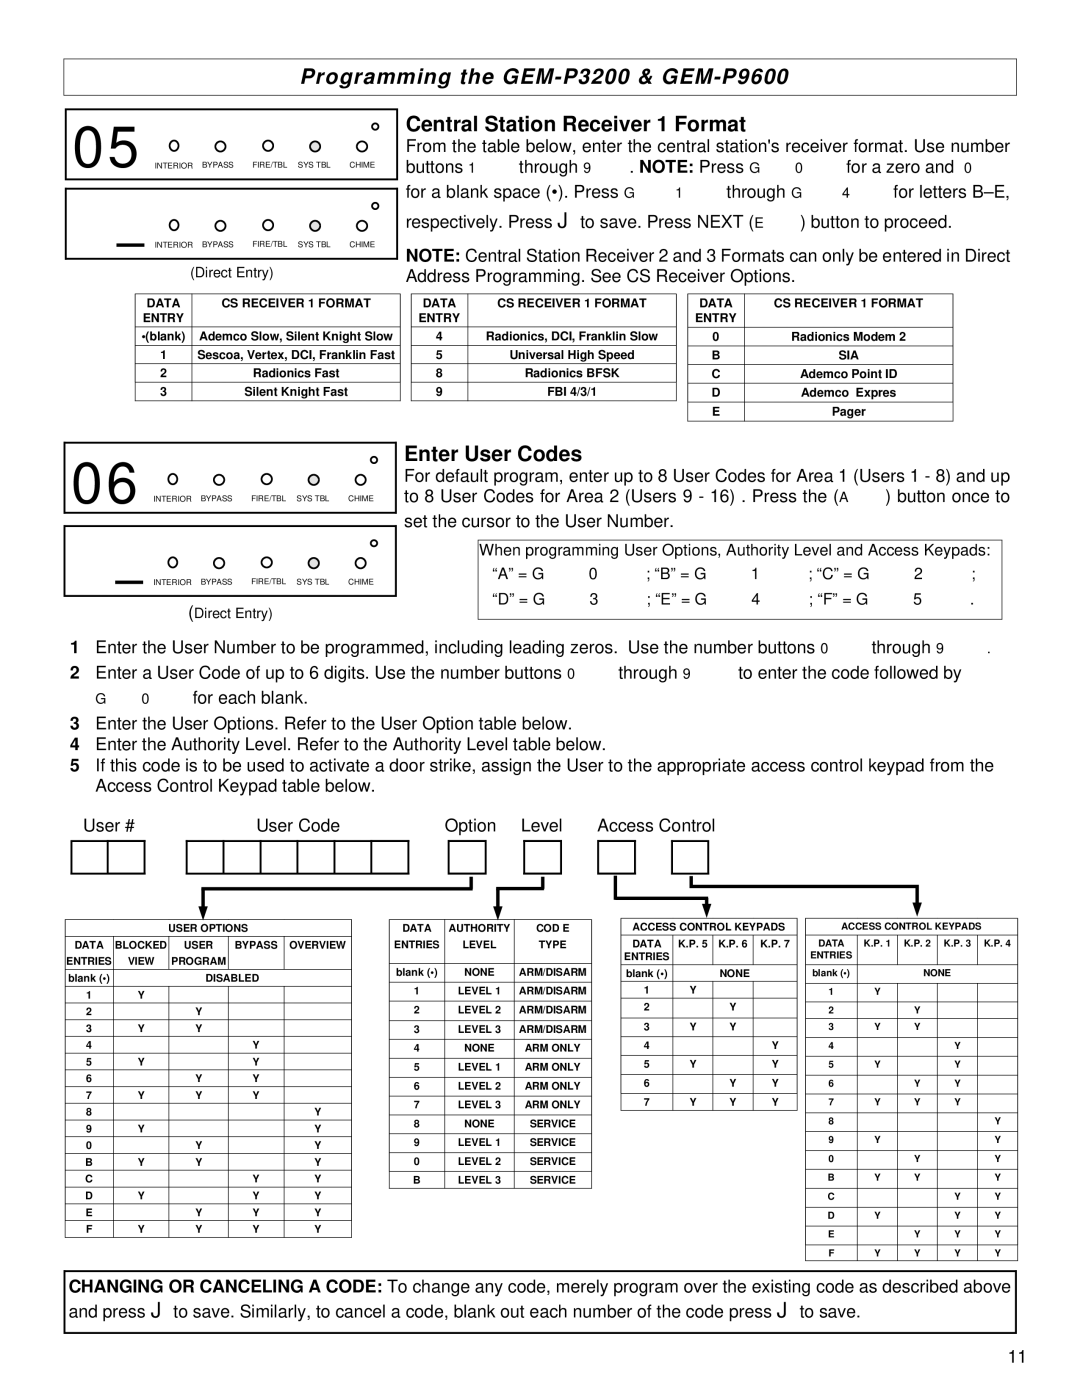
Napco Security Technologies is known for its innovative and robust security solutions, and its GEM series control panels, particularly the GEM-P9600, GEM-P1632, and GEM-P816, exemplify this commitment to excellence in security technology. These panels are designed to meet the diverse needs of residential and commercial properties, offering a combination of reliability, functionality, and user-friendly features.Starting with the GEM-P9600, this control panel serves as a central hub for monitoring and controlling various security devices. One of its standout features is its ability to support up to 96 zones, making it suitable for larger installations. Its versatile communication capabilities include options for TCP/IP, cellular, and telephone dialer systems, ensuring that users can stay connected regardless of their circumstances. The panel also integrates seamlessly with Napco's range of peripheral devices, including motion detectors, door/window contacts, and glass break sensors, enhancing the overall security ecosystem.
The GEM-P1632 is tailored for medium-sized applications, supporting up to 32 zones. Its user-friendly interface includes an LCD keypad that provides live feedback and allows for easy programming. Just like the GEM-P9600, it supports multiple communication methods, which facilitate real-time alerts and remote management through mobile devices or web applications. The GEM-P1632 also features an advanced event logging system, offering comprehensive records of system activity, which is invaluable for both security professionals and end-users.
In contrast, the GEM-P816 is designed for smaller setups, accommodating up to 16 zones. Despite its compact nature, it boasts many of the same powerful features as its larger counterparts, including compatibility with various communication technologies and integration with smart home systems. Users appreciate its simplified programming, which allows for quick installation and setup. Additionally, with the GEM-P816, end-users have the option to add wireless capabilities, providing flexibility in choosing security devices based on their unique needs.
All three panels utilize advanced technologies, including robust encryption protocols for secure communication and intuitive user interfaces that simplify operation. The GEM series is built with scalability in mind, allowing users to expand their systems effortlessly as their security needs evolve. With a strong emphasis on performance and reliability, Napco's GEM-P9600, GEM-P1632, and GEM-P816 control panels are ideal solutions for anyone looking to enhance the security of their homes or businesses.

