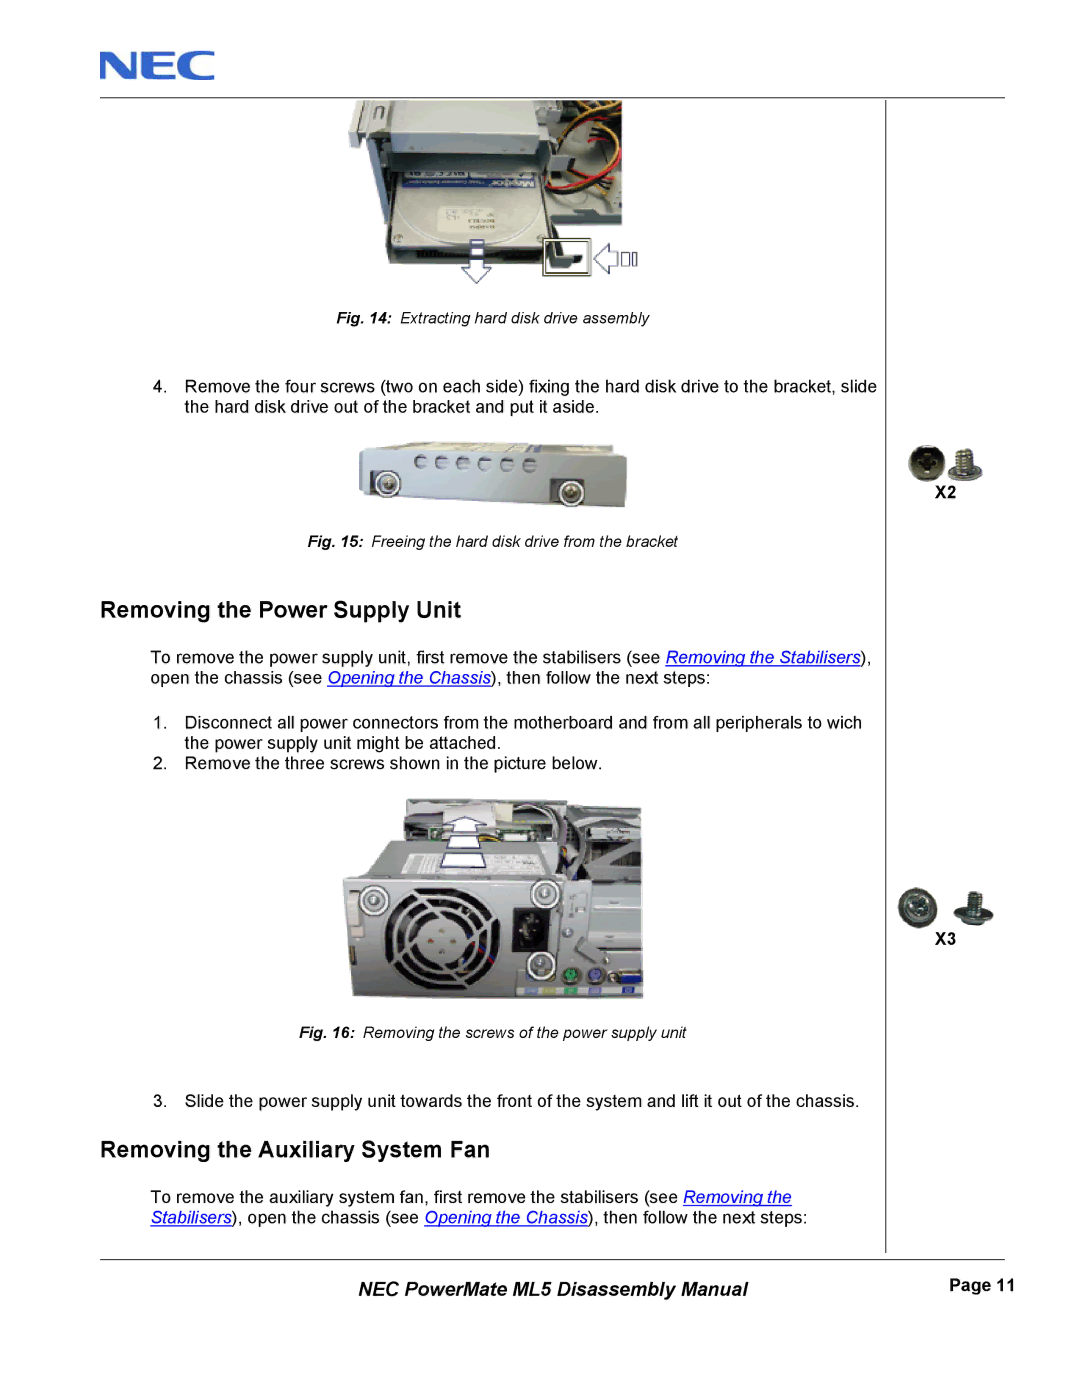
Fig. 14: Extracting hard disk drive assembly
4.Remove the four screws (two on each side) fixing the hard disk drive to the bracket, slide the hard disk drive out of the bracket and put it aside.
Fig. 15: Freeing the hard disk drive from the bracket
Removing the Power Supply Unit
To remove the power supply unit, first remove the stabilisers (see Removing the Stabilisers), open the chassis (see Opening the Chassis), then follow the next steps:
1.Disconnect all power connectors from the motherboard and from all peripherals to wich the power supply unit might be attached.
2.Remove the three screws shown in the picture below.
Fig. 16: Removing the screws of the power supply unit
3. Slide the power supply unit towards the front of the system and lift it out of the chassis.
Removing the Auxiliary System Fan
To remove the auxiliary system fan, first remove the stabilisers (see Removing the Stabilisers), open the chassis (see Opening the Chassis), then follow the next steps:
X2
X3
NEC PowerMate ML5 Disassembly Manual | Page 11 |