Note: When reassembling the floppy disk drive, slide the floppy disk drive bracket in the chassis, taking care that the tabs (A, B, C, D) of the bracket fit perfectly in the corresponding holes of the chassis.
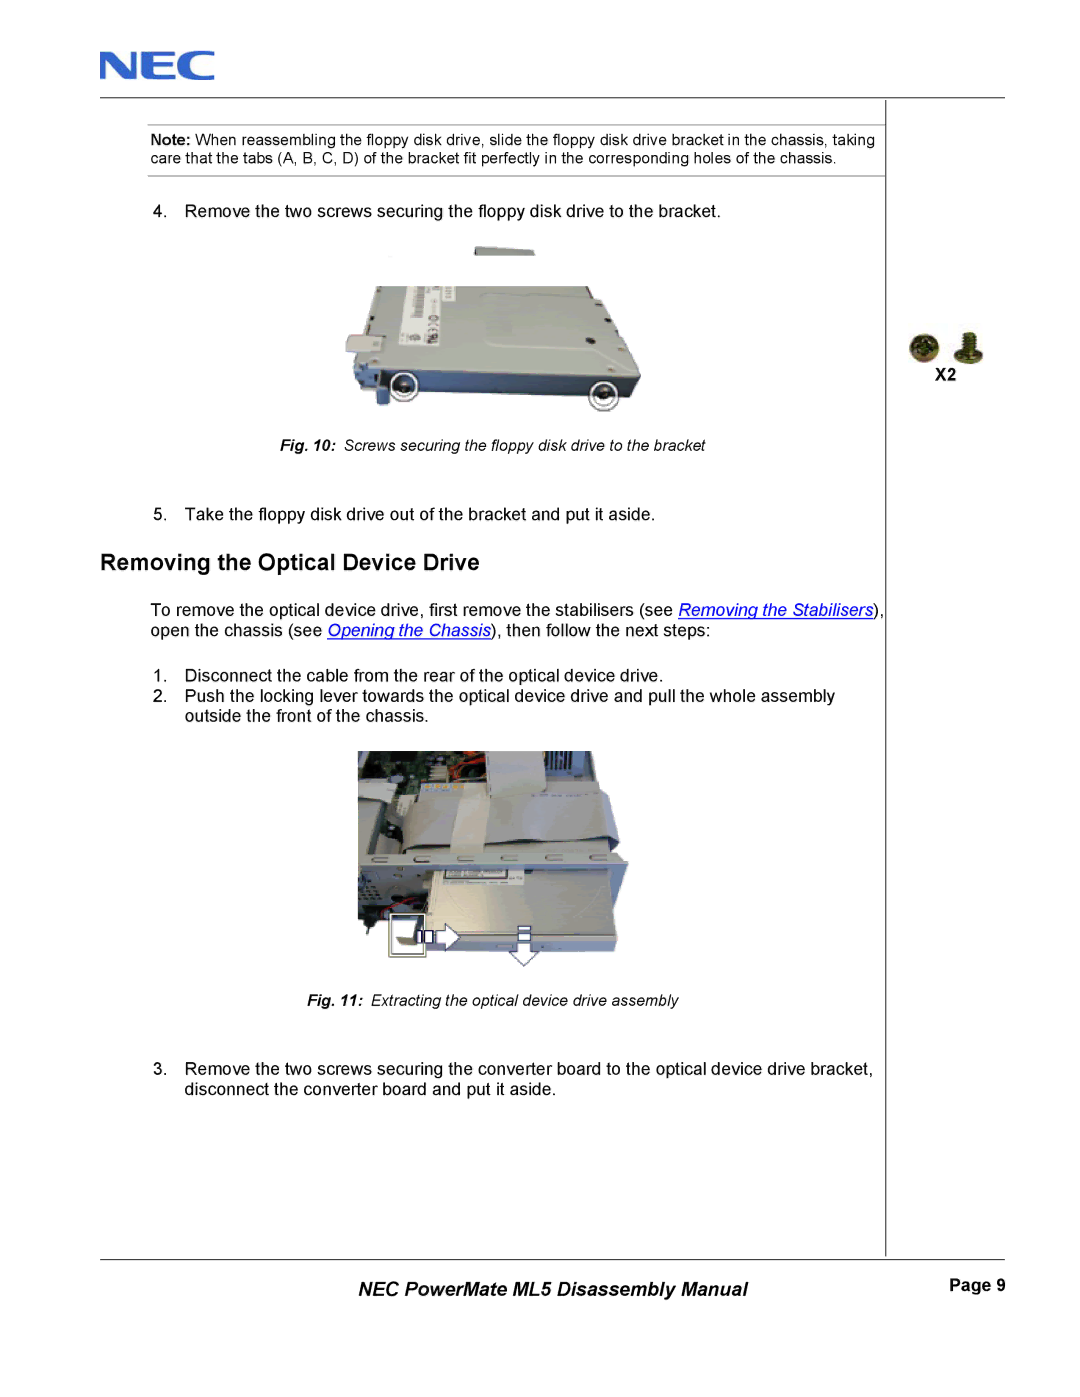
4. Remove the two screws securing the floppy disk drive to the bracket.
Fig. 10: Screws securing the floppy disk drive to the bracket
5. Take the floppy disk drive out of the bracket and put it aside.
Removing the Optical Device Drive
To remove the optical device drive, first remove the stabilisers (see Removing the Stabilisers), open the chassis (see Opening the Chassis), then follow the next steps:
1.Disconnect the cable from the rear of the optical device drive.
2.Push the locking lever towards the optical device drive and pull the whole assembly outside the front of the chassis.
Fig. 11: Extracting the optical device drive assembly
3.Remove the two screws securing the converter board to the optical device drive bracket, disconnect the converter board and put it aside.
X2
NEC PowerMate ML5 Disassembly Manual | Page 9 |