User’s Manual
Set the
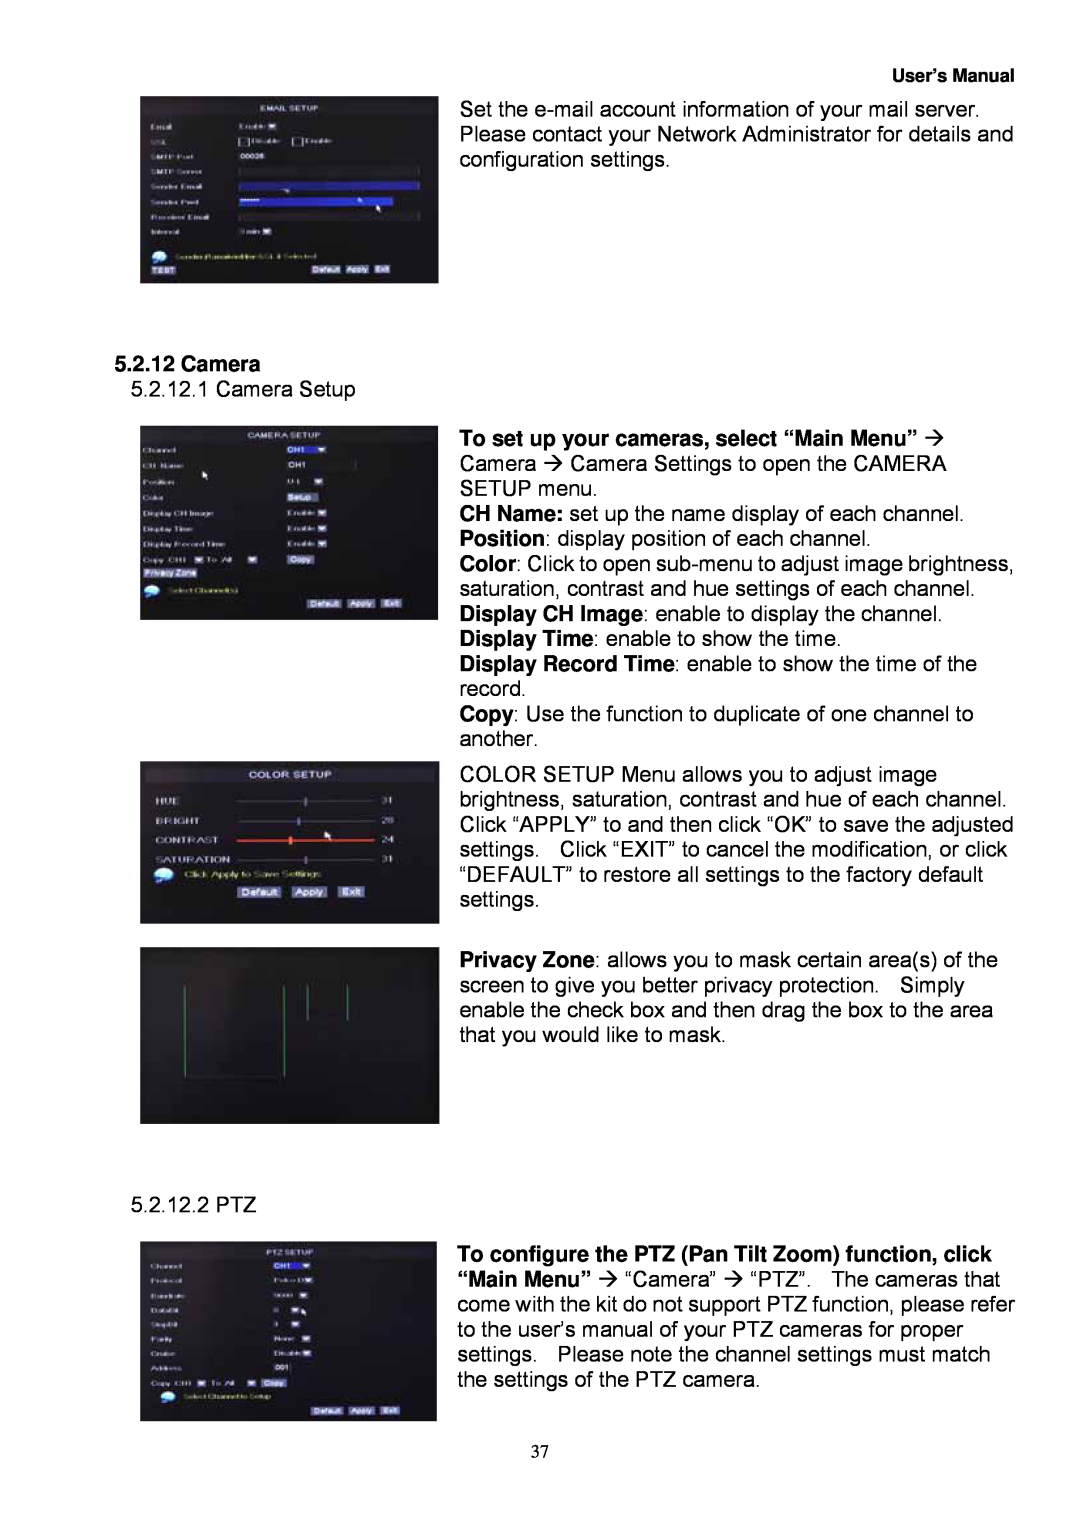
5.2.12Camera
5.2.12.1Camera Setup
To set up your cameras, select “Main Menu”
Camera Camera Settings to open the CAMERA
SETUP menu.
CH Name: set up the name display of each channel.
Position: display position of each channel.
Color: Click to open
Display Record Time: enable to show the time of the record.
Copy: Use the function to duplicate of one channel to another.
COLOR SETUP Menu allows you to adjust image brightness, saturation, contrast and hue of each channel. Click “APPLY” to and then click “OK” to save the adjusted settings. Click “EXIT” to cancel the modification, or click “DEFAULT” to restore all settings to the factory default settings.
Privacy Zone: allows you to mask certain area(s) of the screen to give you better privacy protection. Simply enable the check box and then drag the box to the area that you would like to mask.
5.2.12.2 PTZ
To configure the PTZ (Pan Tilt Zoom) function, click “Main Menu” “Camera” “PTZ”. The cameras that come with the kit do not support PTZ function, please refer to the user’s manual of your PTZ cameras for proper settings. Please note the channel settings must match the settings of the PTZ camera.
37