5.Once drivers have finished installing, restart your PC.
6.Once the drivers have successfully been installed, you will not be required to install the drivers again.
d)Disconnecting the Supplied GAMECUBE™ USB Memory Card from your PC
Always check you have shutdown the GAMESAVES for GAMECUBE™ application on your PC before disconnecting the GAMECUBE™ USB Memory Card from the supplied USB cable and PC.
e)Starting-up the GAMESAVES for GAMECUBE™ Interface
1.Make sure you have the supplied USB cable and GAMECUBE™ USB Memory Card correctly connected to a spare USB socket on your PC.
2.
PLEASE NOTE: DO NOT disconnect the GAMECUBE™ USB Memory Card while using GAMESAVES for GAMECUBE™ and never have the supplied GAMECUBE™ USB Memory Card connected to your PC and GAMECUBE™ at the same time.
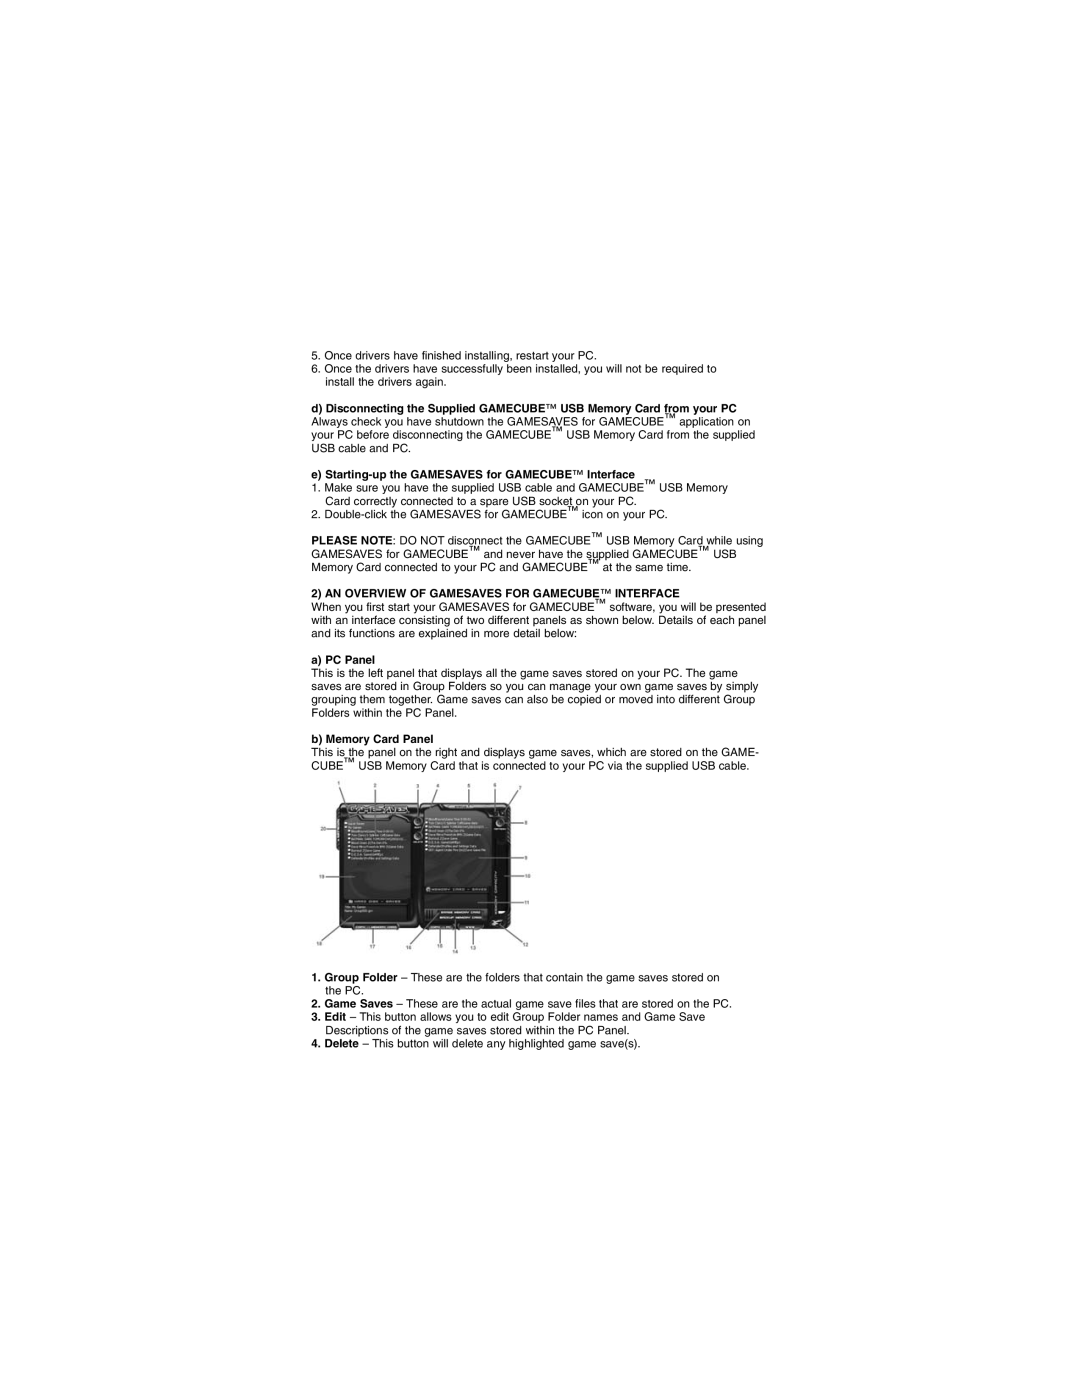
2) AN OVERVIEW OF GAMESAVES FOR GAMECUBE™ INTERFACE
When you first start your GAMESAVES for GAMECUBE™ software, you will be presented with an interface consisting of two different panels as shown below. Details of each panel and its functions are explained in more detail below:
a) PC Panel
This is the left panel that displays all the game saves stored on your PC. The game saves are stored in Group Folders so you can manage your own game saves by simply grouping them together. Game saves can also be copied or moved into different Group Folders within the PC Panel.
b) Memory Card Panel
This is the panel on the right and displays game saves, which are stored on the GAME- CUBE™ USB Memory Card that is connected to your PC via the supplied USB cable.
1.Group Folder – These are the folders that contain the game saves stored on the PC.
2.Game Saves – These are the actual game save files that are stored on the PC.
3.Edit – This button allows you to edit Group Folder names and Game Save Descriptions of the game saves stored within the PC Panel.
4.Delete – This button will delete any highlighted game save(s).