Section 2: Installing Printer Software
Installing the OKIPAGE 6e Software for Windows 95
1.Turn on your computer to start Windows.
✔If “New Hardware Found” prompt appears, click “Driver from disk provided by hardware manufacturer,” then click OK. Insert the OKIPAGE 6e CD into your
2.Close any open applications.
3.Insert the OKIPAGE 6e CD into your
4.Click the Start button on the Windows taskbar, then choose Settings→Printers.
5.
6.The Add Printer Wizard screen appears; click Next to begin the installation.
7.Select Local or Network printer, (depending on your configuration), then click Next.
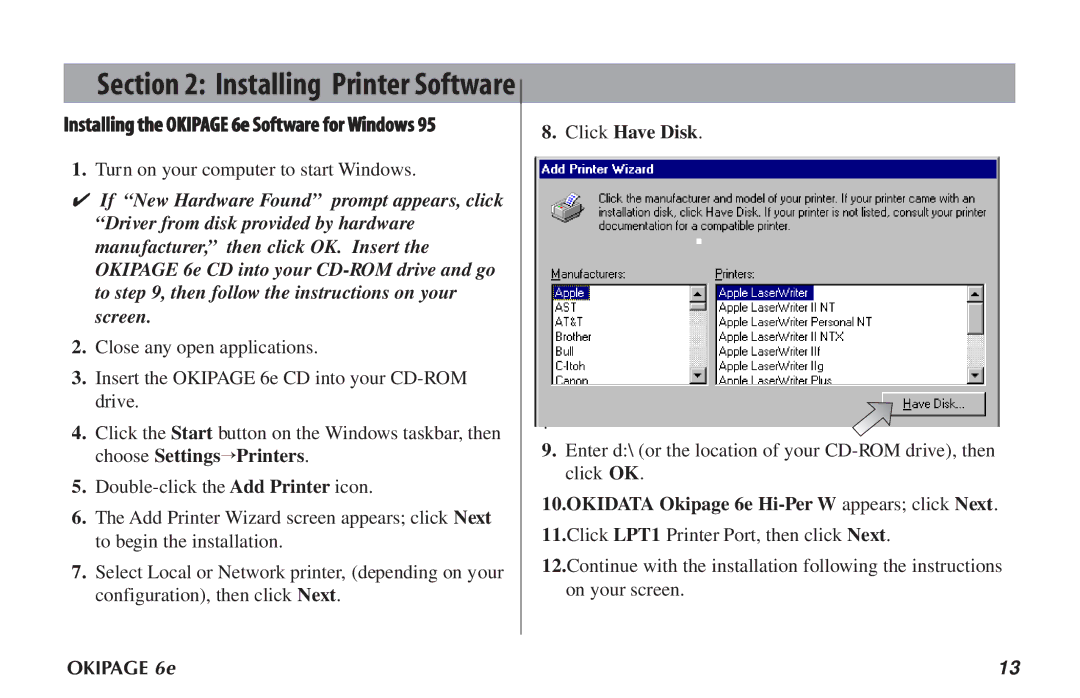
8. Click Have Disk.
.
9.Enter d:\ (or the location of your
10.OKIDATA Okipage 6e Hi-Per W appears; click Next.
11.Click LPT1 Printer Port, then click Next.
12.Continue with the installation following the instructions on your screen.
OKIPAGE 6e | 13 |