Manuals
/
Omega Engineering
/
Marine Equipment
/
Marine Battery
Omega Engineering
OMR-6520, OMR-6510
manual
Software Utility
Models:
OMR-6520
OMR-6510
1
35
39
39
Download
39 pages
57.03 Kb
32
33
34
35
36
37
38
39
Specifications
Install
Functional Block Diagram
Application wiring of OMR-6520
Setup
Format of OMR Commands
What is
Features of OMR-6520
Using Operations
Page 35
Image 35
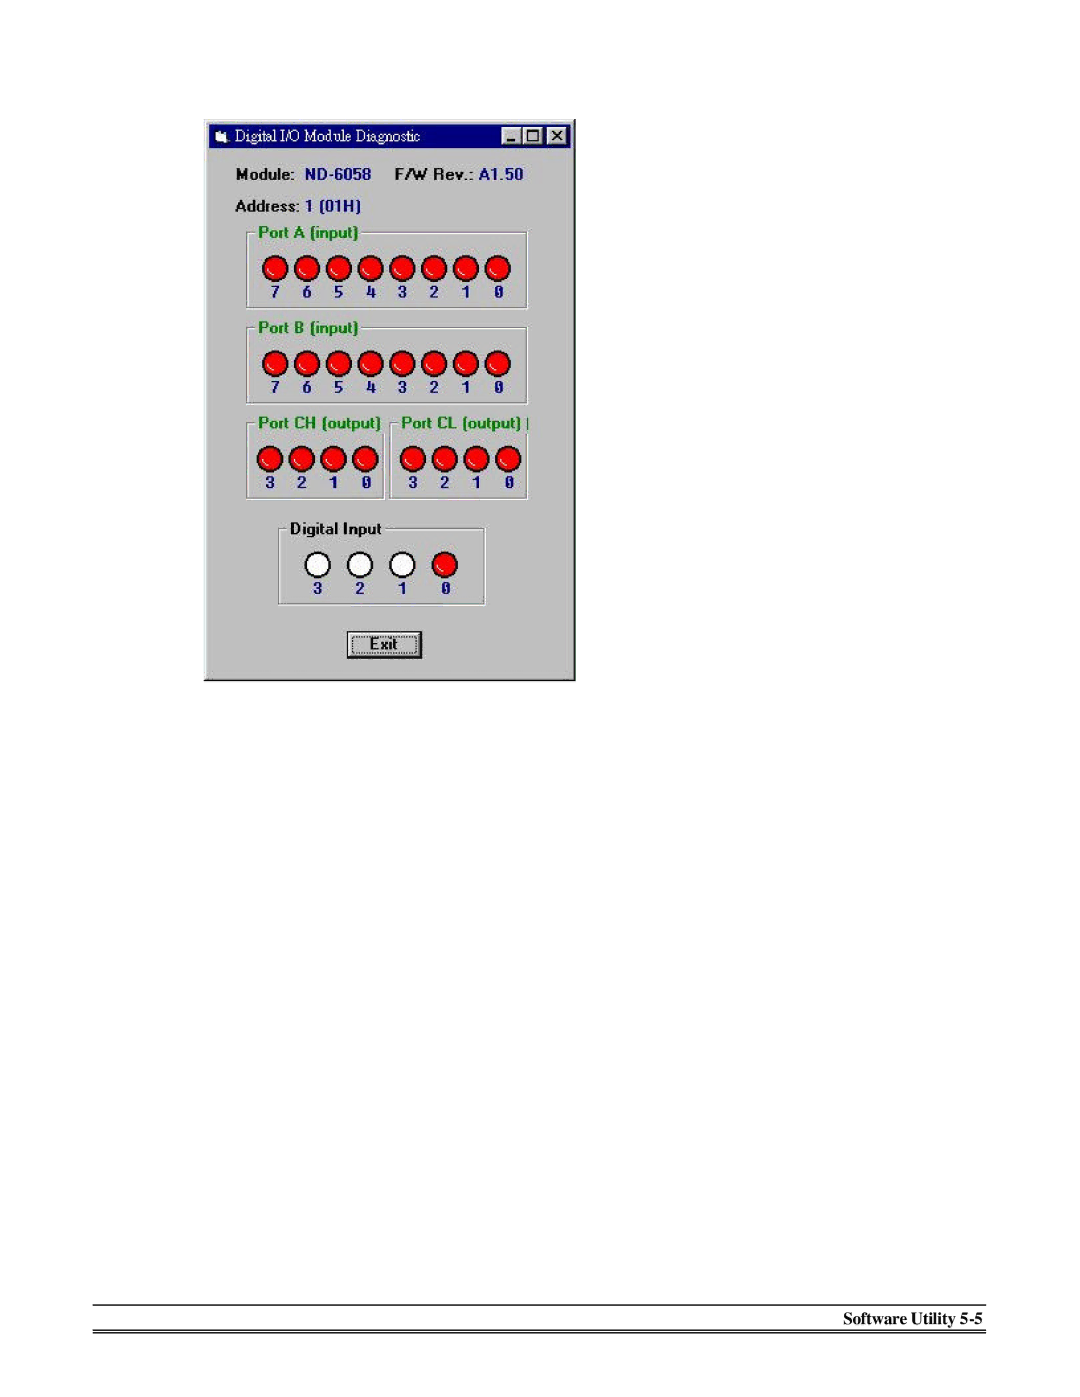
Software Utility
5-5
Page 34
Page 36
Page 35
Image 35
Page 34
Page 36
Contents
3581 for
Contents
Introduction
What is OMR ?
Outstanding Features of OMR
Introduction
EIA RS-485 Standard
OMR-6000 series products overview
RS-485 on OMR
OMR RS-485 Network Configurations
Branch Topology
Constructing a OMR Network
Shielding
Termination Bus
Format of OMR Commands
How to Calculate Checksum Value
Page
Overview
What is OMR-6520 ?
Features of OMR-6520
OMR-6520
² Input
Specifications of OMR-6520
Look at OMR-6520 & Pin Assignment
Connection Between Host and OMR-6520
Pin Definitions
Functional Block Diagram
Setup
Installation
Programming
Application wiring of OMR-6520
OMR-6510
What is OMR-6510 ?
Features of OMR-6510
Specifications of OMR-6510
Tx+ Rx+ RX
TXIN+
GND SW1
OMR-6510 Functional Block Diagram
OFF
Software is not necessary
+DATA DATA+ Data Data
Page
Initialize a Brand-New OMR
Install a Brand New OMR
Install a Brand-New OMR
Installing Procedure
Install a New OMR to a Existing Network
Initialization Wiring
Equipments for Install a New Module
Page
Software Utility
Software Installation
How to Execute the OMR Administration
Execute the OMR Administration Utility
Search all exist OMR modules
OMR Administration Function Overview
Default RS-232 Communication Port Setting
Change RS-232 Communication Port Setting
Using Operations
Operation-Run Batch
Software Utility
Save and Print OMR modules’ information
Version Information
Software Utility
Using the LED Indication
Troubleshooting and Maintenance
Top
Page
Image
Contents