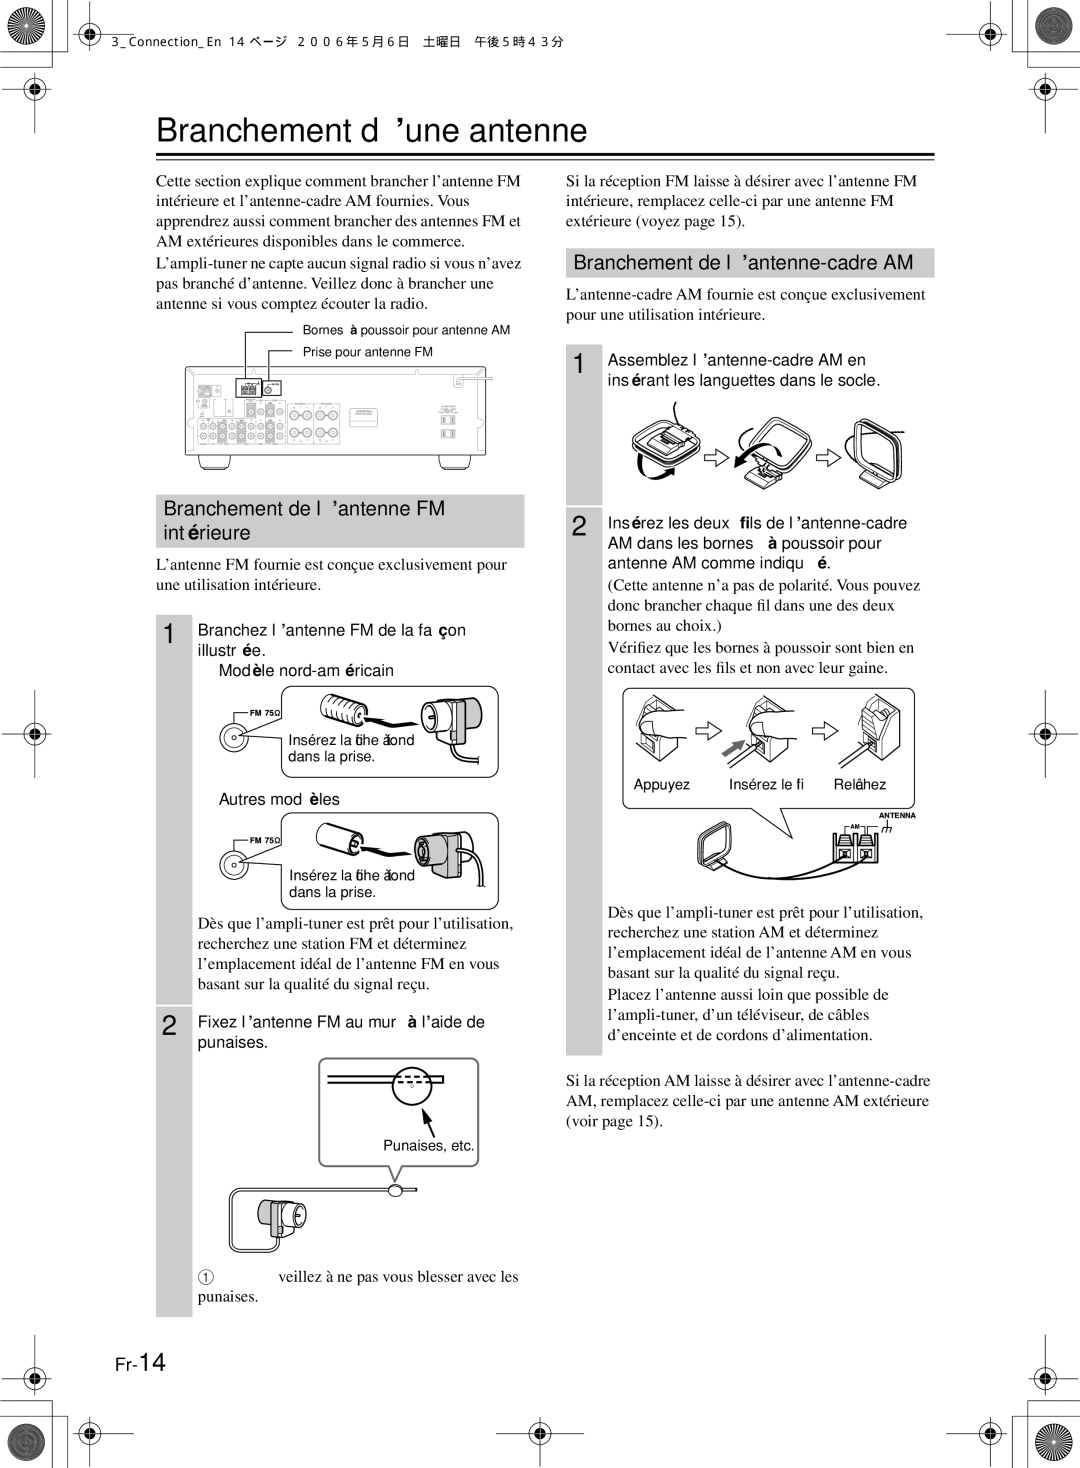
TX-8522, TX-8222 specifications
The Onkyo TX-8222 and TX-8522 are two exceptional stereo receivers that cater to audiophiles and casual listeners alike, offering a perfect blend of performance, versatility, and modern features. Both models stand out in the crowded landscape of audio equipment, making them worthy additions to any home entertainment system.Starting with the TX-8222, this stereo receiver is designed with a focus on delivering high-quality sound. It boasts a robust power output of 50 watts per channel at 8 ohms, ensuring that it can drive a variety of speakers with ease. One of the key features of the TX-8222 is its adaptive circuitry that minimizes noise and distortion, providing clear audio regardless of the listening environment.
The TX-8222 supports a wide range of audio formats and sources, thanks to its multiple input options. It includes multiple analog audio inputs, a phono input for vinyl enthusiasts, and even digital inputs, allowing seamless connection with modern devices. This versatility makes it an excellent choice for those looking to integrate traditional analog sources with digital media.
On the other hand, the TX-8522 takes performance a step further with enhanced features and power. With a power output of 80 watts per channel at 8 ohms, this model can fill larger spaces with rich sound. The TX-8522 also incorporates advanced circuitry to ensure optimal signal fidelity, further enhancing the listening experience.
Both models feature Onkyo's acclaimed Wide Range Amplification Technology (WRAT), which enhances the overall sound quality by reducing crossover distortion and improving amplifier efficiency. This technology ensures that even the most demanding audio tracks are rendered with precision and clarity.
Connectivity is another strong suit for these models. Each receiver includes Bluetooth capability, enabling wireless streaming from smartphones and tablets, making it easy to enjoy your favorite playlists with family and friends. Additionally, with the inclusion of a user-friendly remote, control over playback and volume adjustments is extremely convenient.
Finally, both receivers come equipped with a classic design that complements any home décor. Their intuitive layout and controls make them accessible even for those less tech-savvy.
In summary, the Onkyo TX-8222 and TX-8522 are impressive stereo receivers that offer high-quality audio, versatile connectivity options, and user-friendly features. They cater to the needs of discerning listeners while providing the flexibility to accommodate modern devices and media, making them ideal for any audio setup.

