EN
calibration for running and / or walking. You can use the watch without calibration, but the accuracy of speed and distance will be lower. After calibration, the accuracy of the speed and distance will increase.
To set real calibration:
1.Make sure the transmission between the watch and the chest belt is well connected.
2.Press MODE to enter SPEED Mode.
3.Press and hold SET to enter setting mode.
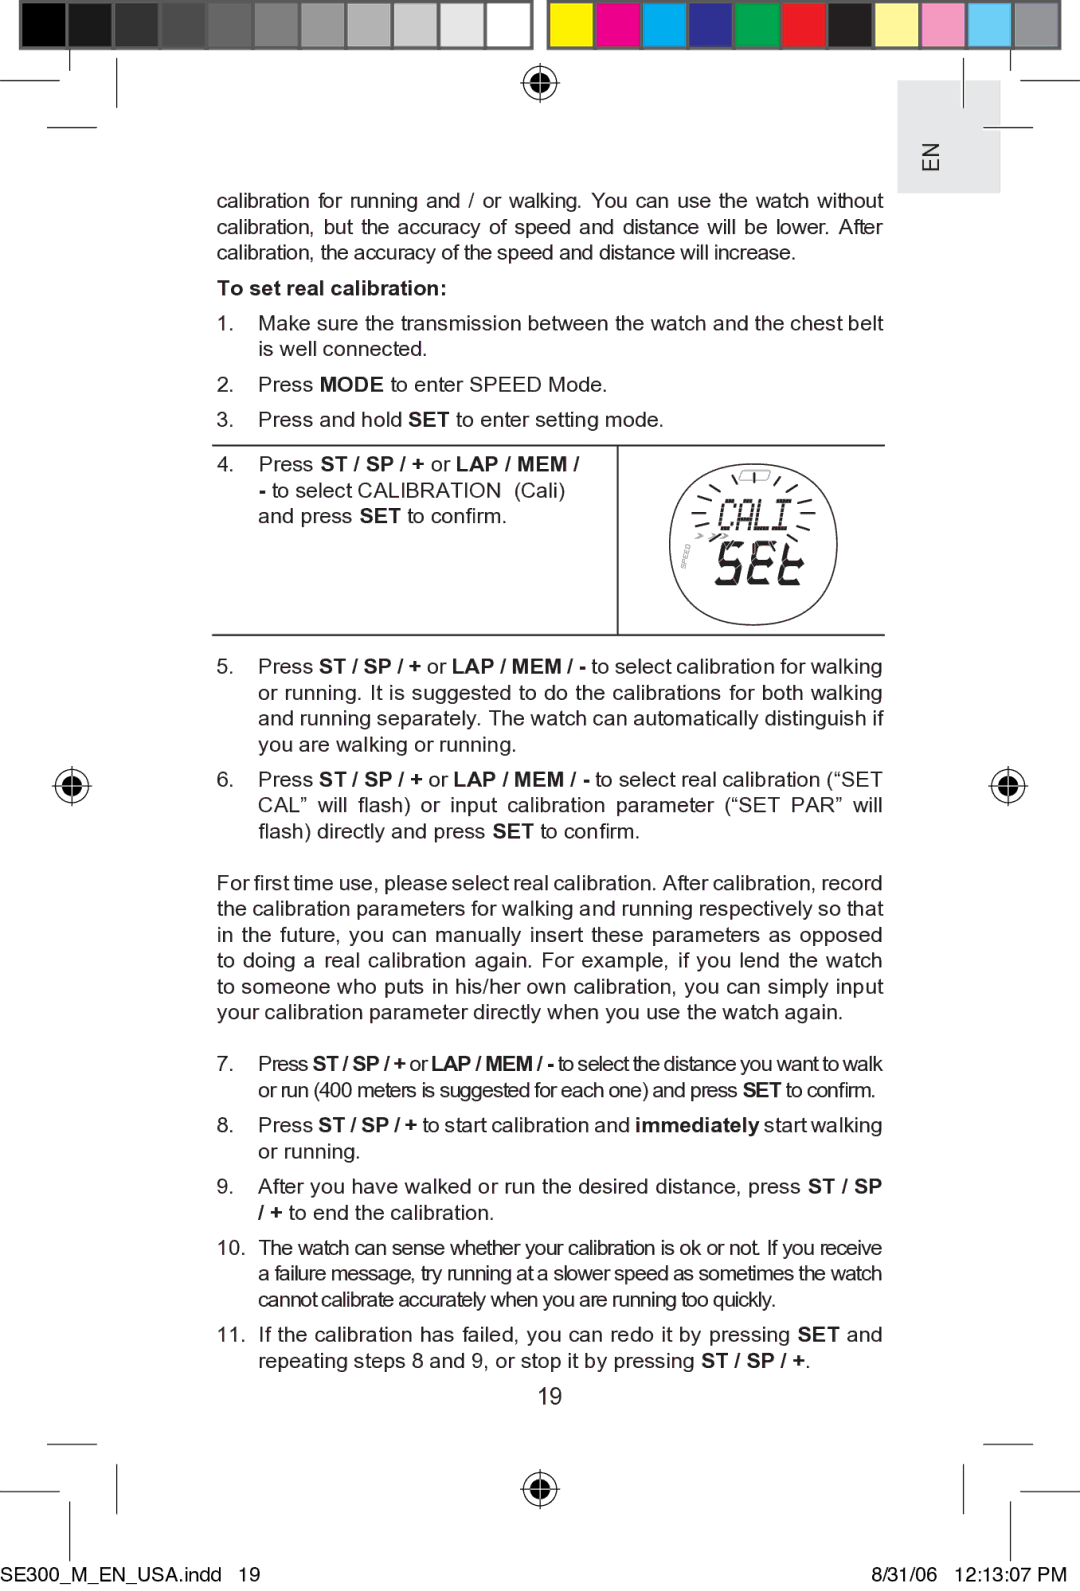
4.Press ST / SP / + or LAP / MEM / - to select CALIBRATION (Cali)
and press SET to confirm.
5.Press ST / SP / + or LAP / MEM / - to select calibration for walking or running. It is suggested to do the calibrations for both walking and running separately. The watch can automatically distinguish if you are walking or running.
6.Press ST / SP / + or LAP / MEM / - to select real calibration (“SET CAL” will flash) or input calibration parameter (“SET PAR” will flash) directly and press SET to confirm.
For first time use, please select real calibration. After calibration, record the calibration parameters for walking and running respectively so that in the future, you can manually insert these parameters as opposed to doing a real calibration again. For example, if you lend the watch to someone who puts in his/her own calibration, you can simply input your calibration parameter directly when you use the watch again.
7.Press ST / SP / + or LAP / MEM / - to select the distance you want to walk or run (400 meters is suggested for each one) and press SET to confirm.
8.Press ST / SP / + to start calibration and immediately start walking or running.
9.After you have walked or run the desired distance, press ST / SP / + to end the calibration.
10.The watch can sense whether your calibration is ok or not. If you receive a failure message, try running at a slower speed as sometimes the watch cannot calibrate accurately when you are running too quickly.
11.If the calibration has failed, you can redo it by pressing SET and repeating steps 8 and 9, or stop it by pressing ST / SP / +.
19
|
|
|
|
|
|
|
|
|
|
|
|
|
|
|
|
|
|
|
|
|
|
SE300_ |
| M_EN_USA.indd 19 |
|
|
|
|
| |||
|
| 8/31/06 12:13:07 PM | ||||||||
