SETTINGS | DESCRIPTIONS | ||||||||
Interval | Specifies the amount of time the camera will | ||||||||
|
|
|
|
|
|
|
|
| display an image before moving on to the |
|
|
|
|
|
|
|
|
| next image. The options are 3 sec., 5 sec., |
|
|
|
|
|
|
|
|
| and 10 sec. |
Repeat | When set to On, the slideshow | ||||||||
|
|
|
|
|
|
|
|
| immediately replays when the final image |
|
|
|
|
|
|
|
|
| is displayed. |
|
|
|
|
|
|
|
|
|
|
|
|
|
|
|
|
|
|
|
|
ROTATING IMAGES | |||||||||
|
|
|
|
|
|
|
|
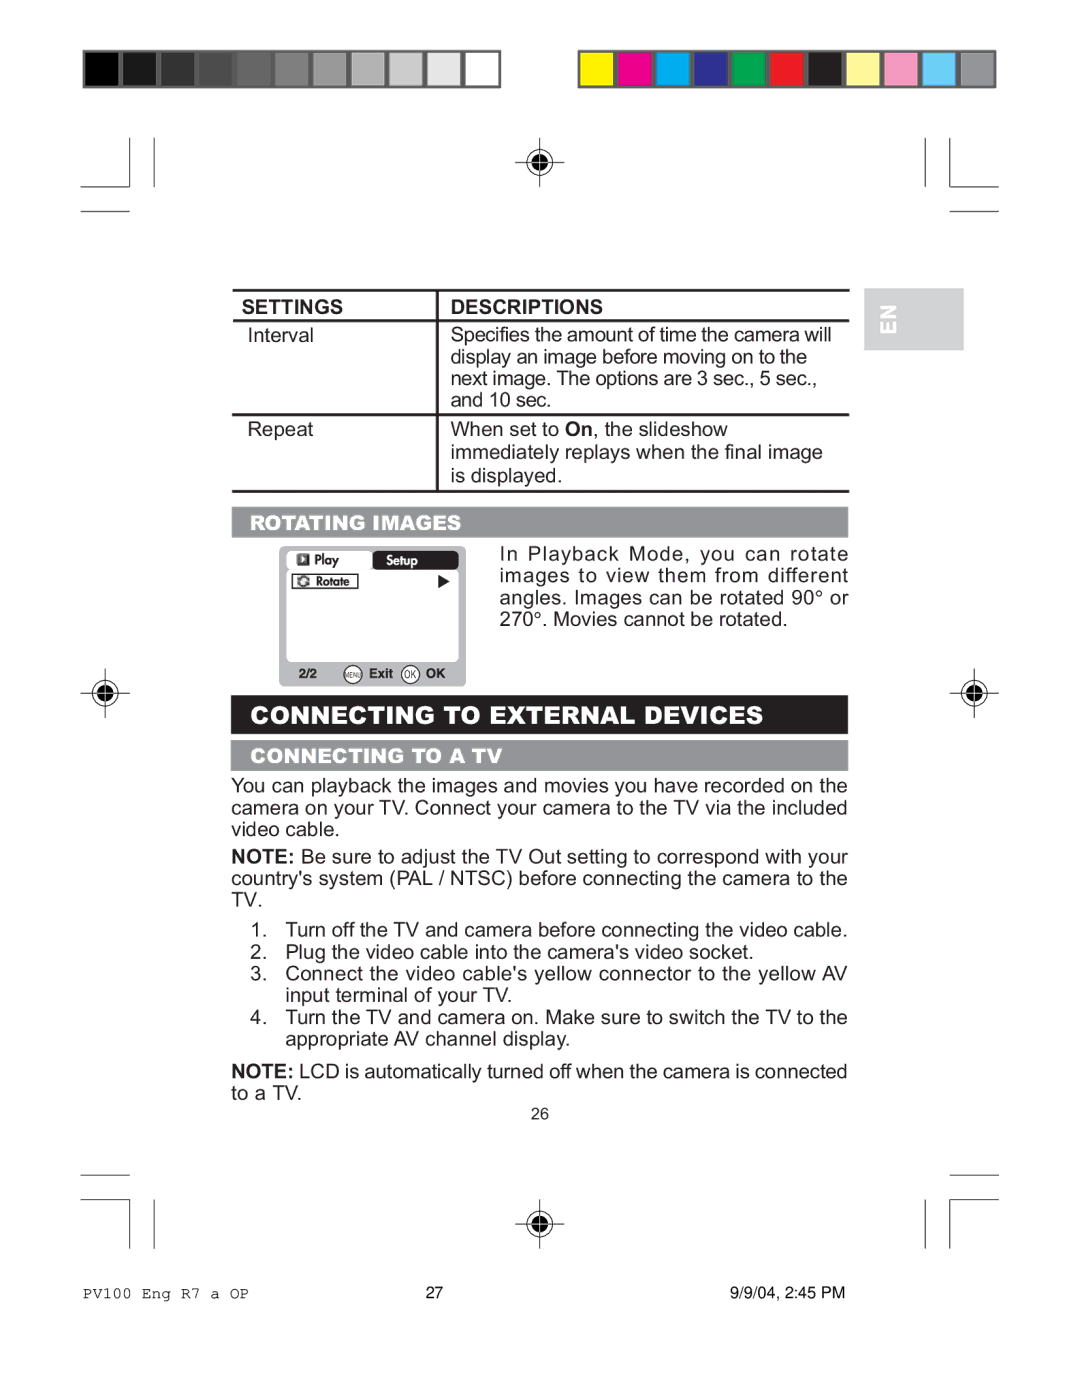
| In Playback Mode, you can rotate |
|
|
|
|
|
|
|
|
| |
|
|
|
|
|
|
|
|
| images to view them from different |
|
|
|
|
|
|
|
|
| |
|
|
|
|
|
|
|
|
| angles. Images can be rotated 90° or |
|
|
|
|
|
|
|
|
| 270°. Movies cannot be rotated. |
|
|
|
|
|
|
|
|
|
|
MENU ![]()
![]() OK
OK
CONNECTING TO EXTERNAL DEVICES
CONNECTING TO A TV
You can playback the images and movies you have recorded on the camera on your TV. Connect your camera to the TV via the included video cable.
NOTE: Be sure to adjust the TV Out setting to correspond with your country's system (PAL / NTSC) before connecting the camera to the TV.
1.Turn off the TV and camera before connecting the video cable.
2.Plug the video cable into the camera's video socket.
3.Connect the video cable's yellow connector to the yellow AV input terminal of your TV.
4.Turn the TV and camera on. Make sure to switch the TV to the appropriate AV channel display.
NOTE: LCD is automatically turned off when the camera is connected to a TV.
26
EN
PV100 Eng R7 a OP | 27 | 9/9/04, 2:45 PM |
