Welcome to a new world of adventure. Your new StarShoot Deep Space Color Imaging Camera II (SSDSI-
II)is capable of capturing detailed,
Please read this instruction manual before attempting to use the camera or install the needed software. For the most detailed information on specific camera and software functions, consult the Maxim DL Essentials Help menu; the tutorials found there are especially useful for familiarizing yourself with how the software and camera are typically used.
Parts List
•StarShoot Deep Space Color Imager II
•USB cable
•3V Power supply for TEC (requires 2x
•
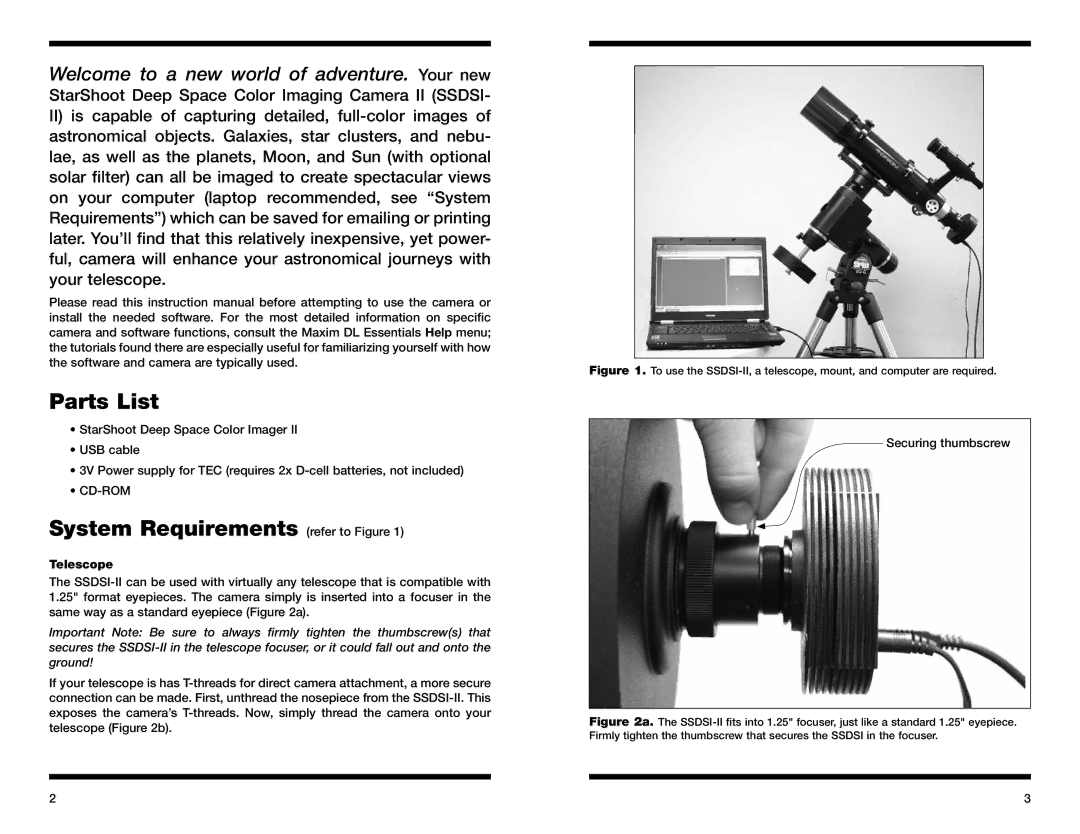
System Requirements (refer to Figure 1)
Telescope
The
Important Note: Be sure to always firmly tighten the thumbscrew(s) that secures the
If your telescope is has
Figure 1. To use the SSDSI-II, a telescope, mount, and computer are required.
Securing thumbscrew
Figure 2a. The SSDSI-II fits into 1.25" focuser, just like a standard 1.25" eyepiece. Firmly tighten the thumbscrew that secures the SSDSI in the focuser.
2 | 3 |
