Stretch Window. The red slider arrow corresponds to the Minimum value and the green arrow corresponds to the Maximum value. Simply
There are also seven automatic settings in the Screen Stretch Window. Typically, Medium will give good results for deep sky objects, so the default screen stretch setting is Medium.
Instead of using the Screen Stretch Window, it is faster to use the Quick Stretch facility. This allows you to modify the image appearance instantly with small up/down and left/right movements of the mouse. To do this, hold down the Shift key, then
The trick with stretching is determining exactly how to stretch the image for best effect. Often there are several different possibilities for the same image.
Astronomical Imaging
Now that you’re familiar with basic camera and software operation, it’s time to take the
Imaging the Moon
Imaging the Moon is much like imaging terrestrial objects during the day. Since the exposure is very short, it is not critical that the telescope mount be pre- cisely polar aligned. Best focusing will be achieved by first focusing on a bright star near the Moon. Start with short exposures of less than 0.1 seconds.
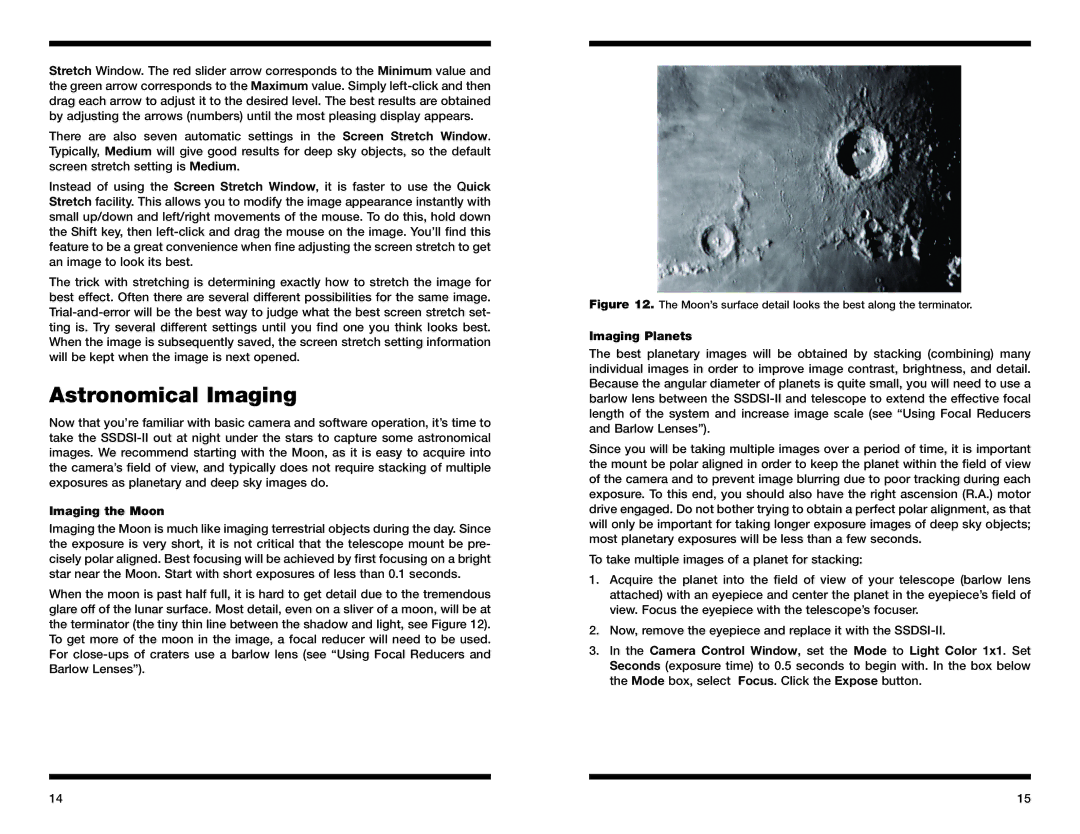
When the moon is past half full, it is hard to get detail due to the tremendous glare off of the lunar surface. Most detail, even on a sliver of a moon, will be at the terminator (the tiny thin line between the shadow and light, see Figure 12). To get more of the moon in the image, a focal reducer will need to be used. For
Figure 12. The Moon’s surface detail looks the best along the terminator.
Imaging Planets
The best planetary images will be obtained by stacking (combining) many individual images in order to improve image contrast, brightness, and detail. Because the angular diameter of planets is quite small, you will need to use a barlow lens between the
Since you will be taking multiple images over a period of time, it is important the mount be polar aligned in order to keep the planet within the field of view of the camera and to prevent image blurring due to poor tracking during each exposure. To this end, you should also have the right ascension (R.A.) motor drive engaged. Do not bother trying to obtain a perfect polar alignment, as that will only be important for taking longer exposure images of deep sky objects; most planetary exposures will be less than a few seconds.
To take multiple images of a planet for stacking:
1.Acquire the planet into the field of view of your telescope (barlow lens attached) with an eyepiece and center the planet in the eyepiece’s field of view. Focus the eyepiece with the telescope’s focuser.
2.Now, remove the eyepiece and replace it with the
3.In the Camera Control Window, set the Mode to Light Color 1x1. Set Seconds (exposure time) to 0.5 seconds to begin with. In the box below the Mode box, select Focus. Click the Expose button.
14 | 15 |