Getting Started During Daylight
We recommend using the
Since the
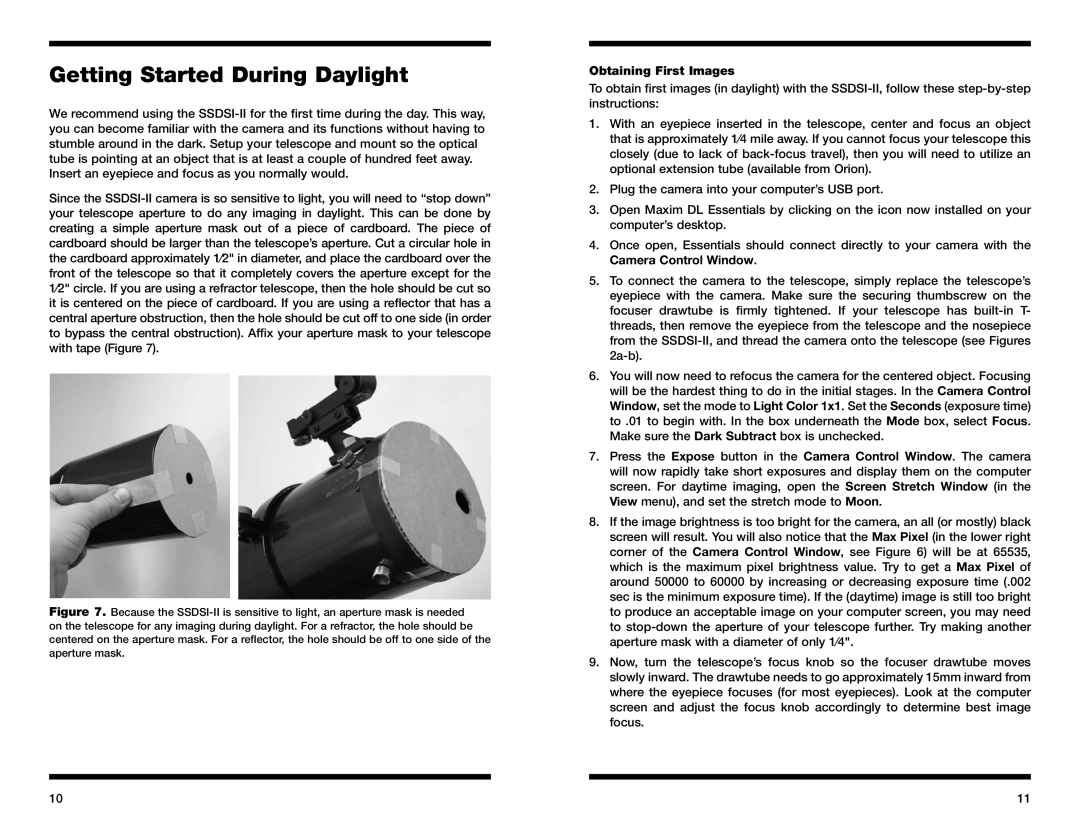
Figure 7. Because the SSDSI-II is sensitive to light, an aperture mask is needed on the telescope for any imaging during daylight. For a refractor, the hole should be centered on the aperture mask. For a reflector, the hole should be off to one side of the aperture mask.
Obtaining First Images
To obtain first images (in daylight) with the
1.With an eyepiece inserted in the telescope, center and focus an object that is approximately 1⁄4 mile away. If you cannot focus your telescope this closely (due to lack of
2.Plug the camera into your computer’s USB port.
3.Open Maxim DL Essentials by clicking on the icon now installed on your computer’s desktop.
4.Once open, Essentials should connect directly to your camera with the Camera Control Window.
5.To connect the camera to the telescope, simply replace the telescope’s eyepiece with the camera. Make sure the securing thumbscrew on the focuser drawtube is firmly tightened. If your telescope has
6.You will now need to refocus the camera for the centered object. Focusing will be the hardest thing to do in the initial stages. In the Camera Control Window, set the mode to Light Color 1x1. Set the Seconds (exposure time) to .01 to begin with. In the box underneath the Mode box, select Focus. Make sure the Dark Subtract box is unchecked.
7.Press the Expose button in the Camera Control Window. The camera will now rapidly take short exposures and display them on the computer screen. For daytime imaging, open the Screen Stretch Window (in the View menu), and set the stretch mode to Moon.
8.If the image brightness is too bright for the camera, an all (or mostly) black screen will result. You will also notice that the Max Pixel (in the lower right corner of the Camera Control Window, see Figure 6) will be at 65535, which is the maximum pixel brightness value. Try to get a Max Pixel of around 50000 to 60000 by increasing or decreasing exposure time (.002 sec is the minimum exposure time). If the (daytime) image is still too bright to produce an acceptable image on your computer screen, you may need to
9.Now, turn the telescope’s focus knob so the focuser drawtube moves slowly inward. The drawtube needs to go approximately 15mm inward from where the eyepiece focuses (for most eyepieces). Look at the computer screen and adjust the focus knob accordingly to determine best image focus.
10 | 11 |