NOTE: This unit comes with an egg cup that includes an egg pricker at the base of the cup. You can place an egg into the egg cup to prick the large end of the egg. Pricking the large end of the egg will help to prevent cracking while the eggs are cooking.
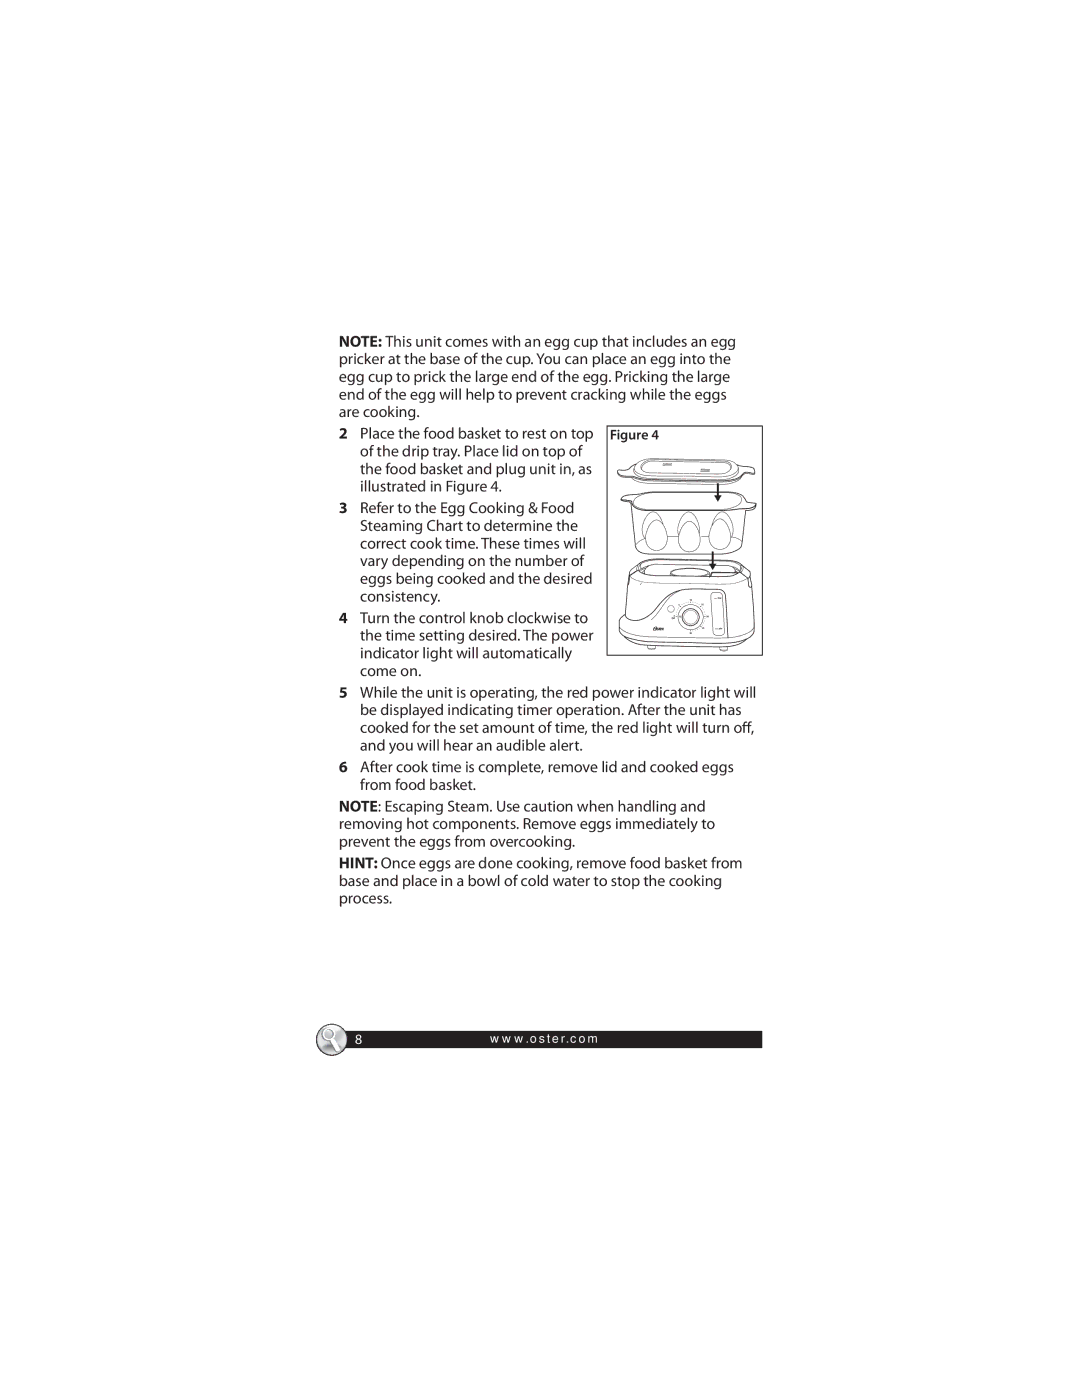
2 Place the food basket to rest on top Figure 4 of the drip tray. Place lid on top of
the food basket and plug unit in, as illustrated in Figure 4.
3 Refer to the Egg Cooking & Food Steaming Chart to determine the
correct cook time. These times will vary depending on the number of eggs being cooked and the desired consistency.
4 Turn the control knob clockwise to the time setting desired. The power indicator light will automatically come on.
5While the unit is operating, the red power indicator light will be displayed indicating timer operation. After the unit has cooked for the set amount of time, the red light will turn off, and you will hear an audible alert.
6After cook time is complete, remove lid and cooked eggs from food basket.
NOTE: Escaping Steam. Use caution when handling and removing hot components. Remove eggs immediately to prevent the eggs from overcooking.
HINT: Once eggs are done cooking, remove food basket from base and place in a bowl of cold water to stop the cooking process.
8www.oster.com
