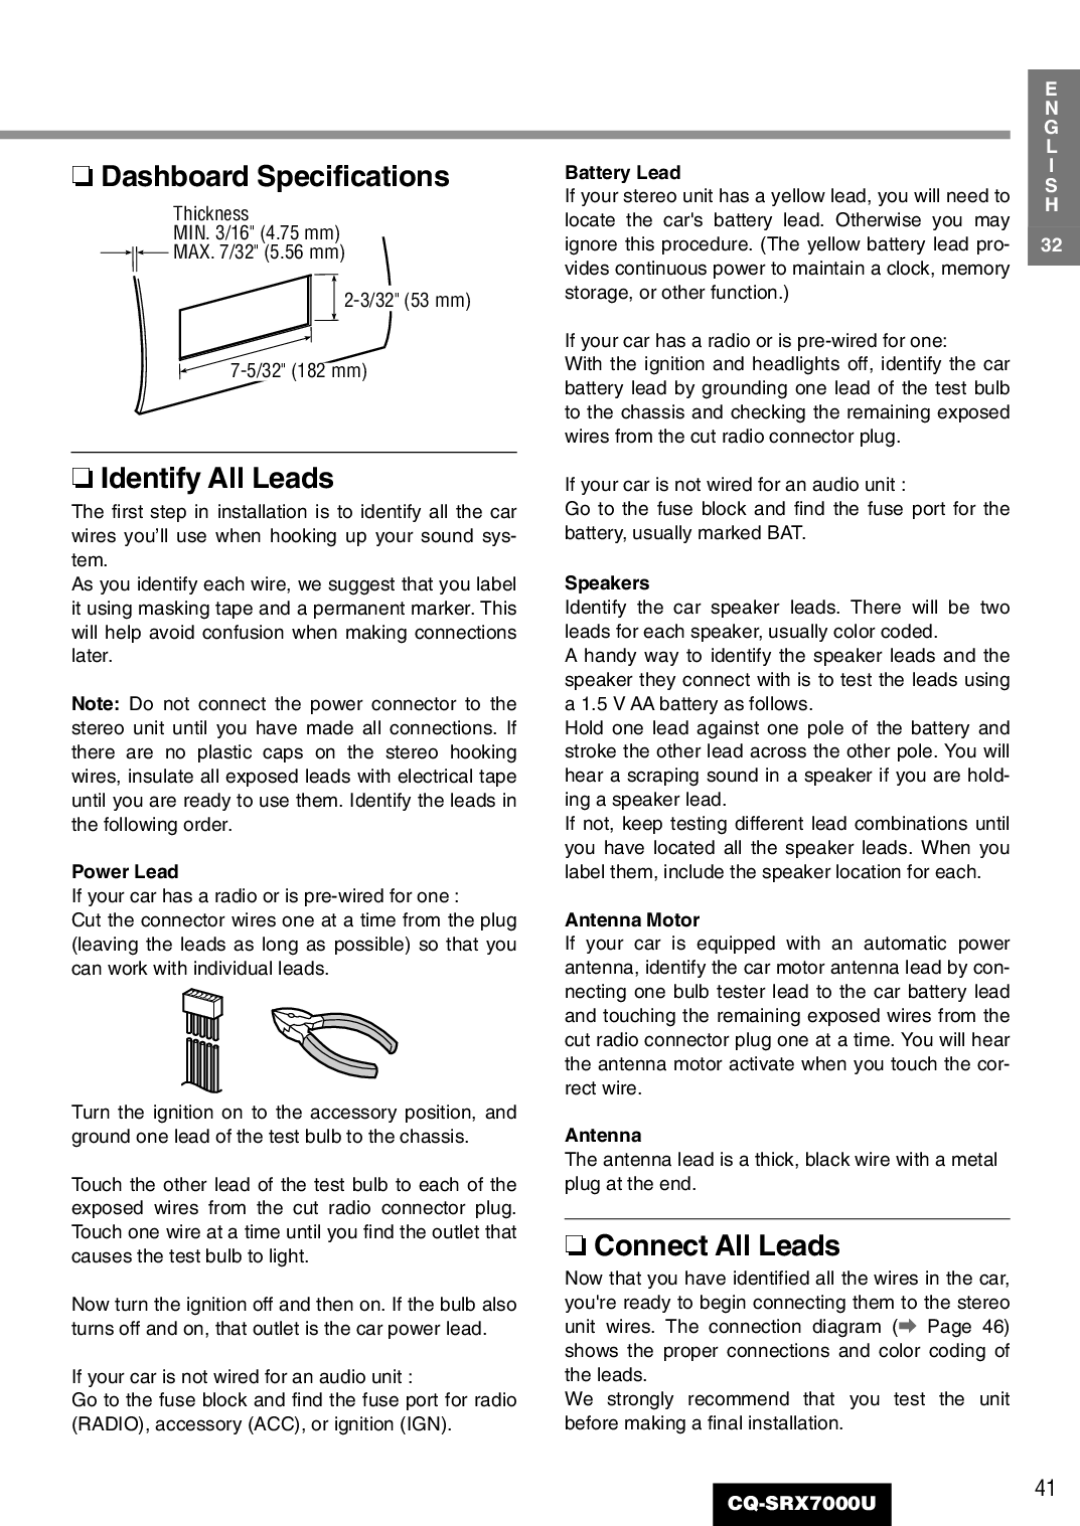
Dashboard Specifications

Thickness

MIN. 3/16" (4.75 mm)

MAX. 7/32" (5.56 mm)

2-3/32" (53 mm)

7-5/32" (182 mm)

Identify All Leads

The first step in installation is to identify all the car wires you’ll use when hooking up your sound sys- tem.

As you identify each wire, we suggest that you label it using masking tape and a permanent marker. This will help avoid confusion when making connections later.

Note: Do not connect the power connector to the stereo unit until you have made all connections. If there are no plastic caps on the stereo hooking wires, insulate all exposed leads with electrical tape until you are ready to use them. Identify the leads in the following order.

Power Lead

If your car has a radio or is pre-wired for one :

Cut the connector wires one at a time from the plug (leaving the leads as long as possible) so that you can work with individual leads.

Turn the ignition on to the accessory position, and ground one lead of the test bulb to the chassis.

Touch the other lead of the test bulb to each of the exposed wires from the cut radio connector plug. Touch one wire at a time until you find the outlet that causes the test bulb to light.

Now turn the ignition off and then on. If the bulb also turns off and on, that outlet is the car power lead.

If your car is not wired for an audio unit :

Go to the fuse block and find the fuse port for radio (RADIO), accessory (ACC), or ignition (IGN).


E


N


G


L

Battery Lead

I

S

If your stereo unit has a yellow lead, you will need to

H

locate the car's battery lead. Otherwise you may


ignore this procedure. (The yellow battery lead pro- 32 vides continuous power to maintain a clock, memory storage, or other function.)

If your car has a radio or is pre-wired for one:

With the ignition and headlights off, identify the car battery lead by grounding one lead of the test bulb to the chassis and checking the remaining exposed wires from the cut radio connector plug.

If your car is not wired for an audio unit :

Go to the fuse block and find the fuse port for the battery, usually marked BAT.

Speakers

Identify the car speaker leads. There will be two leads for each speaker, usually color coded.

A handy way to identify the speaker leads and the speaker they connect with is to test the leads using a 1.5 V AA battery as follows.

Hold one lead against one pole of the battery and stroke the other lead across the other pole. You will hear a scraping sound in a speaker if you are hold- ing a speaker lead.

If not, keep testing different lead combinations until you have located all the speaker leads. When you label them, include the speaker location for each.

Antenna Motor

If your car is equipped with an automatic power antenna, identify the car motor antenna lead by con- necting one bulb tester lead to the car battery lead and touching the remaining exposed wires from the cut radio connector plug one at a time. You will hear the antenna motor activate when you touch the cor- rect wire.

Antenna

The antenna lead is a thick, black wire with a metal plug at the end.

Connect All Leads

Now that you have identified all the wires in the car, you're ready to begin connecting them to the stereo unit wires. The connection diagram (a Page 46) shows the proper connections and color coding of the leads.

We strongly recommend that you test the unit before making a final installation.

41

CQ-SRX7000U

Page 37
Image 37
Panasonic CQ-SRX7000U manual Dashboard Specifications, Identify All Leads, Connect All Leads

CQ-SRX7000U specifications

The Panasonic CQ-SRX7000U is a feature-rich car stereo that designed to enhance the in-car audio experience while boasting an array of modern technologies. As a part of Panasonic's reputable lineup, the CQ-SRX7000U offers both quality sound performance and functionality, making it a popular choice among car audio enthusiasts.

One of the standout features of this model is its powerful amplification system, providing 50 watts per channel output, which ensures clear and crisp audio even at higher volumes. This makes the CQ-SRX7000U capable of driving a wide range of speakers and subwoofers, enhancing the overall sound quality within any vehicle.

The unit incorporates a built-in CD player and is compatible with various media formats, including MP3 and WMA. This versatility allows users to enjoy their favorite music across different platforms. The unit also features an auxiliary input, enabling users to connect their smartphones, MP3 players, or other portable devices effortlessly.

Furthermore, the CQ-SRX7000U utilizes advanced radio tuning technology that provides access to AM and FM bands, as well as the potential for excellent reception performance. The built-in RDS (Radio Data System) feature enhances radio functionality by displaying information such as station identification and song titles.

The user interface of the CQ-SRX7000U is intuitive, featuring a clear, easy-to-read display that ensures accessibility while driving. The layout of buttons and knobs is practical, allowing for swift adjustments to volume levels and track selection without distraction.

For those who seek customization, the CQ-SRX7000U comes with a built-in 3-band equalizer, empowering users to tailor their audio experience according to their preferences. This can significantly enhance the quality of sound depending on the genre of music being played.

Moreover, the unit’s design includes multiple preamp outputs, facilitating easy connections to external amplifiers for those looking to upgrade their sound systems further. This makes it an excellent choice for DIY enthusiasts who wish to build a comprehensive audio setup.

In summary, the Panasonic CQ-SRX7000U combines sound quality, user-friendly functionality, and versatile compatibility, making it a compelling option for anyone looking to upgrade their car's audio system. Its robust features and technologies provide an enjoyable listening experience for all music lovers on the road.